Are you tired of messy buns and complicated hairstyles? Do you crave a quick and stylish way to pull your hair back, whether you're hitting the gym, running errands, or just relaxing at home? Then look no further! This tutorial will show you how to whip up your own stretchy top knot headbands in minutes – no advanced sewing skills required! These versatile headbands are perfect for keeping hair out of your face while adding a touch of effortless chic to any outfit. Forget expensive boutique accessories; you'll be amazed at how easily you can craft these beautiful and functional hair accessories yourself using readily available materials.
Forget spending hours poring over complex instructions. This is the fastest sewing tutorial you'll ever find for creating comfortable and stylish headbands. We'll guide you through each step, from choosing your fabric to securing the final stitch, ensuring a perfect fit every time. Ready to get started creating your own collection of adorable stretchy top knot headbands? Let's dive into the step-by-step process!
Preparation and Safety Guidelines
- Stretchy knit fabric (upcycled t-shirt recommended)
- Fabric scissors
- Rotary cutter (optional)
- Pins
- Sewing machine or serger (hand sewing also possible)
- Measuring tape
- Always use sharp scissors and needles to prevent injury. Handle them with care and keep them away from children.
- Be mindful of the elasticity of your chosen fabric. Stretchy fabrics can snap back unexpectedly, potentially causing needle injuries. Work slowly and deliberately.
- If using a sewing machine, ensure your fingers are clear of the needle at all times. Always use the appropriate stitch length and pressure for your fabric type.
Step-by-Step Instructions
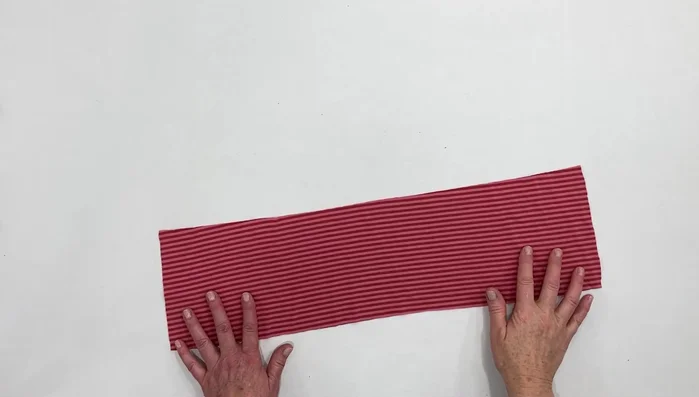
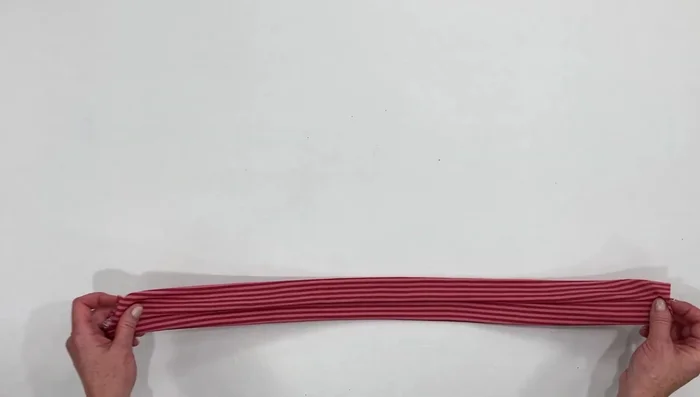
Prepare the Fabric
- Measure the head circumference.
- Cut a fabric strip equal to the head circumference and 6 inches wide (adjust for fabric stretch).

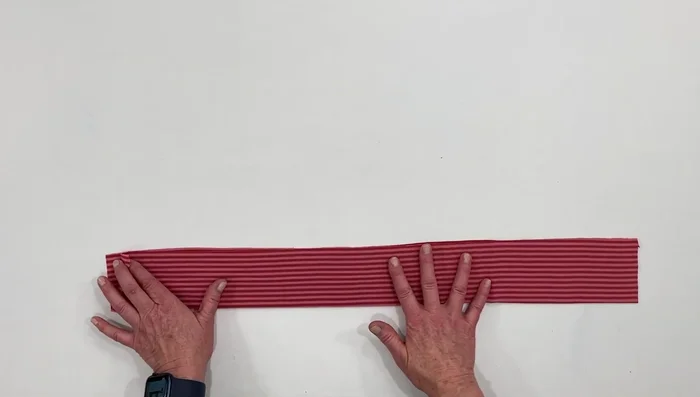
Prepare the Fabric Sew the Headband
- Fold the strip in half lengthwise with right sides together.
- Sew along the top edge using a sewing machine or serger (zigzag or serger stitch recommended).
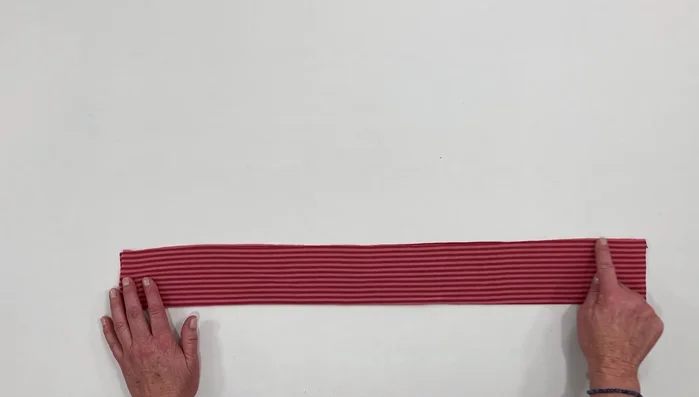
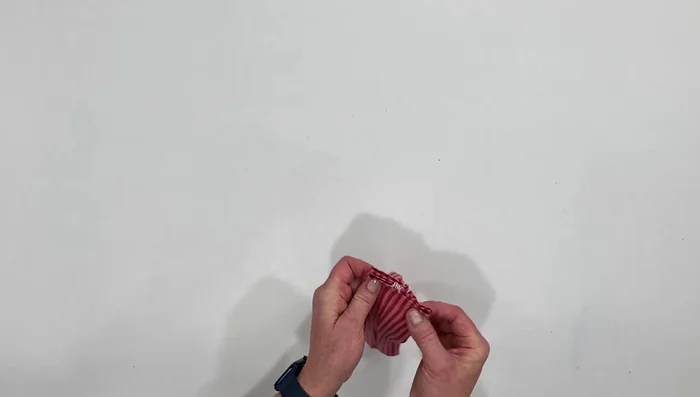
Sew the Headband Turn and Knot
- Turn the headband inside out.
- Bring the seam to the center, cross it over, and make a loose knot.
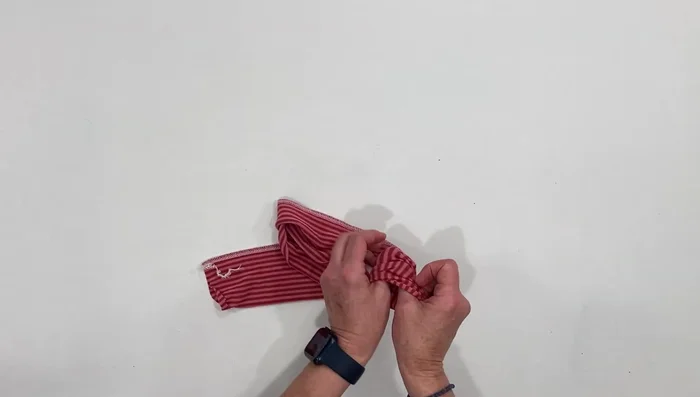
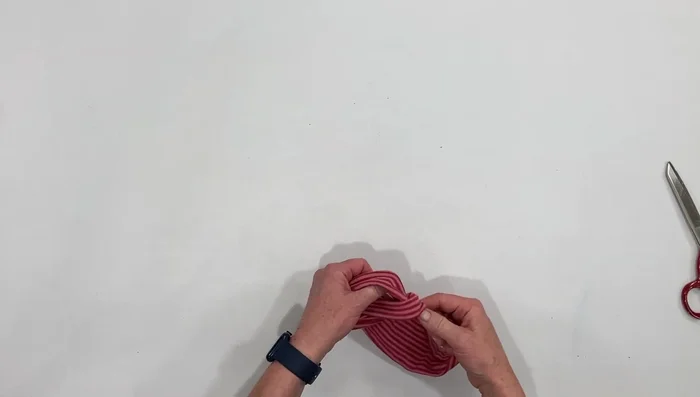
Turn and Knot Close the Ends
- Bring the short ends together, aligning the seam on the outside. Sew the ends closed using a sewing machine or serger.
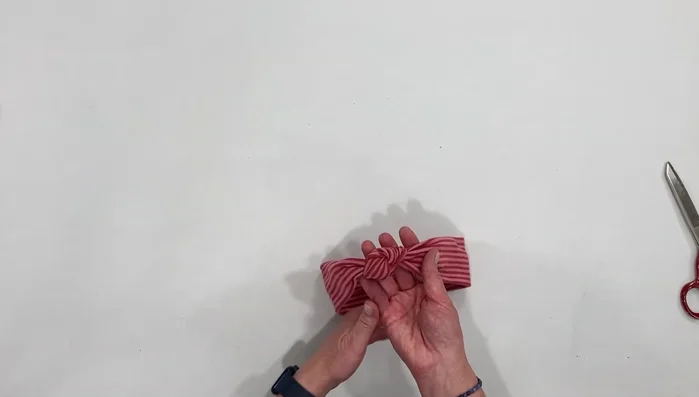
Close the Ends Finishing Touches
- Slide the knot down and turn the headband right side out.
- Bring the knot over the top of the seam and hide it.
Finishing Touches

Read more: DIY Stretchy Fingerless Gloves: Easy Sewing Tutorial
Tips
- Use a zigzag stitch or serger stitch to prevent seams from popping when stretched.
- For non-stretchy fabric, add ½ inch to the head measurement.
- To avoid bulky ends when using a serger, start stitching in the middle, and use the hand wheel to unwind a few stitches before turning the fabric.
- Angle off the seam in the center to create a clean edge.