From the eye-catching designs gracing magazine covers to the coveted releases that spark frenzied online auctions, sneakers are more than just footwear; they're cultural icons. Their journey from initial concept to the consumer's feet, however, is a complex and fascinating process, a hidden world of meticulous craftsmanship and global logistics. We often see the final product, but rarely consider the intricate steps involved in bringing a sneaker to life. This often overlooked journey is filled with surprising details and innovative technologies.
This article will take you behind the scenes, peeling back the layers of this intricate industry to explore the full lifecycle of a sneaker, from the initial design sketches and material sourcing to the manufacturing process, quality control checks, and finally, its delivery to retail shelves worldwide. Prepare to embark on a step-by-step exploration of the sneaker manufacturing process, revealing the hidden artistry and engineering that makes your favourite pair possible.
Preparation and Safety Guidelines
- Shoelaces
- Masking Tape
- Shoe Lasts
- Laser Cutting Table
- CNC Machine
- Injection Molding Machine
- Sewing Machines
- Hydraulic Press
- Various Hand Tools
- Dye-Cutting Machine
- Many sneaker factories operate in countries with less stringent safety regulations than in developed nations. Worker safety and fair labor practices should be a top priority when considering purchasing sneakers. Look for brands committed to transparency in their supply chains.
- The manufacturing process involves hazardous materials like adhesives and dyes. Improper handling can lead to health issues for workers and environmental pollution. Sustainable manufacturing practices and responsible disposal of waste are crucial.
- Counterfeit sneakers are a significant problem, often produced in unsafe conditions with substandard materials. Purchase sneakers from reputable retailers to help ensure worker safety and product quality.
Step-by-Step Instructions
Design & Prototyping
- Creating a 3D model of the sneaker using shoelaces and masking tape as a base for initial design.
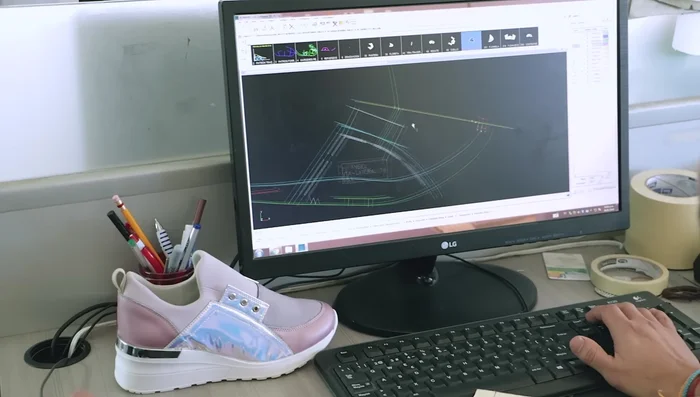
- Transforming the physical design into a digital pattern for production.
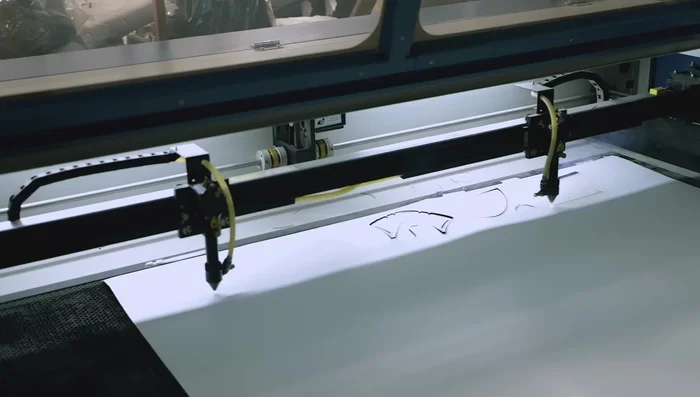
- Utilizing a laser cutting table to create pattern pieces from the digital pattern.
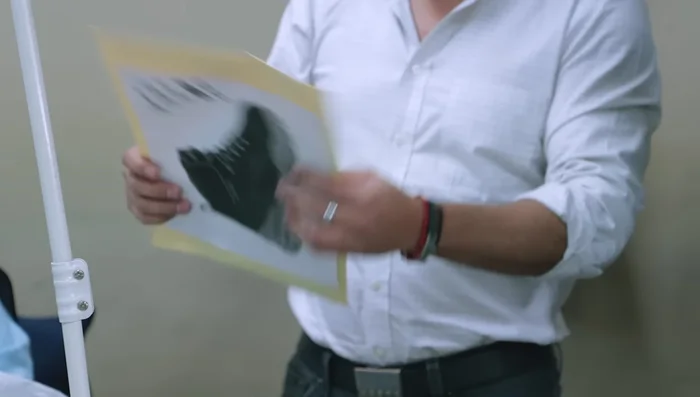
- Creating a one-off sample based on the laser-cut pieces and designer's information.

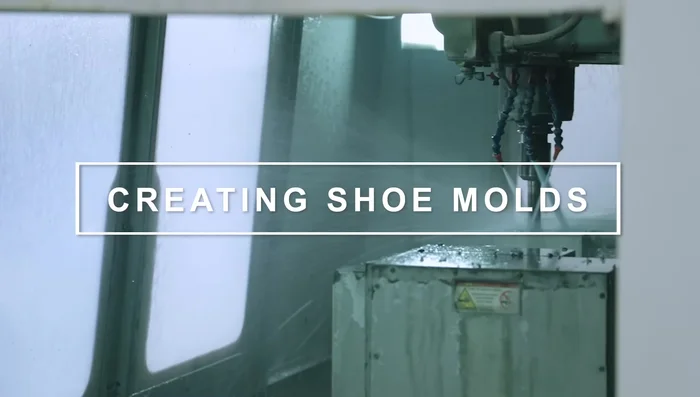
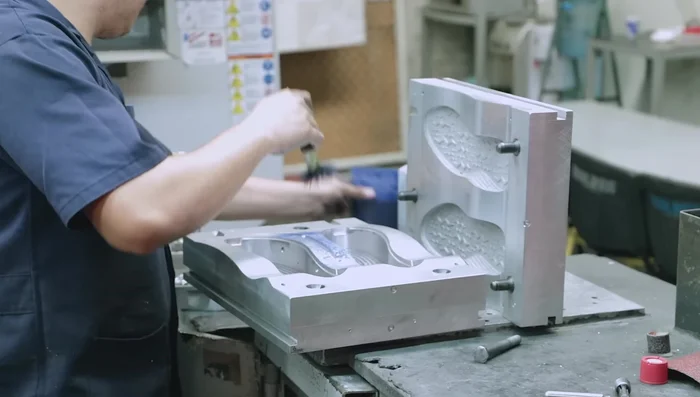
Design & Prototyping Sole Creation
- Using a CNC machine to create molds for the sneaker soles. This process can take up to 10 hours per size.
- Measuring and inspecting the molds to ensure proper sealing and functionality.
- Injecting material into the mold, pressurizing, and curing to create the finished sole.
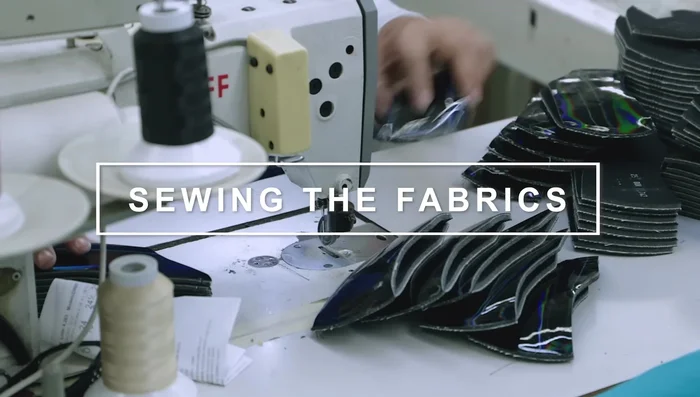
Sole Creation Upper Construction
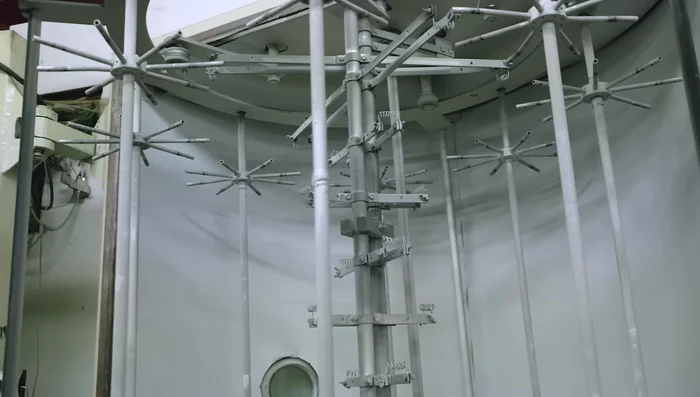
- Applying a metal finish to certain sneaker components.
- Laser cutting (for small orders) or die-cutting (for large orders) the fabrics for the shoe upper.
- Assembling the various fabric pieces to create the shoe upper.
- Gluing and reinforcing components of the shoe upper.
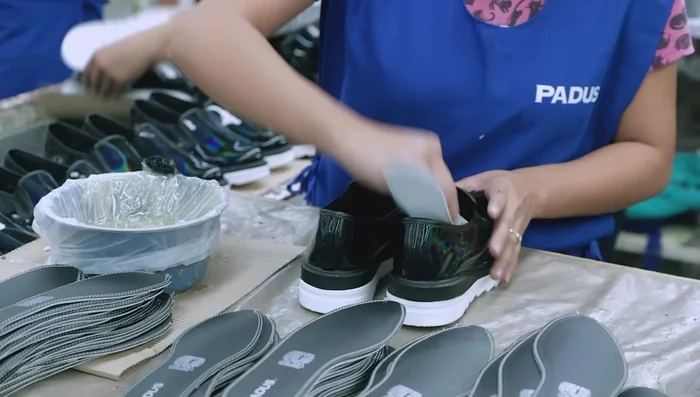
Upper Construction Assembly & Finishing
- Using a shoe last and hydraulic press to align and seal the upper and sole together.
- Final cleaning, inspection, and quality control.
Assembly & Finishing Distribution
- Boxing and shipping the finished shoes.


Read more: DIY Reversible Baby Slippers: Easy Sewing Tutorial
Tips
- N/A