Shoemaking, a craft steeped in history and precision, begins with a fundamental element: the last. This seemingly simple form – a three-dimensional model of a foot – dictates the shape and fit of the final shoe, influencing everything from comfort to aesthetic appeal. Understanding last pattern making is therefore crucial for anyone serious about creating custom footwear, or even just deeply appreciating the intricacies of shoe construction. From the initial measurements and drafting to the final refinements and adjustments, the process involves a blend of artistry and technical skill.
This detailed guide will walk you through the complete process of crafting a shoe last pattern, from initial design concepts to the creation of a workable model. We'll explore the essential tools and techniques, navigating each step with clarity and practical advice, so you can confidently begin your journey into this fascinating aspect of shoemaking. Let's delve into the step-by-step process, learning how to create your own perfect shoe last pattern.
Preparation and Safety Guidelines
- Pencil
- Ruler
- Cardboard
- French Curve
- Always use sharp, well-maintained tools to avoid slips and injuries. Knives, tracing wheels, and awls should be handled with care.
- Wear appropriate safety glasses to protect your eyes from flying debris during cutting and shaping.
- Proper ventilation is crucial when working with chemicals like adhesives or solvents used in finishing. Work in a well-ventilated area or wear a respirator.
Step-by-Step Instructions
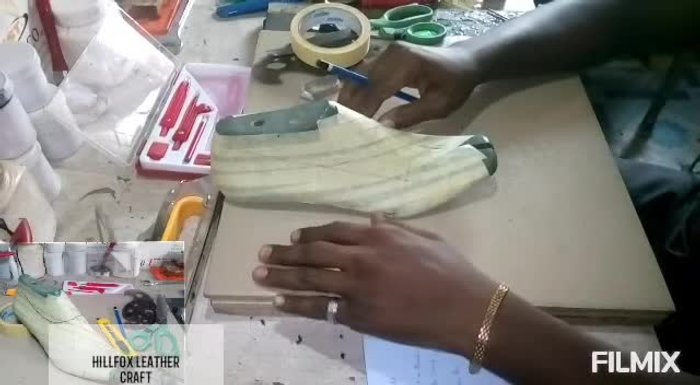
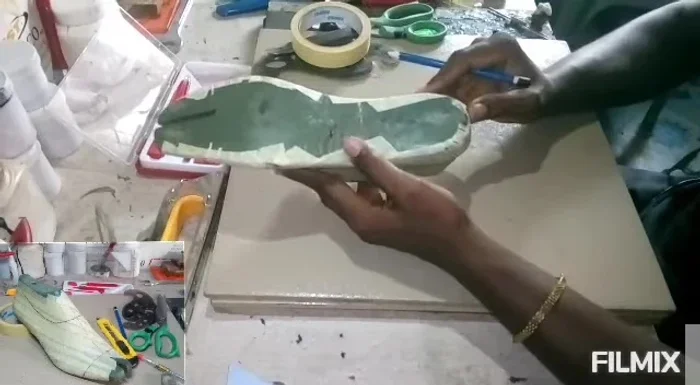
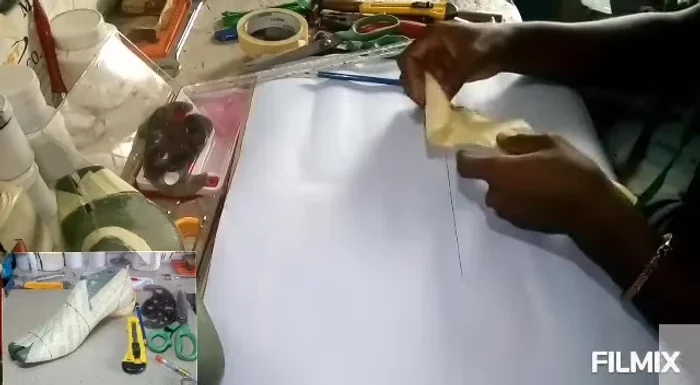
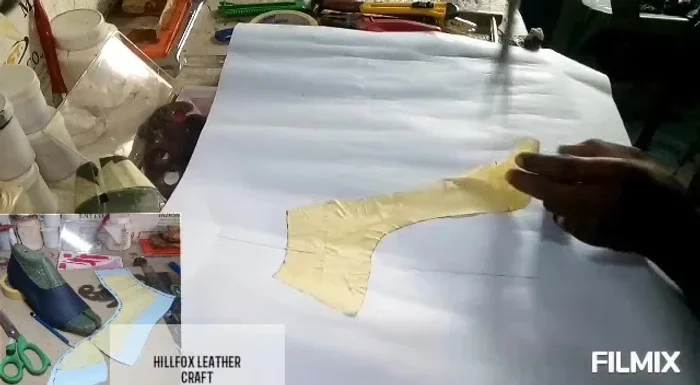
Preparing the Last
- Mask the last completely.
- Draw the center line.
- Draw the lateral quarter line, vamp line, and all the key points (heel point, etc.).

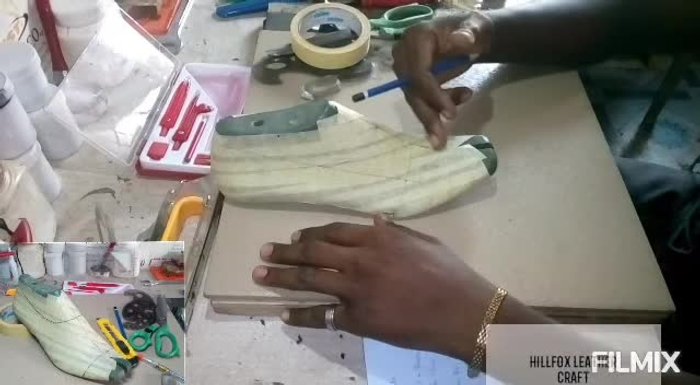
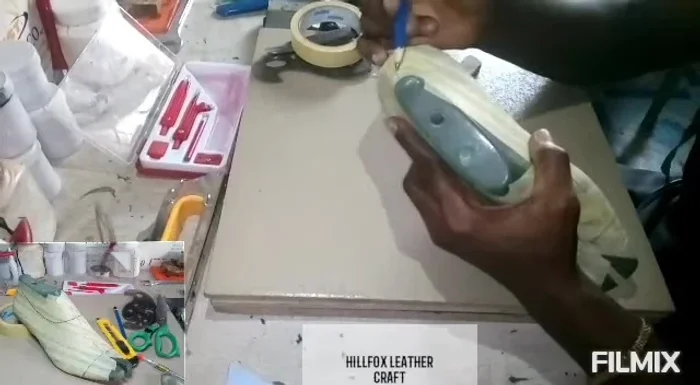
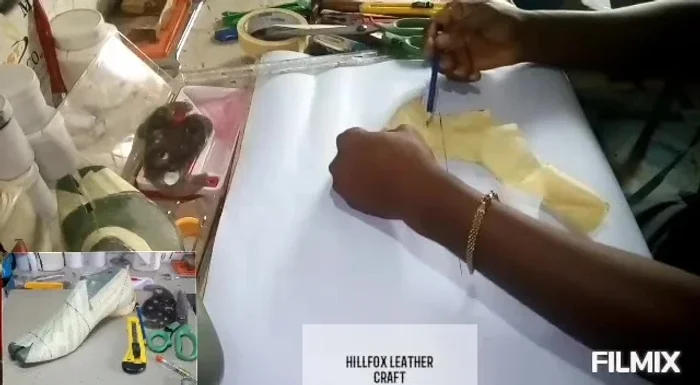
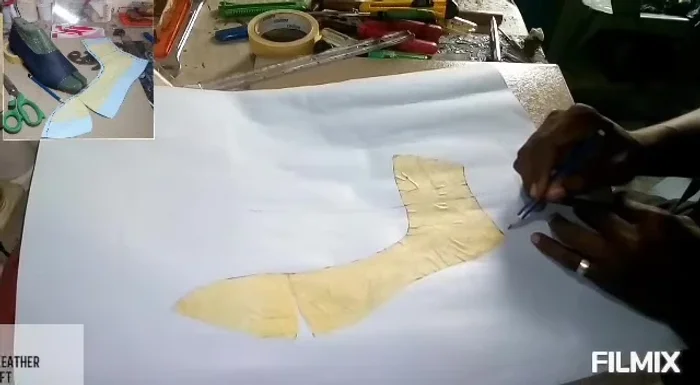
Preparing the Last Marking Key Measurements
- Measure from a specific point towards the heel point (approximately 3 inches, adjustable).
- Draw a line from that measurement down to the lateral quarter line.
- Measure from the back of the last (2.5 inches).
- Draw a line from the counter point down to that measurement.
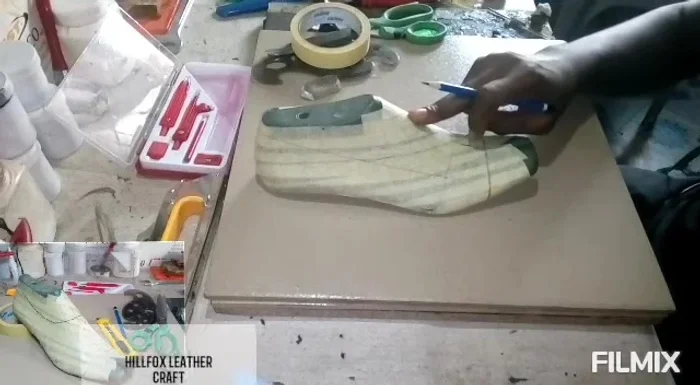
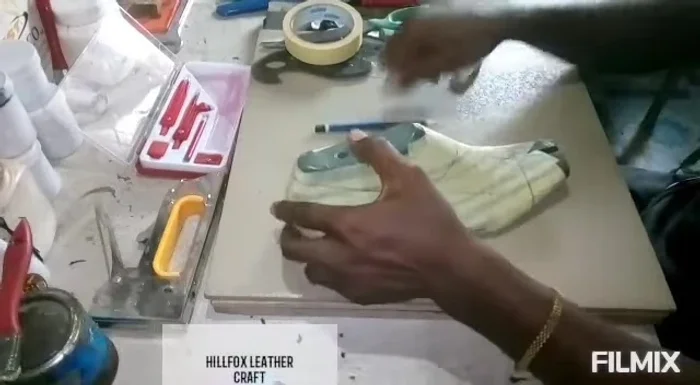
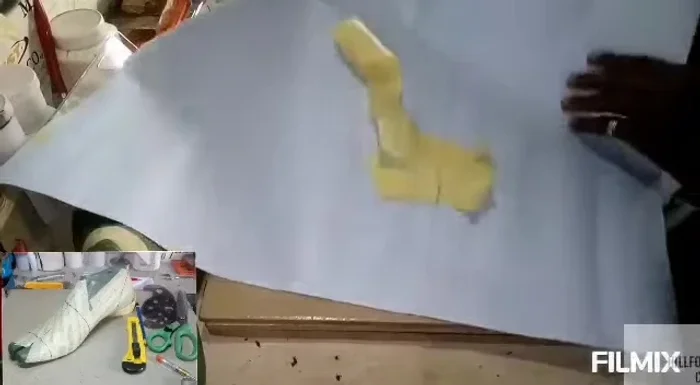
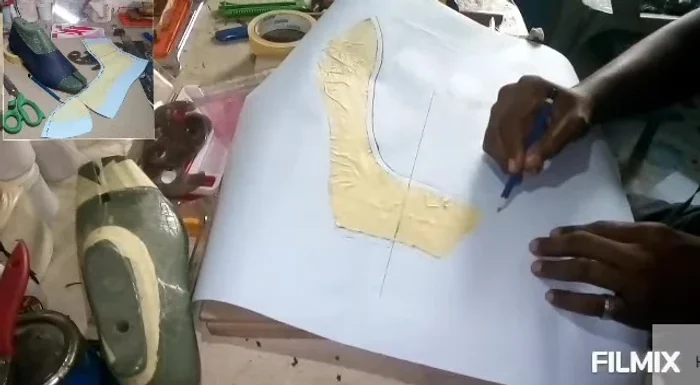
Marking Key Measurements Completing the Initial Drawing
- Complete the drawing.
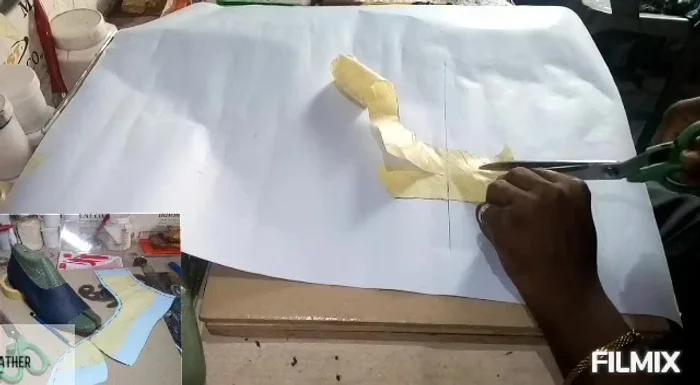
Completing the Initial Drawing Cutting the Initial Pattern
- Cut out the pattern.
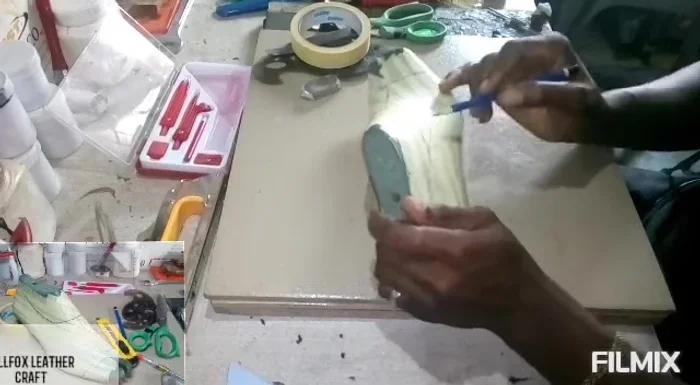
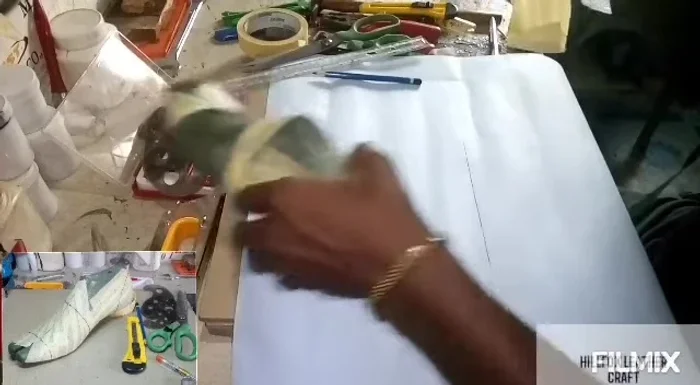
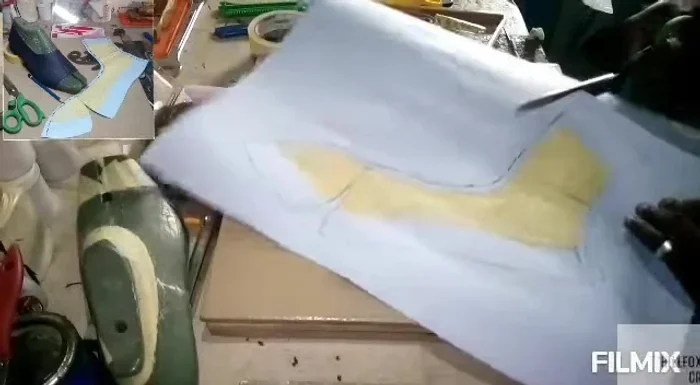
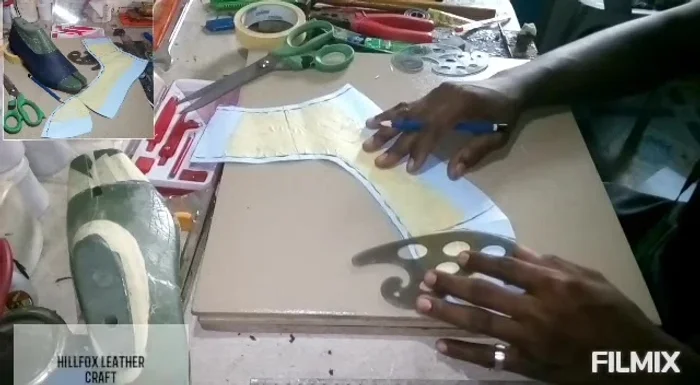
Cutting the Initial Pattern Transferring to Cardboard (Part 1)
- Place the pattern's center line on the cardboard's center line.
- Cut through the vamp line on both sides to spring the vamp.
- Cut the bump line towards the B point.
- Repeat step 12 on the other side.
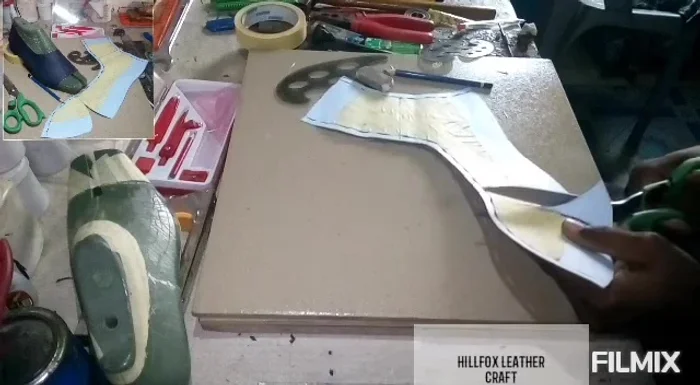
Transferring to Cardboard (Part 1) Transferring to Cardboard (Part 2)
- Align the front part of the pattern on the cardboard.
- Cut the counter line towards the counter point, leaving about 0.7 inches from the vamp point.
Transferring to Cardboard (Part 2) Adding Allowances
- Add 0.2-0.3 inches as folding allowance at the front and sides.
- Add lasting allowance (1.5 inches).
Adding Allowances Refining and Finalizing the Pattern
- Cut the pattern into shape and mark out dots.
- Use a French curve to refine the curves.
- Cut out the final pattern.
Refining and Finalizing the Pattern


Read more: DIY Reversible Baby Slippers: Easy Sewing Tutorial
Tips
- Take your time aligning the pattern on the cardboard for accurate results.
- It's better to have excess lasting allowance than too little.