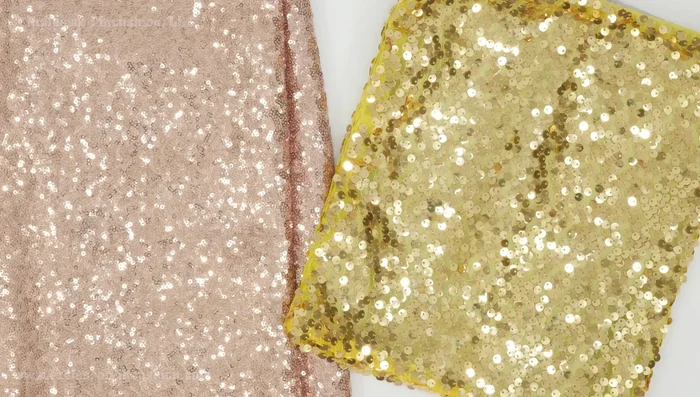
Sequin fabric shimmers with irresistible allure, promising dazzling creations for any occasion. But the thought of sewing with its delicate, often slippery surface can be daunting, especially for beginners. This glittering material, however, yields beautiful results with the right techniques and a little patience. Forget the intimidation – you'll discover that sewing with sequins isn’t as tricky as you might think! This guide is specifically designed to demystify the process, providing you with the essential tips and tricks to confidently tackle your next sequin project, whether it's a glamorous party dress or a simple, sparkling accessory.
This ultimate guide for beginners covers everything from choosing the right needle and thread to mastering essential sewing techniques for sequin fabric, including how to prevent skipped stitches and manage the weight of the material. We'll explore the best tools to make the job easier and provide solutions to common problems. Get ready to unleash your creativity; let's dive into the step-by-step process that will transform your sequin sewing dreams into dazzling reality.
Preparation and Safety Guidelines
- Home sewing machine
- Microtex needle (size 70)
- All-purpose thread
- Cheap scissors
- Fabric weights
- Fabric marker
- Hand needle
- Contrasting thread
- Press cloth
- Tweezers
- Protective eyewear
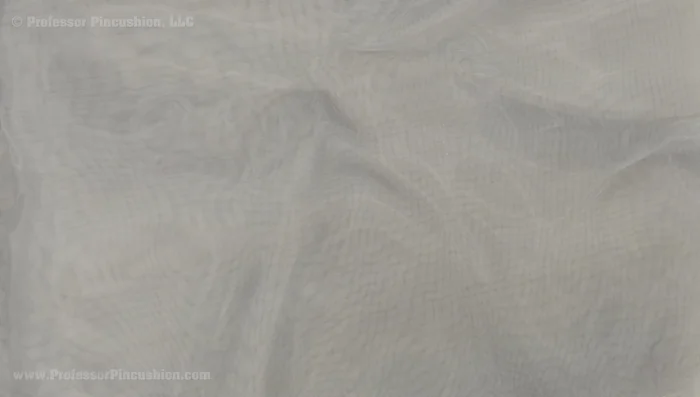
- Silk organza or polyester organza (optional)
- Invisible zipper (optional)
- Ribbon (optional)
- Sequin fabric can be sharp! Handle it carefully to avoid scratching your skin or damaging the sequins. Use sharp shears to cut to minimize fraying and avoid accidentally pulling sequins off.
- Always test your stitching on a scrap piece of sequin fabric first. Different sequin types and densities may require adjustments to your stitch length and needle type to avoid skipped stitches or broken needles.
- Use a special sequin needle or a very fine needle to prevent bending or breaking the needle. The sequins can create extra friction and pressure on your sewing machine needle.
Step-by-Step Instructions
Pattern and Fabric Preparation
- Choose a simple design or pattern.
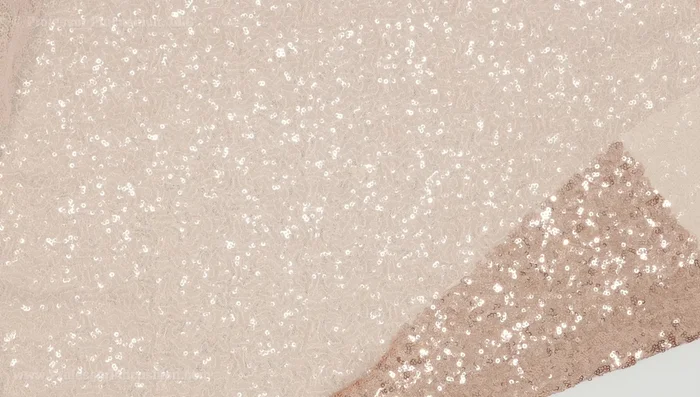
- Layout your pattern pieces on a single layer of fabric, following the nap direction (especially for stacked sequins). Use fabric weights to hold the pattern in place.
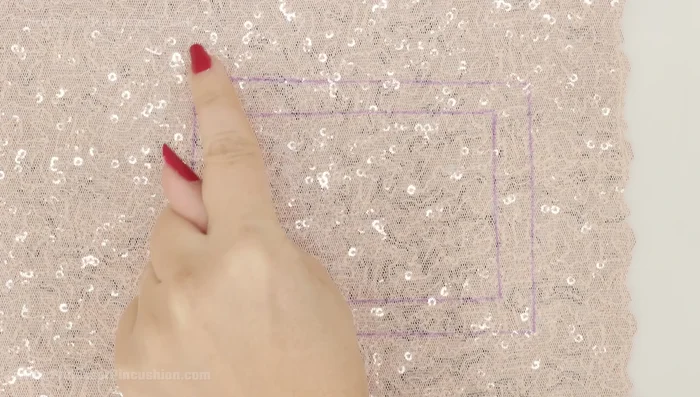
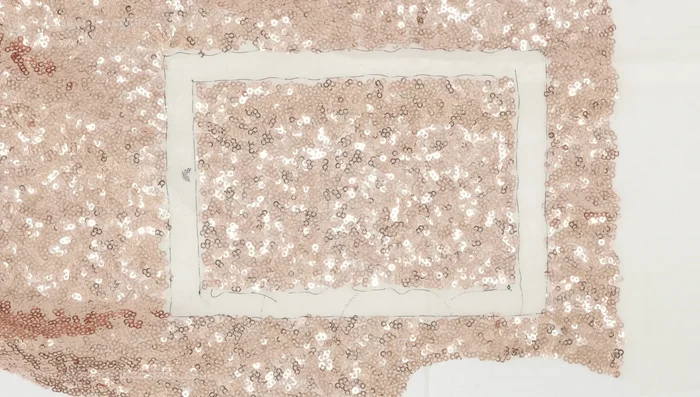
- Mark your seam allowance on the wrong side of the fabric using a fabric marker, then reinforce these markings with a running stitch using contrasting thread for better visibility.

Pattern and Fabric Preparation Cutting the Fabric
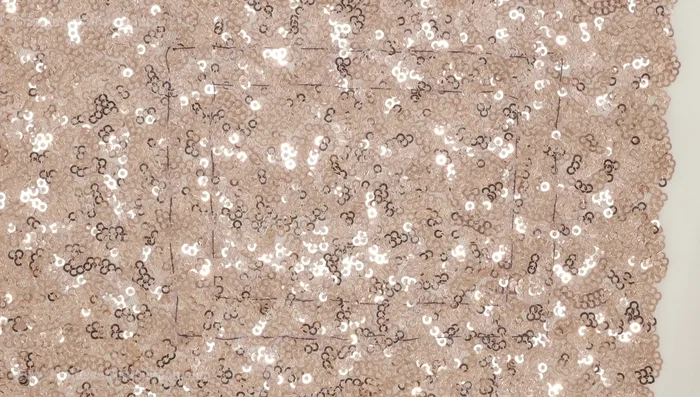
- Carefully remove sequins from the seam allowance area to prevent needle breakage and ensure smooth seams. Use cheap scissors and protective eyewear.
- Cut out your pattern pieces using the cheap scissors.
Cutting the Fabric Sewing the Seams
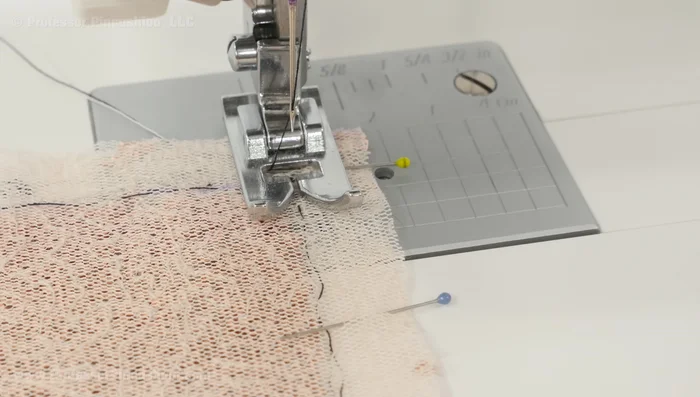
- Sew seams using a microtex needle (size 70) and all-purpose thread. Use a straight stitch for woven fabrics and a stretch stitch or narrow zigzag stitch for stretch fabrics. If needed, use tissue paper under the fabric to aid feeding through the machine.
- Tie off the thread at the end of each seam instead of back stitching.
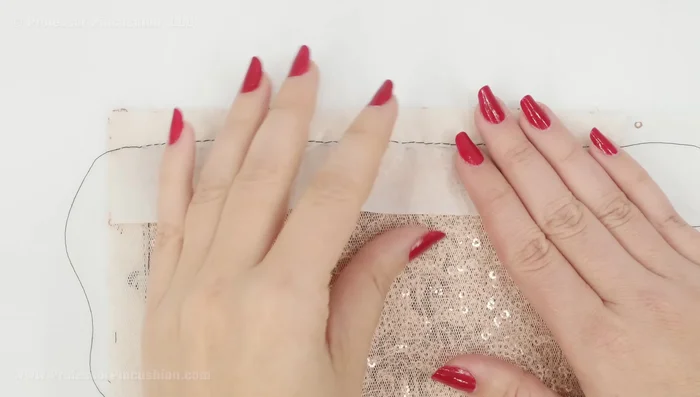
- Press seams on the wrong side using a low heat and a press cloth.
Sewing the Seams Finishing the Seams
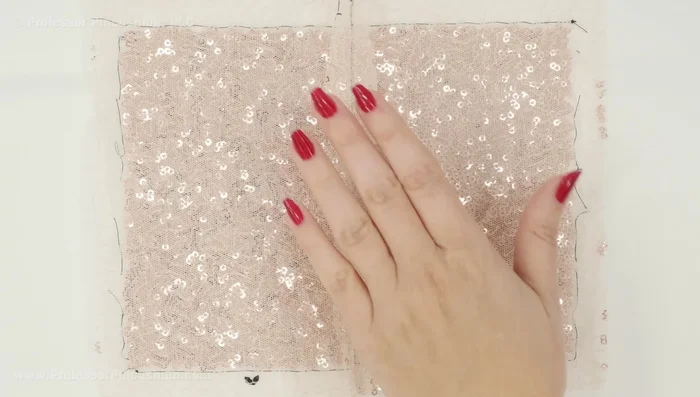
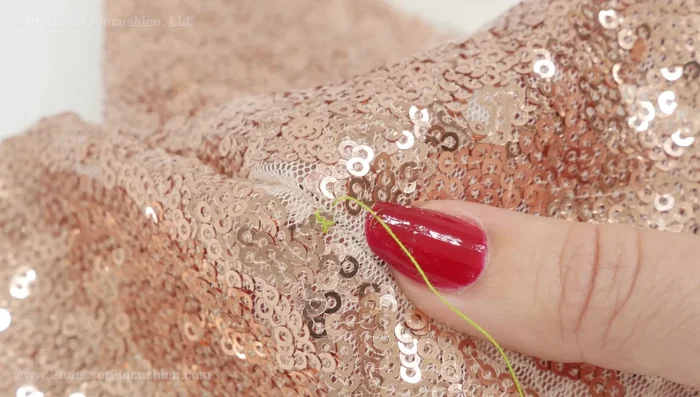
- Fill in any bare spots along the seamline by hand-sewing on individual sequins.
Finishing the Seams Adding Lining and Interfacing
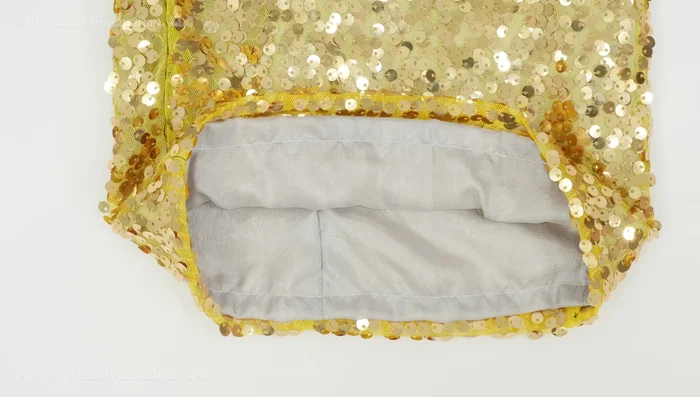
- Add a lining to the garment for comfort and to prevent the scratchy sequin fabric from contacting skin and for opacity.
- Use a sew-in interfacing (such as silk or polyester organza) for stability.
Adding Lining and Interfacing Adding Zipper (Optional)
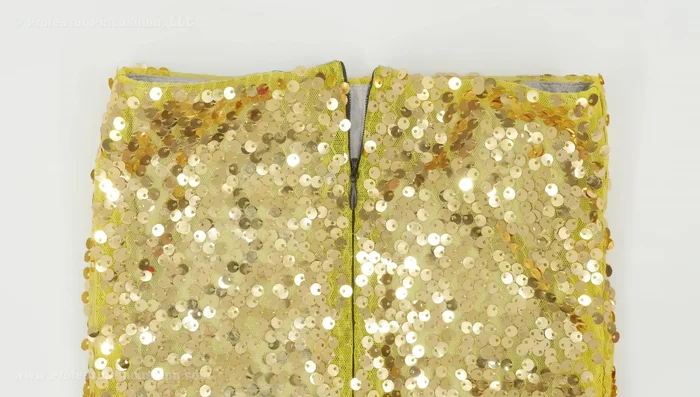
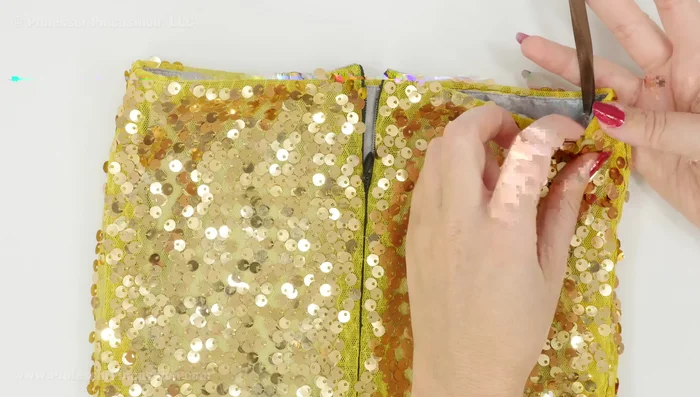
- If adding a zipper, use an invisible zipper and hand-sew it in after removing sequins from the seam allowance, taking care not to obstruct the zipper’s function.
Adding Zipper (Optional) Finishing Touches
- Add garment loops to the lining's side seams for easy hanging.
- Hem the garment by hand, using a contrasting thread to aid in stitch removal if necessary.
Finishing Touches

Read more: DIY Reversible Baby Slippers: Easy Sewing Tutorial
Tips
- Use a longer stitch length (around 3.5) when sewing woven sequin fabric.
- Use a contrasting thread when sewing seams to easily see stitches for any adjustments.