Stretch velvet, with its luxurious drape and comfortable stretch, offers a unique challenge and reward for the sewer. Its beauty, however, often hides a slightly temperamental nature; its delicate pile can be easily snagged, and its inherent give requires a slightly different approach than working with non-stretch fabrics. This comprehensive guide will delve into the specific techniques needed to successfully sew with this captivating material, helping you avoid common pitfalls and achieve professional-looking results. We'll explore everything from choosing the right needle and thread to mastering tricky seams and finishing techniques.
From selecting the perfect pattern to the final pressing, we will cover every stage of the process. This guide will equip you with the knowledge and confidence to tackle your next stretch velvet project with ease. Get ready to unlock the secrets to seamlessly working with this luxurious fabric, starting with the step-by-step instructions provided in the following sections.
Preparation and Safety Guidelines
- Rotary cutter
- Fabric weights
- Pins or fabric clips
- Sewing machine
- Ballpoint needle (size 80/12)
- All-purpose thread
- Optional: Walking foot
- Optional: Serger or pinking shears
- Iron
- Velvet needle board or plush towel
- Fabric chalk
- Sew-in interfacing
- Stretch velvet can be slippery and difficult to handle. Use pins with fine points to prevent damaging the fabric and always use a walking foot or other specialized presser foot designed for slippery fabrics to prevent slippage during sewing.
- Test your stitch settings on a scrap piece of the same velvet before sewing your project. Stretch velvet's nap and texture require specific needle and stitch types to prevent skipped stitches or fabric damage. A slightly longer stitch length is often recommended.
- Avoid using excessive heat when ironing. Stretch velvet is delicate and can easily scorch. Always use a pressing cloth and a low to medium iron setting. Ironing on the wrong side is recommended.
Step-by-Step Instructions
Fabric Preparation
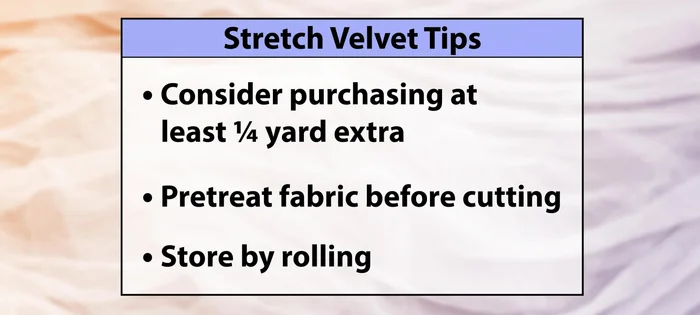
- Pre-treat the fabric before cutting.
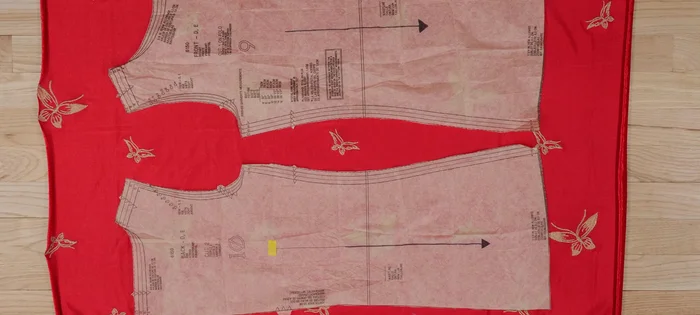
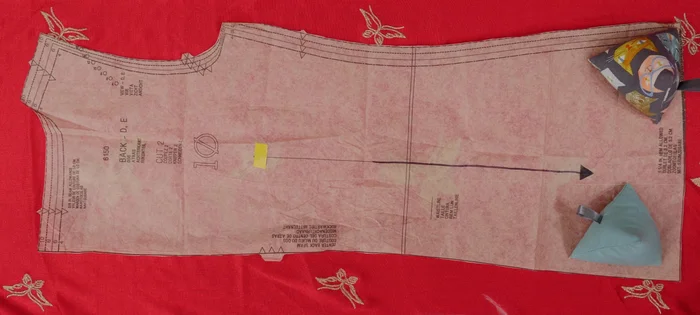
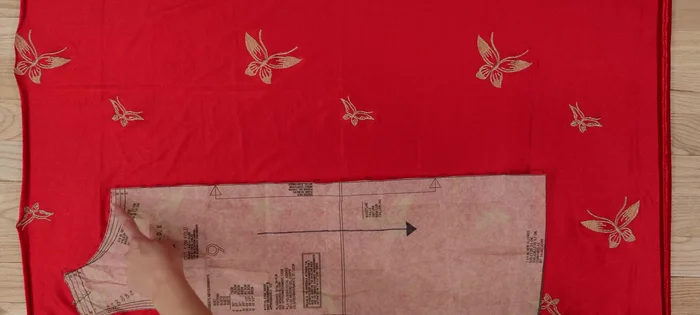
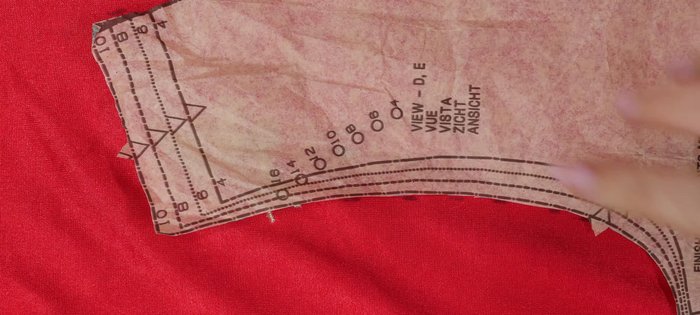
- Lay out your fabric in a single layer on your cutting mat. Place the patterns in your preferred direction, referencing the arrow on your pattern pieces to ensure they're all going in the same direction. Consider the stretch – the direction with the greatest stretch should go around the body (perpendicular to the grain line arrow).

Fabric Preparation Cutting the Fabric
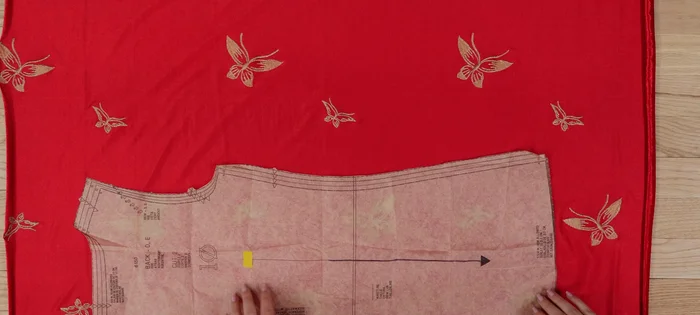
- Use fabric weights to hold the patterns and a rotary cutter to cut them out. A rotary cutter is ideal to avoid accidentally stretching the fabric.
- If cutting multiple pieces from a pattern, cut one, flip it, and cut again to create symmetrical pieces.
- If a pattern needs to be placed on a fold, cut half, unfold, flip, and cut the other half to create a single whole piece.
Cutting the Fabric Marking and Pinning
- Mark fabric using fabric chalk on the wrong side.
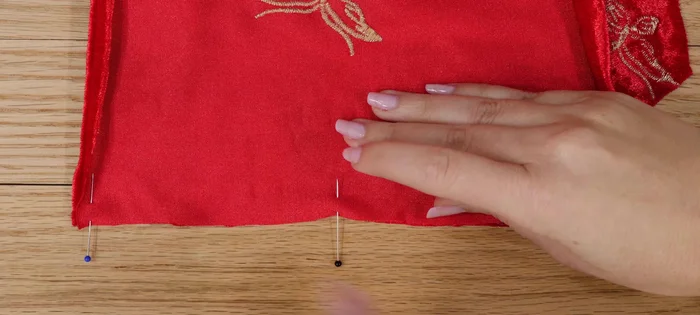
- When pinning seams, use many straight pins or fabric clips within the seam allowance to avoid damaging the fabric.
Marking and Pinning Sewing the Fabric
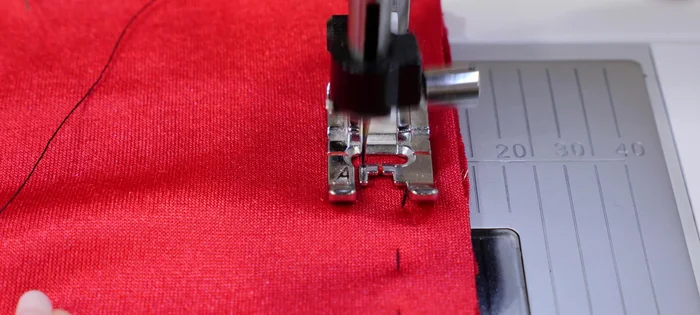
- For uneven fabric feed, hand baste or use a walking foot.
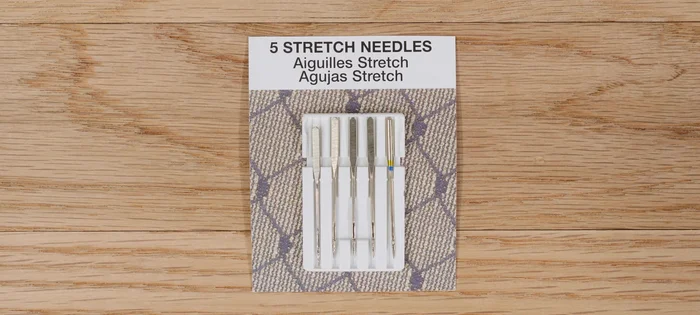
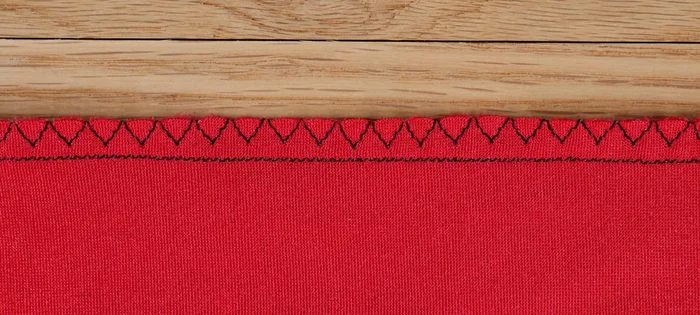
- Use a ballpoint needle (size 80/12) and all-purpose thread. Sew with a narrow zig-zag stitch or a stretch stitch.
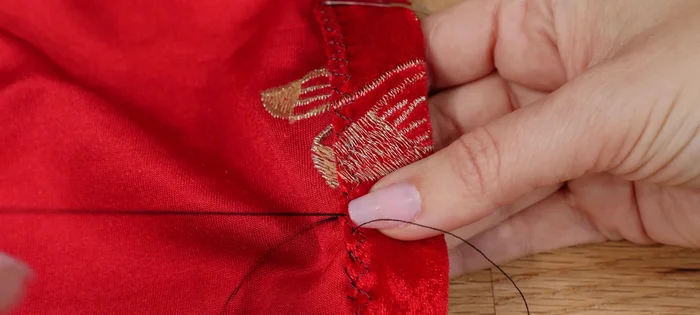
- Don't sew completely to the fabric edge to prevent unraveling. Maintain consistent seam direction from top to bottom.
- If fabric is difficult to feed, use tissue paper on top.
Sewing the Fabric Finishing the Seams
- Finish seams using a serger, overcast stitch, or pinking shears.
Finishing the Seams Pressing and Finishing Touches
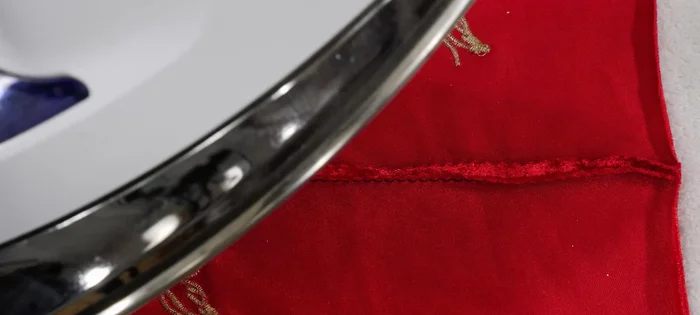
- Press using a velvet needle board or plush towel; avoid direct iron contact.
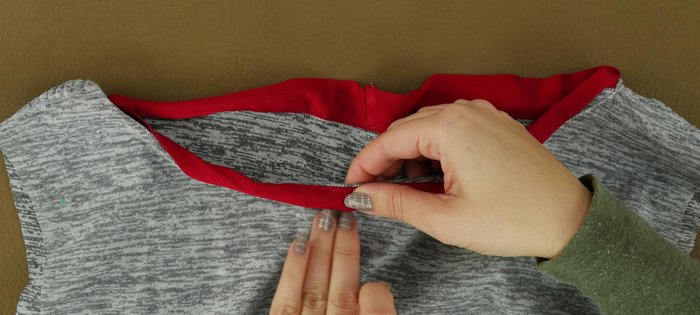
- Use sew-in interfacing for necklines; consider knit facing instead.
- For hemming, pink the raw edge, fold, and hand- or machine-blind stitch, or use a twin needle for stretch.
Pressing and Finishing Touches


Read more: DIY Stretchy Fingerless Gloves: Easy Sewing Tutorial
Tips
- Stretch velvet is a fabric with NAP, so purchase extra yardage.
- Choose patterns made for knits, loose, drapey garments with few pattern pieces and simple construction. Avoid complex details or fasteners.
- When storing, roll the fabric instead of folding it, right side in.
- Mark an arrow on patterns pointing down to aid layout. The smoother direction of the fabric should typically go down the body.