Making adorable baby hats is a rewarding craft, and jersey fabric, with its soft drape and stretchy nature, is a perfect choice for creating comfortable and snuggly headwear. This seemingly daunting fabric can actually be quite easy to sew on a standard domestic sewing machine, making homemade baby hats accessible to even beginner sewers. Forget the frustrating puckering and missed stitches often associated with knit fabrics; this tutorial will guide you through simple techniques that ensure a professional finish.
This easy baby hat tutorial will teach you how to successfully sew with jersey fabric using your home sewing machine, resulting in a charming and practical hat for your little one or a wonderful handmade gift. Let's get started with the step-by-step instructions below, and soon you'll be crafting your own cozy creations!
Preparation and Safety Guidelines
- Domestic sewing machine
- Jersey needles (purple tipped)
- Cotton jersey fabric
- Template (downloadable)
- Soft pencil
- Scissors
- Pins
- Always use a ballpoint needle designed for knit fabrics. Standard needles will pierce the jersey, causing skipped stitches and runs.
- Use a walking foot or a special knit stitch on your machine to help feed the fabric evenly and prevent stretching.
- Test your stitch length and tension on a scrap piece of the same jersey fabric before starting the project to ensure optimal results.
Step-by-Step Instructions
Prepare the Fabric
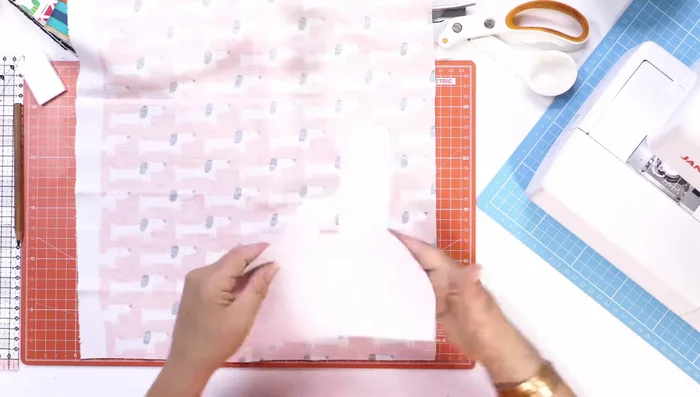
- Lay the cotton jersey face down, place the downloaded template on top, and trace it with a soft pencil.

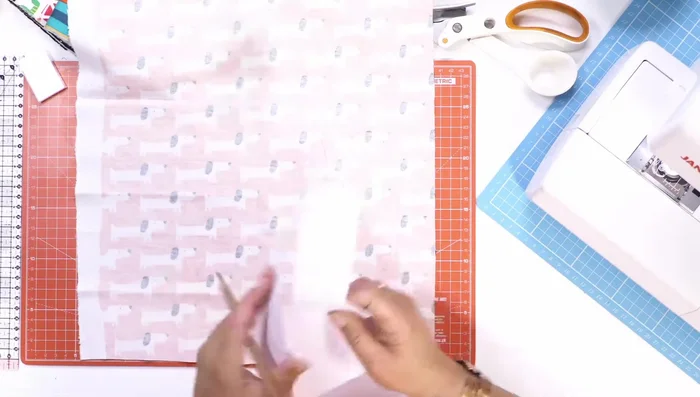
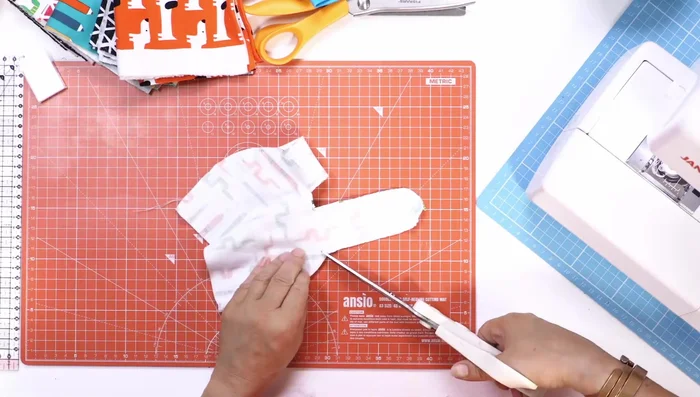
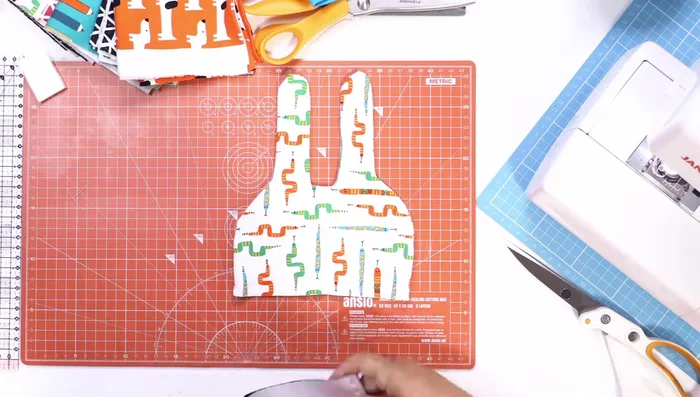
Prepare the Fabric Cut Fabric Pieces
- Cut out two identical shapes along the pencil lines.
Cut Fabric Pieces Sew Hat Pieces
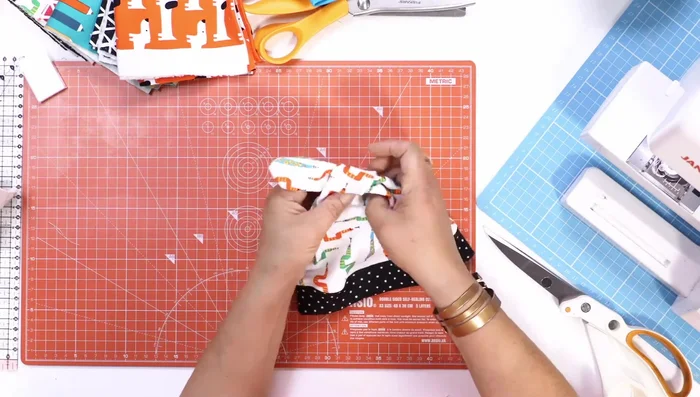
- Pin the two shapes right sides together, leaving about a 5mm seam allowance. Sew around the edges using a straight stitch (2.5mm stitch length) and a jersey needle. Remember to start stitching about a centimeter from the edge to ensure better fabric feed.
Sew Hat Pieces Clip Curves
- Clip the fabric at the curves to allow for easier turning.
Clip Curves Turn Right Side Out
- Carefully turn the sewn hat right side out.
Turn Right Side Out Finish Hat Edges
- Use a zig-zag stitch (4mm wide) to neaten the edges of the hat.
Finish Hat Edges Create and Attach Hat Band
- Cut a 36cm x 7cm strip of contrasting jersey fabric. Sew the short ends together to form a loop, then attach the band to the hat, right sides facing, with a straight stitch.
Create and Attach Hat Band Finish Band and Reinforce Seams
- Sew the band to the hat, ensuring an even stretch on the band. Reinforce the seams on the inside of the hat to secure the layers.
Finish Band and Reinforce Seams Tie the Hat
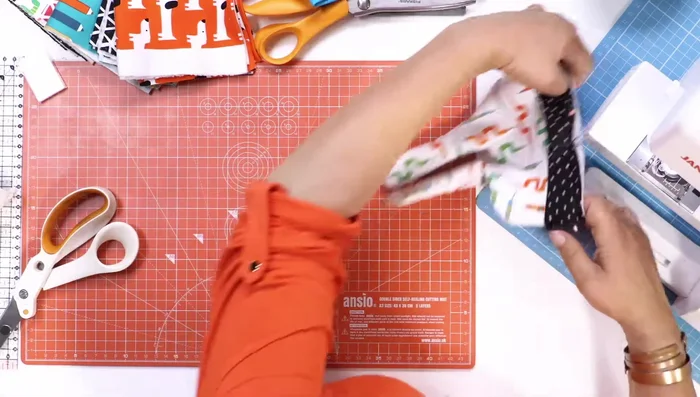
- Cross over the two top points of the hat and tie them in a knot to create the hat's shape.
Tie the Hat


Read more: DIY Stretchy Fingerless Gloves: Easy Sewing Tutorial
Tips
- Use a soft pencil to trace the template to avoid dragging on the fabric.
- Start stitching about a centimeter from the edge of the fabric for better traction.
- When turning tight curves, lift the foot and pivot the fabric before continuing to sew.
- Always ensure your needle is in the fabric before lifting the foot to prevent fabric slippage.
- For a neat finish on the band, sew over the edges to trap the fabric layers together.