Accidents happen. A rip in your favorite shirt, a tear in your child's beloved jeans, a hole in your beloved duvet cover – these minor fabric mishaps can quickly become frustrating obstacles. But fear not, aspiring seamstress or seasoned sewer! Fixing small holes in clothing and textiles doesn't require extensive sewing skills or a complex sewing machine. With a needle, thread, and a little patience, you can easily mend those pesky holes and extend the life of your cherished items. Even the most basic sewing skills can make a world of difference in preserving your wardrobe and home goods.
This quick and easy guide will walk you through the simple steps of sewing up a hole, empowering you to tackle those minor fabric emergencies with confidence. Whether it's a small snag or a more substantial tear, we’ll show you a straightforward technique for achieving a neat and lasting repair. Let's get started with the step-by-step instructions below!
Preparation and Safety Guidelines
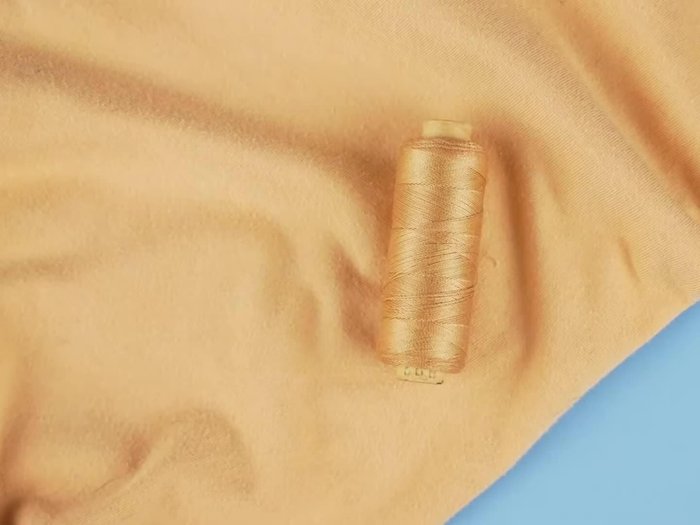
- Needle
- Thread
- Always use sharp scissors or shears to cut fabric. Dull tools can cause you to slip and injure yourself.
- Use a needle appropriate for your fabric type. Using the wrong needle can damage the fabric or cause the needle to break.
- If working with heavier fabrics or a large hole, consider using a sewing machine for a stronger and more efficient repair.
Step-by-Step Instructions
Prepare to Sew
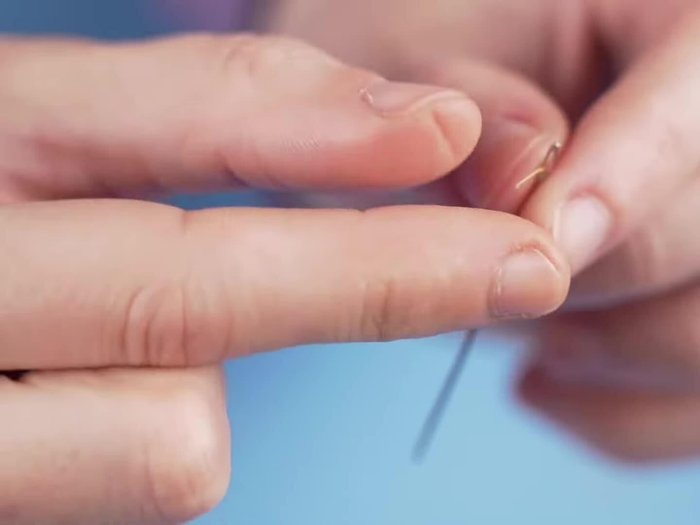
- Thread a needle with thread matching the fabric color.
- Turn the fabric inside out.

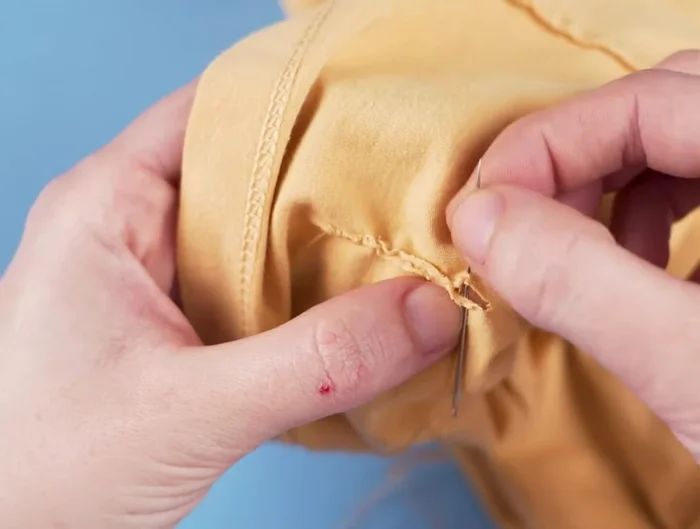
Prepare to Sew Secure the Starting Knot
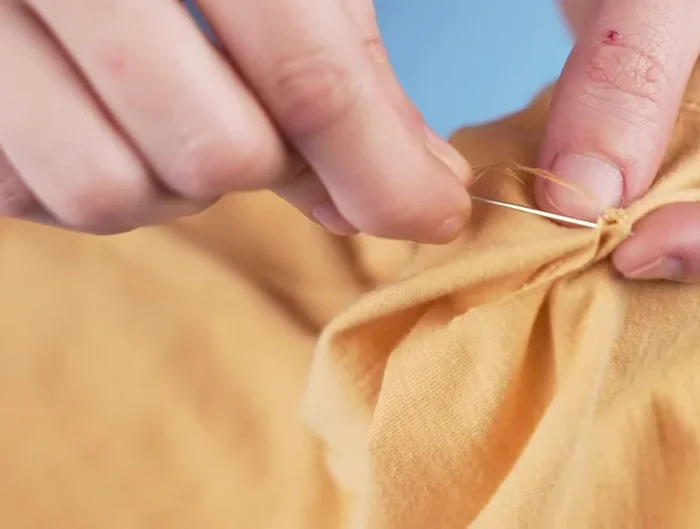
- Insert the needle through the fabric and back out just below the hole. Pull the thread through to create a knot.
- Go back in and out of the same spot a few times to secure the knot.
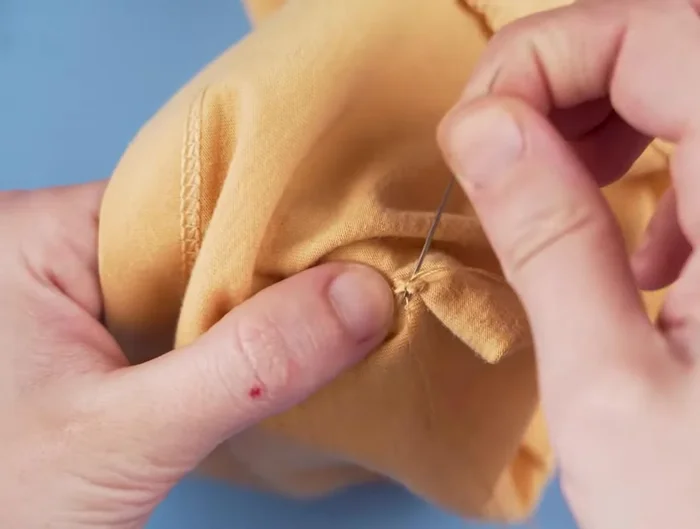
Secure the Starting Knot Close the Hole
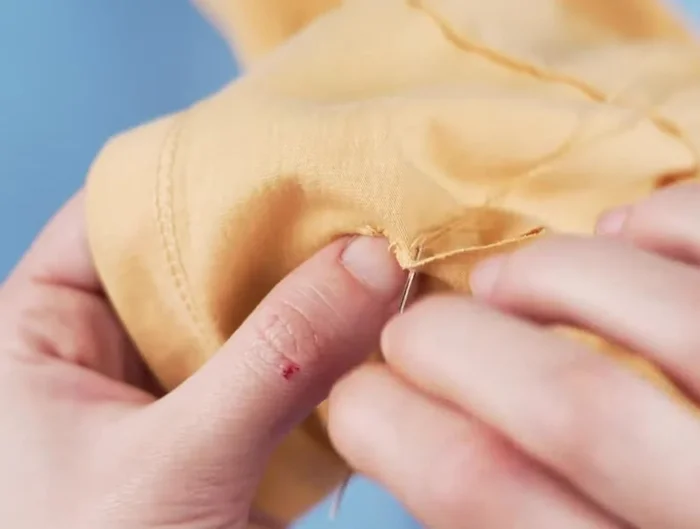
- Bring the needle through one side of the hole and out the other, pulling the thread tight.
- Repeat step 5, going slightly above the previous stitch on the same side.
- Continue this process along the entire hole.
Close the Hole Secure the Ending Knot
- At the end of the hole, go in and out of the fabric in the same spot a few times to create another secure knot.
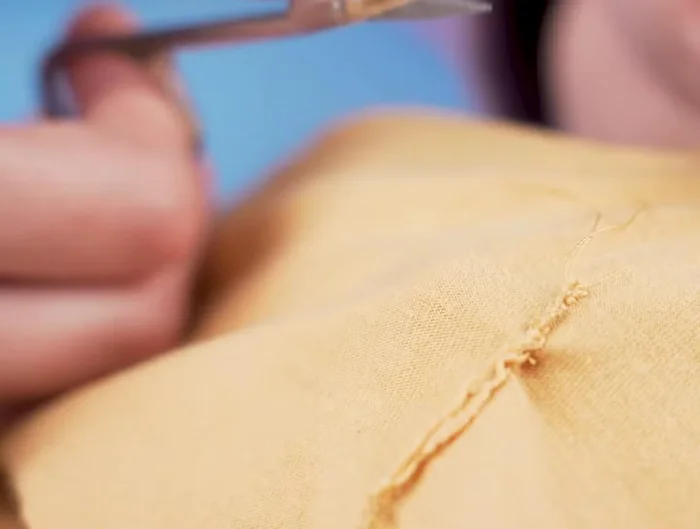
Secure the Ending Knot Finish
- Snip off the excess thread.
Finish


Read more: DIY Stretchy Fingerless Gloves: Easy Sewing Tutorial
Tips
- Use thread that matches the fabric color for a seamless repair.
- Sewing on the wrong side of the fabric makes it easier to work with and results in a cleaner finish.