Sewing gloves, seemingly simple garments, offer a surprisingly nuanced challenge to the home sewer. A poorly fitting or poorly finished pair can be frustrating to wear, hindering dexterity rather than enhancing it. Achieving that perfect balance of snugness, comfort, and durability requires meticulous attention to detail, from choosing the right fabric and pattern to mastering the essential sewing techniques. The subtle differences between a glove that fits like a second skin and one that restricts movement can come down to seemingly insignificant details.
This detailed guide will walk you through every step of the sewing process, from selecting materials and taking accurate measurements to executing clean seams and achieving a professional finish. We'll delve into the intricacies of pattern adjustments, specific stitch choices, and helpful finishing techniques to ensure your handmade sewing gloves are not only functional but also aesthetically pleasing. Let's get started on crafting a perfect pair!
Preparation and Safety Guidelines
- Sewing machine
- Scissors (mini and larger)
- Pins
- Tweezers
- Baking paper
- Narrow sewing foot
- Always use sharp, well-maintained needles and pins to avoid pricking yourself. Blunt needles require more force, increasing the risk of injury.
- Be mindful of your sewing machine's moving parts. Keep fingers and loose clothing away from the needle and bobbin area to prevent accidents.
- Before starting any complex sewing project, practice your stitch on a scrap piece of fabric to avoid mistakes on your final gloves.
Step-by-Step Instructions
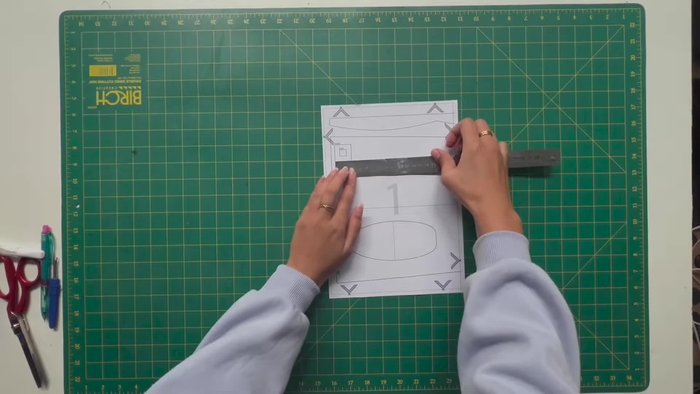
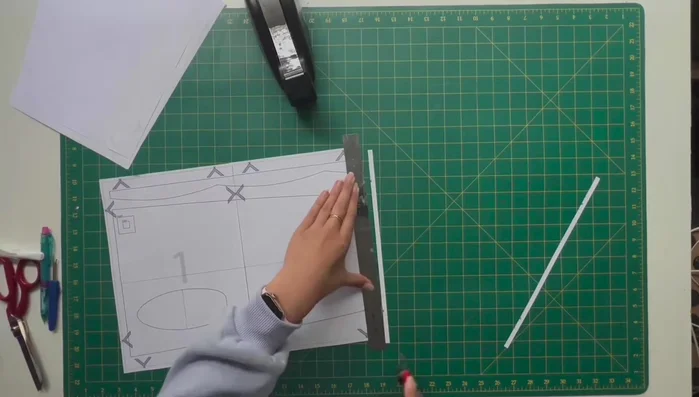
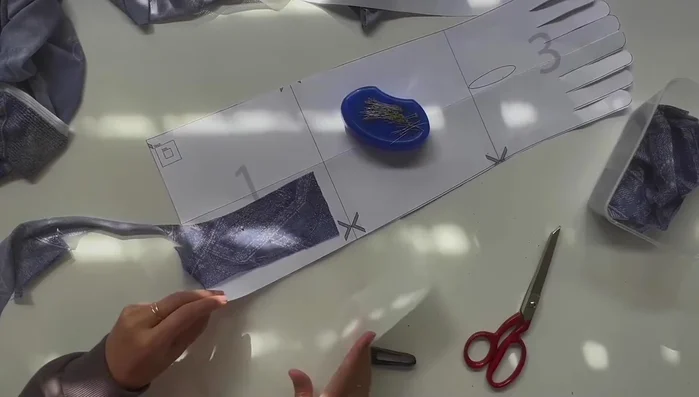
Prepare the Pattern
- Print and assemble the sewing pattern.
- Cut out the sewing pattern, overlapping pages to create a continuous pattern.

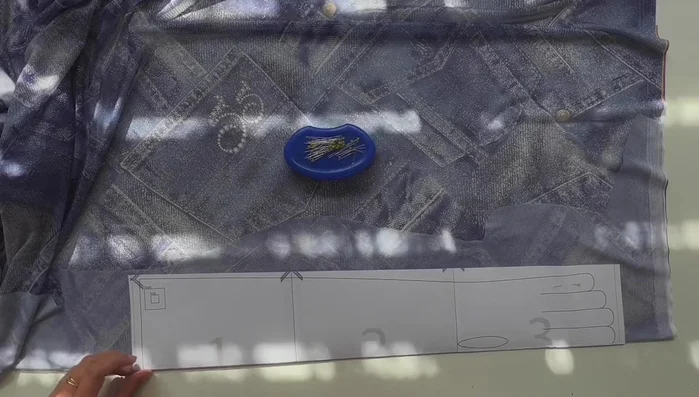
Prepare the Pattern Cut Fabric Pieces
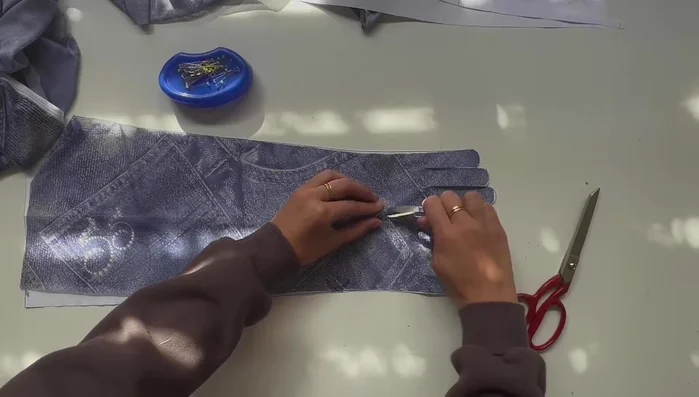
- Place the pattern on the fabric and pin it securely, adding extra pins at the fingers to prevent movement during cutting.
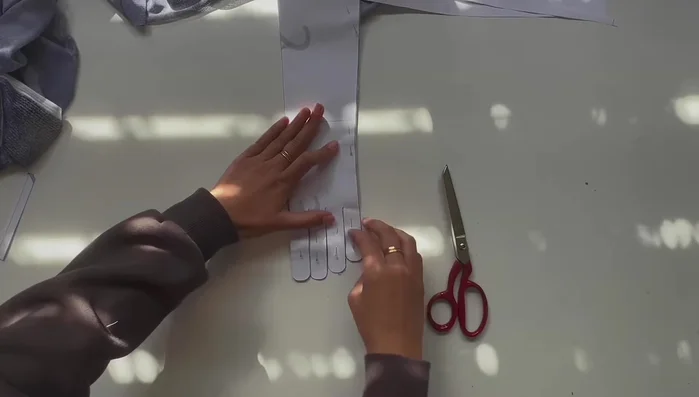
- Carefully cut out the fabric pieces using sharp scissors. Use smaller scissors for fine detail work in the finger sections.
- Cut out a notch for the thumb hole.
- Cut out the fabric segments between the fingers, curving the cuts to accommodate the shape of the fingertips.
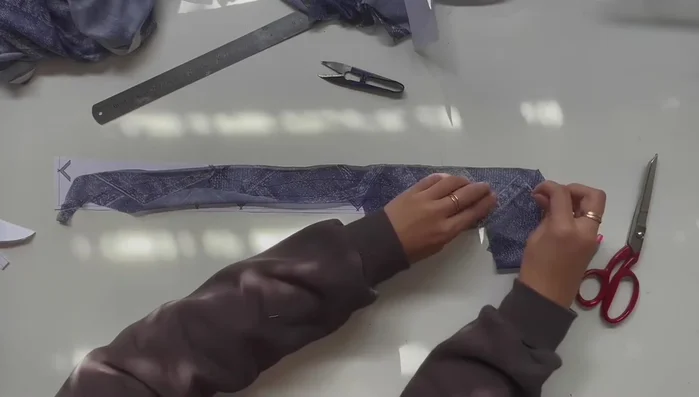
Cut Fabric Pieces Sew the Thumb
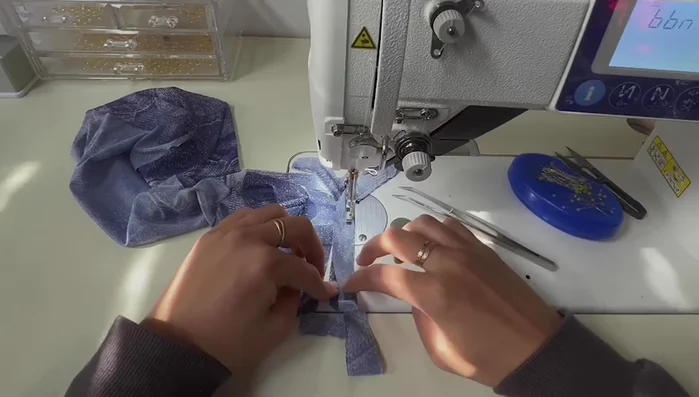
- Place baking paper under the thumb section to prevent fabric from getting stuck in the sewing machine.
- Cut out the thumb piece and sew it.
- Attach the thumb section to the main glove piece.
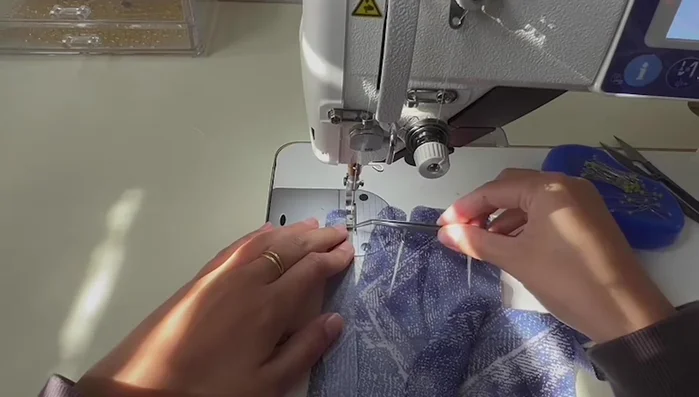
Sew the Thumb Sew the Fingers
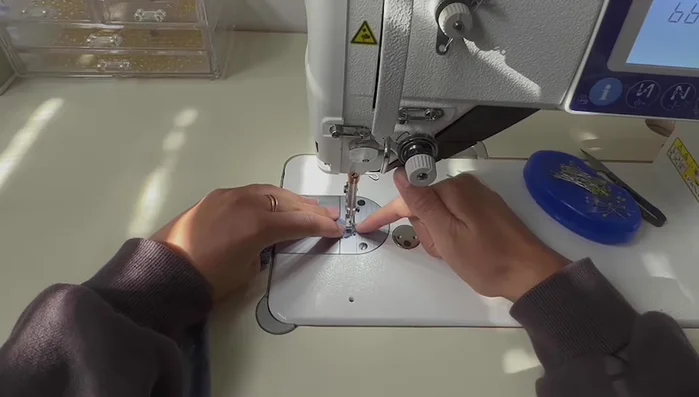
- Sew the fabric segments between the fingers, carefully rotating the bottom layer to keep the top layer straight.
- Finish sewing and trim excess fabric from the fingers to create a neat, triangular shape.
Sew the Fingers Finish the Glove
- Turn the glove inside out.
Finish the Glove Make the Second Glove
- Repeat steps for the second glove.
Make the Second Glove

Read more: DIY Stretchy Fingerless Gloves: Easy Sewing Tutorial
Tips
- Use extra pins to secure the fabric to the pattern, especially around the fingers.
- Use a narrow sewing foot for a clean seam allowance.
- Use baking paper under the thumb section to assist sewing.
- Use tweezers to precisely align fabric edges.
- Sew slowly and carefully, especially around the fingers.