Elastic waistbands offer unparalleled comfort and ease, making them a popular choice for everything from breezy summer shorts to twirling skirts. They eliminate the need for fiddly zippers or buttons, creating a relaxed yet polished look that's perfect for casual wear and playtime alike. But achieving that professional, perfectly scrunched finish can seem daunting for the beginner sewer. A poorly sewn waistband can quickly ruin an otherwise beautiful garment, resulting in a saggy, uncomfortable, and ultimately disappointing finished product.
Fortunately, mastering the art of sewing an elastic waistband is easier than you think! This comprehensive guide will walk you through each step, ensuring you achieve a flawlessly finished, comfortable, and stylish elastic waistband every time. Ready to transform your sewing projects from drab to fab? Let's dive into the detailed, step-by-step instructions below.
Preparation and Safety Guidelines
- Elastic
- Tape Measure
- Sewing Machine
- Pins
- Scissors
- Always use sharp sewing machine needles and freshly-threaded bobbin for smooth stitching through multiple layers of fabric and elastic. Dull needles can cause skipped stitches or fabric damage.
- Before sewing the elastic, test your stitch length and tension on a scrap of fabric similar to your project fabric to avoid issues like puckering or breakage.
- Ensure your elastic is the correct length for your garment's waist. Too tight and it will be uncomfortable; too loose and it won't stay up.
Step-by-Step Instructions
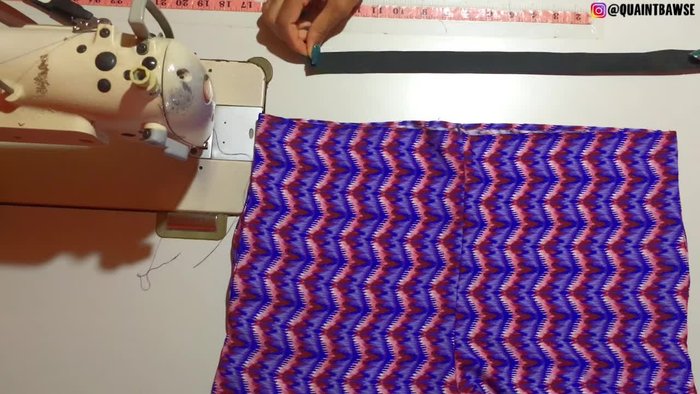
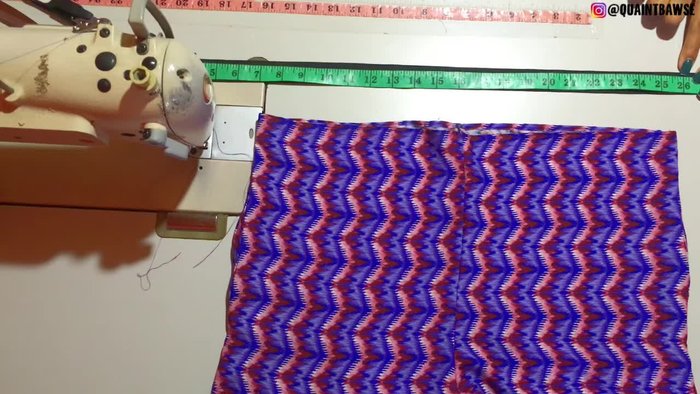
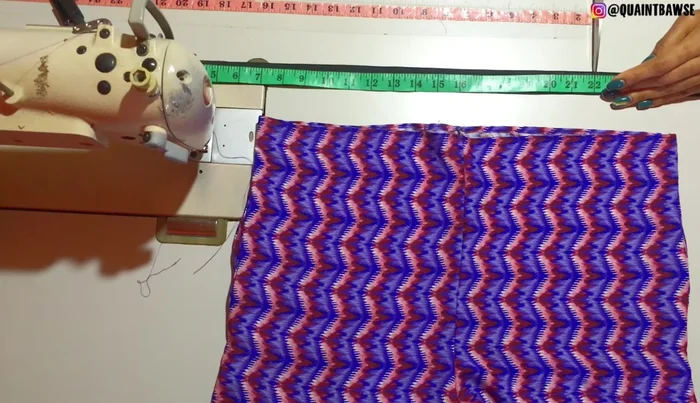
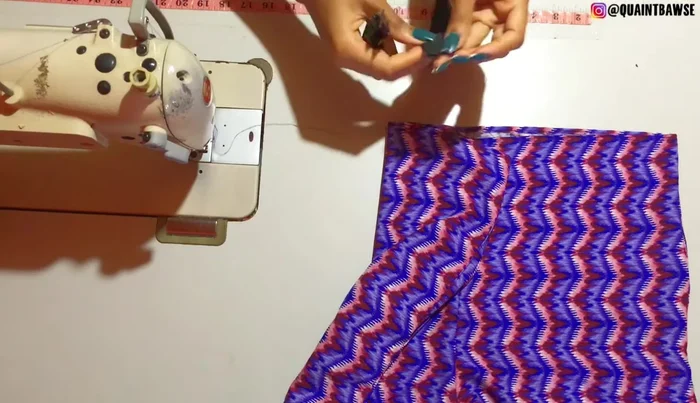
Measure and Prepare Elastic
- Measure your waist circumference using one-inch elastic.
- Subtract four inches from your waist measurement.
- Cut the elastic to the calculated length.

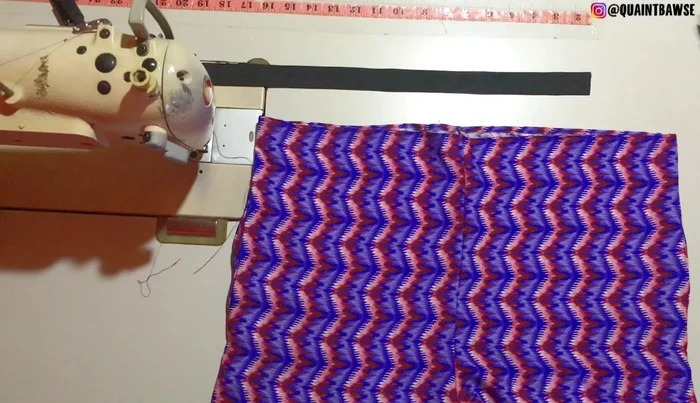
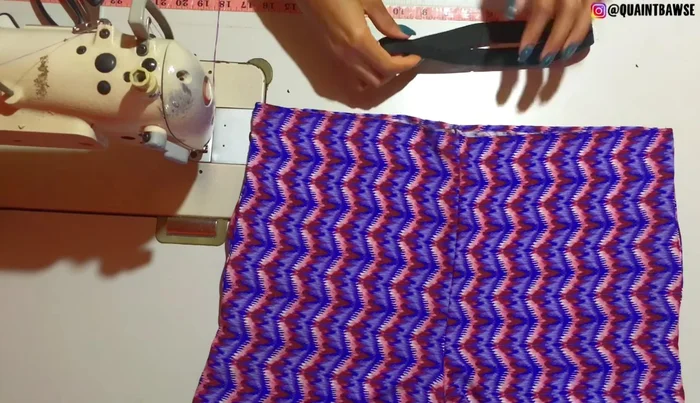
Measure and Prepare Elastic Create Elastic Loop
- Stitch the ends of the elastic together with a quarter-inch seam allowance.
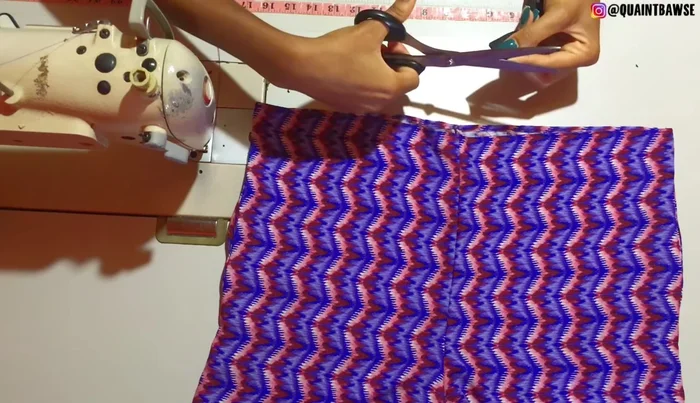
Create Elastic Loop Mark Elastic for Even Distribution
- Fold the elastic in half, opposite the seam. Cut a notch at the top and bottom.
- Match the notches with the seam and pin in the center to hold it together.
- Cut a notch at the top and bottom of the elastic on both sides.
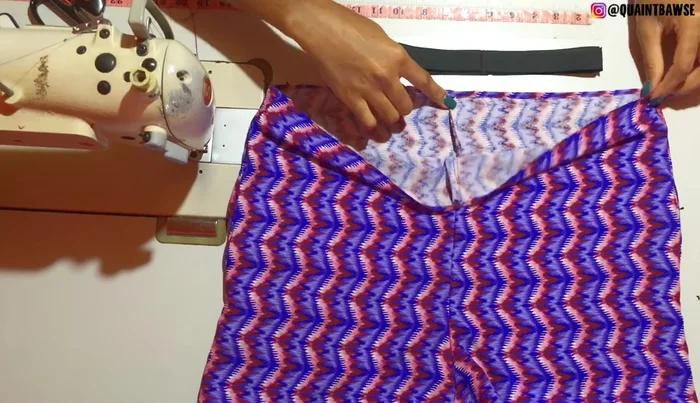
Mark Elastic for Even Distribution Attach Elastic to Garment
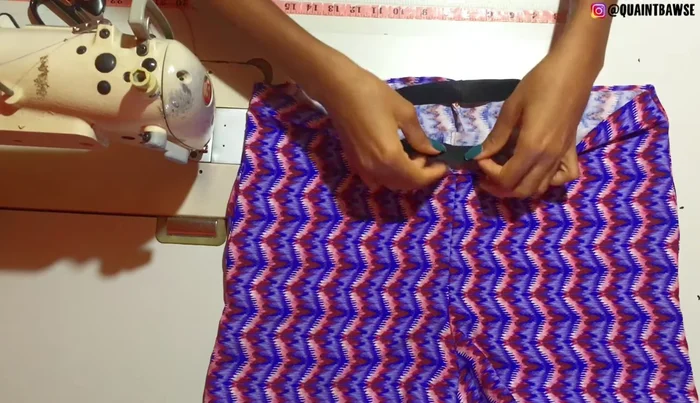
- Match the three notches and the seam with the side seams and front/back seam of your garment.
- Pin the elastic to the garment, ensuring even distribution.
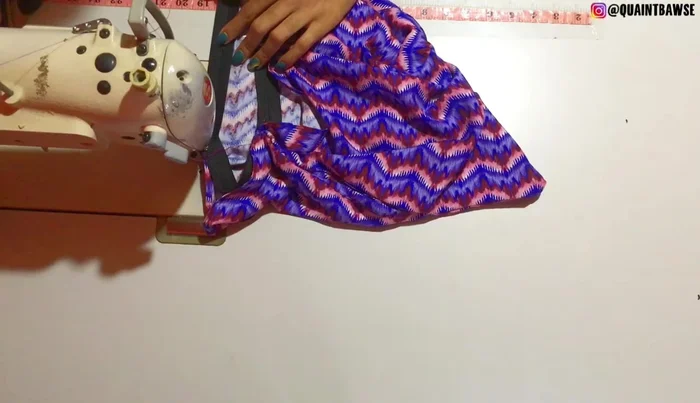
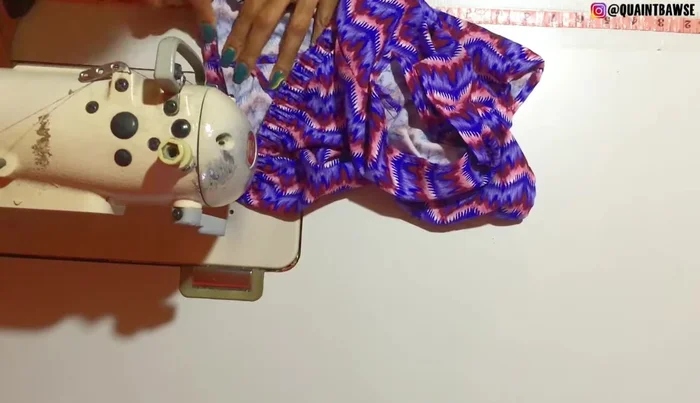
Attach Elastic to Garment Sew and Finish Waistband
- Stitch the elastic to the garment, stretching the elastic as you sew along the top edge.
- Fold the fabric down and stitch along the very edge again to secure the elastic.
Sew and Finish Waistband
Read more: DIY Stretchy Fingerless Gloves: Easy Sewing Tutorial
Tips
- Ensure even distribution of the elastic throughout the waistband for a comfortable fit.