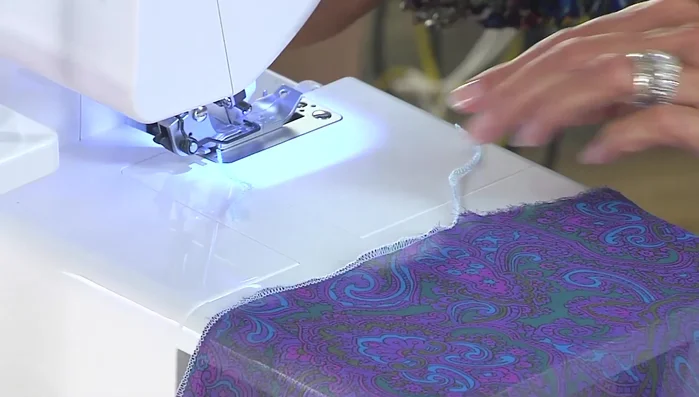
Sergers are fantastic machines for creating professional-looking seams, but their speed and efficiency can become a nemesis when dealing with slippery fabrics like silk, rayon, or satin. These fabrics tend to shift and bunch under the pressure of the serger's needles, leading to uneven stitches and frustrating results. The constant battle against slippage can quickly turn a pleasurable sewing experience into a frustrating one, leaving you with less-than-perfect seams and possibly even fabric damage. We've all been there!
Fortunately, there's a quick and effective method to conquer this common sewing challenge. This simple technique will help you tame even the most unruly slippery fabrics, resulting in clean, professional finishes every time. Ready to transform your serger experience and finally achieve those perfectly sewn edges? Let's dive into the step-by-step process.
Preparation and Safety Guidelines
- Serger
- Scissors
- Fray Check (optional)
- Always unplug your serger before making any adjustments or cleaning.
- Use caution when handling needles and blades; they are sharp and can cause injury.
- Avoid using excessive force when cleaning or adjusting the serger; this could damage the machine.
Step-by-Step Instructions
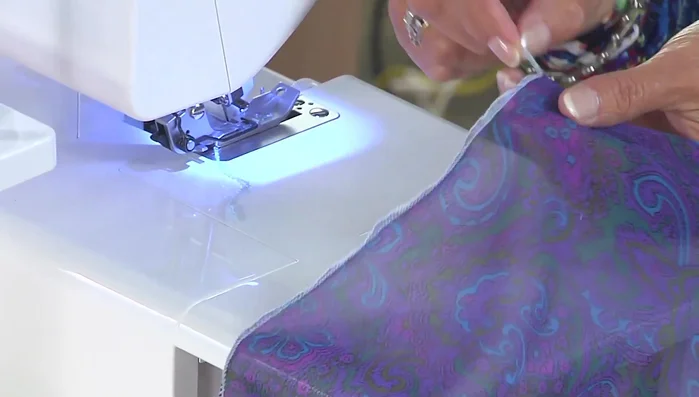
Prepare the Slipped Seam
- Cut the slipped fabric close to the seam.
- Gently pull back the loose threads to tighten the seam and create a clean edge.
- Trim any excess threads.

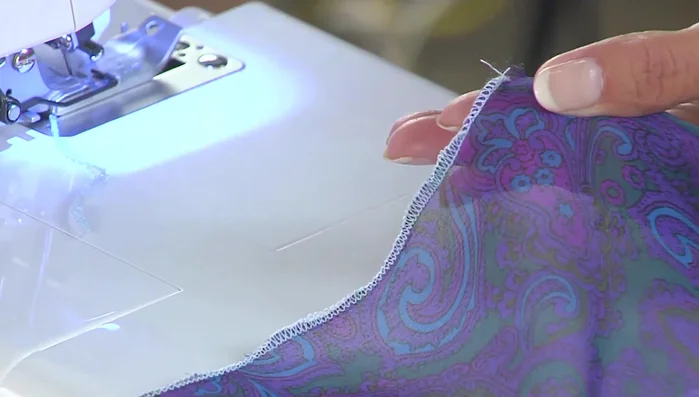
Prepare the Slipped Seam Position for Restitching
- Raise your serger needle to the top position. Pull the thread chain to the front.
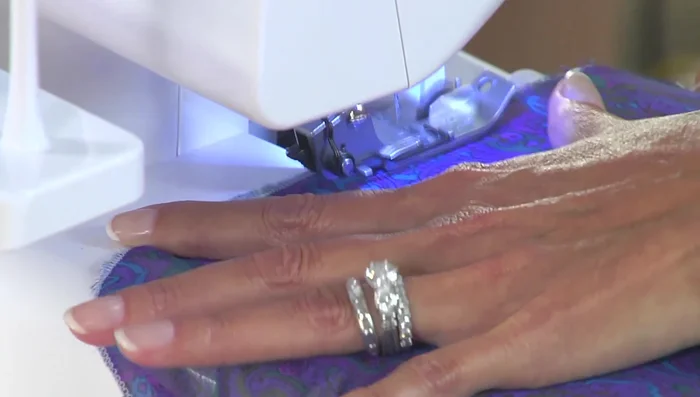
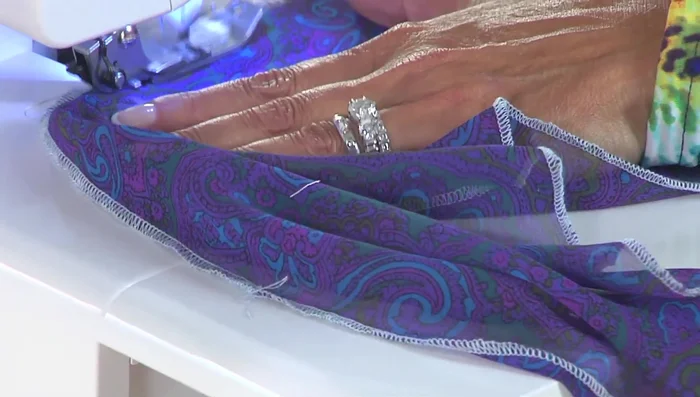
Restitch the Seam
- Line up your fabric and stitch over the slipped section. Position the needle carefully.
- Continue serging. You can see the stitches perfectly cover the gap.
Restitch the Seam Finish and Secure
- Trim excess threads and optionally apply fray check to prevent unraveling.
Finish and Secure
Read more: DIY Stretchy Fingerless Gloves: Easy Sewing Tutorial
Tips
- When finishing your stitch, be careful to use your hand to keep the fabric underneath and avoid cutting any fabric at the end.
- To finish, serge off the end. Trim the threads, pull them back, and either thread them through to hide or trim them and use fray check.