Are you tired of ill-fitting, uncomfortable scrub caps that constantly slip or feel too tight? Do you crave a stylish, yet practical head covering for work or even a fun accessory? Then look no further! This tutorial will guide you through creating your own adjustable, European-style scrub cap, a comfortable and chic alternative to mass-produced options. Forget about frustrating sizing issues and embrace the freedom of a perfectly personalized fit – all while expressing your unique style. We'll be using easy-to-find materials and simple techniques, making this project perfect for beginners and seasoned sewers alike.
This DIY project offers a fantastic opportunity to tailor your scrub cap to your exact preferences, choosing your favorite fabric and adjusting the size with ease. With just a few basic sewing skills and a bit of time, you'll have a comfortable, stylish, and perfectly fitting scrub cap that's uniquely yours. Ready to get started? Let's dive into the step-by-step instructions below!
Preparation and Safety Guidelines
- Fabric (satin)
- Elastic
- Sewing Machine
- Pins
- Scissors
- Iron (optional)
- Toggle
- Always use sharp, clean sewing needles and pins to prevent injury. Handle them with care and avoid leaving them lying around.
- Ensure your fabric is pre-washed to prevent shrinkage after the scrub cap is made. This will maintain its fit and shape.
- If using elastic, choose a soft, comfortable material that won't irritate your skin. Secure all raw edges of the elastic to prevent fraying and potential irritation.
Step-by-Step Instructions
Cut and Shape Fabric
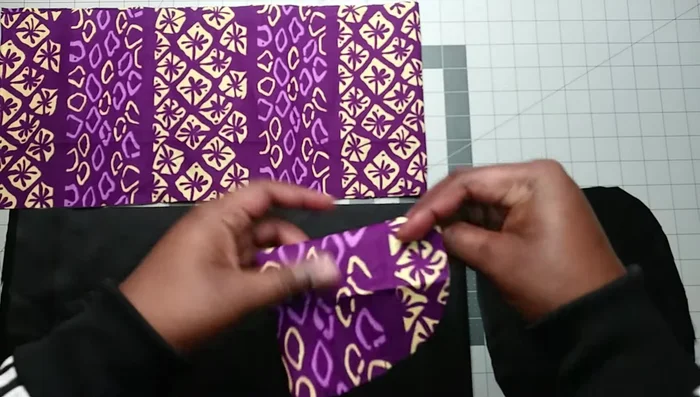
- Cut a rectangle of fabric (satin) approximately 34 inches long and 8 inches wide. Adjust length based on desired cap size (30 inches for shorter hair, 40-44 inches for longer hair).
- Fold the rectangle in half and shape the edges to create an oval shape.

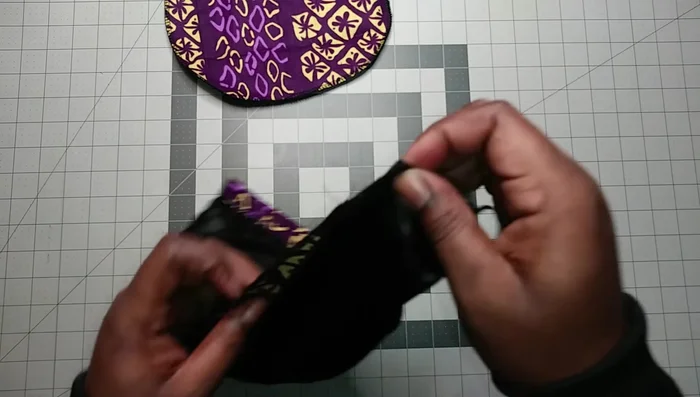
Cut and Shape Fabric Sew the Cap
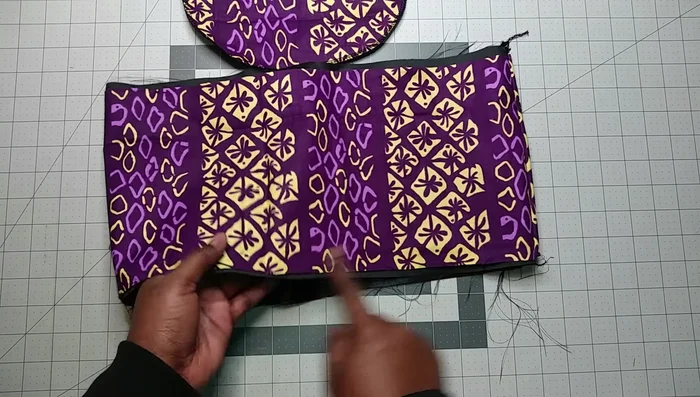
- Pin the right sides of the fabric together and sew along the edges. Then, sew the two layers together, leaving a gap for elastic insertion.
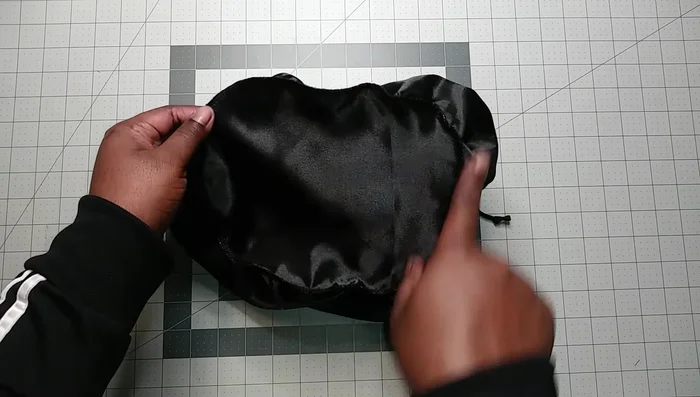
Sew the Cap Turn and Prepare for Elastic
- Turn the fabric inside out so the seams are hidden.
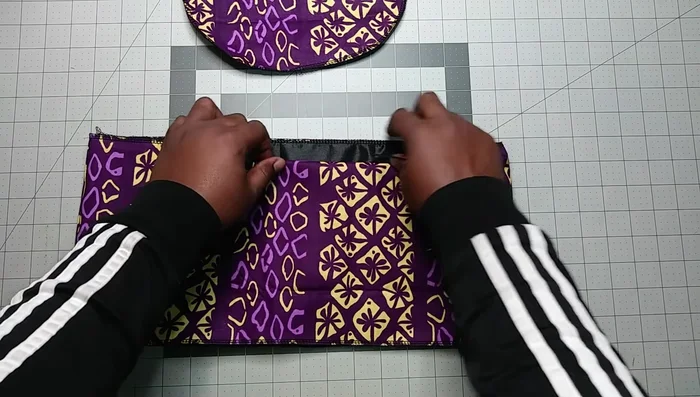
- Fold over the top edge of the cap about 1 inch. Iron if needed. Measure and mark 7 inches along the folded edge (adjust for different head sizes - 6 inches for small, 9 inches for large).
Turn and Prepare for Elastic Insert and Secure Elastic
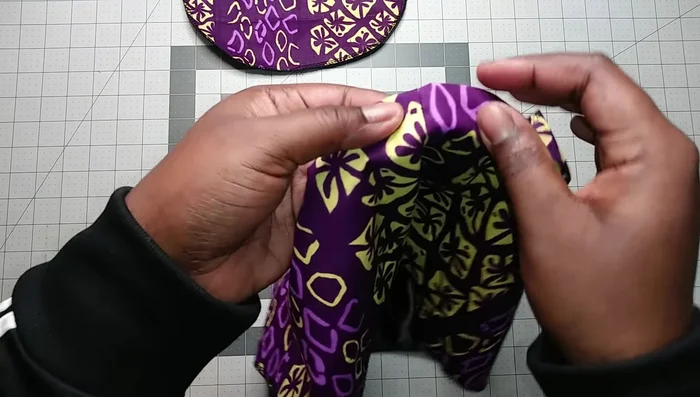
- Insert the elastic into the marked space, securing it at both ends. Sew the elastic multiple times to secure it in place.
- Fold the fabric edge over the elastic and sew all around, leaving a small opening for adjustment.
Insert and Secure Elastic Add Toggle and Secure
- Use a tool (or fingers) to pull the elastic through the opening, then insert a toggle and tie securely.
Add Toggle and Secure Attach and Finish Top
- Mark the center points of the cap and the fabric piece for the top. Attach the top piece to the cap, starting from the front and ensuring it lies flat.
- If there is excess fabric at the back, create small pleats to adjust and absorb the extra material.
- Use a serger or sewing machine to finish all the edges for a cleaner look.
Attach and Finish Top


Read more: DIY Stretchy Fingerless Gloves: Easy Sewing Tutorial
Tips
- Adjust fabric length according to hair length and desired cap size.
- Ironing the fabric edges before sewing makes the process easier, especially for beginners.
- Use a serger for cleaner and neater seams.
- This scrub cap design is unisex, suitable for both men and women. Adjust size for different hair lengths.