Ribbon bows. They seem deceptively simple, yet achieving that perfectly symmetrical, elegant loop can feel surprisingly challenging. Whether you're wrapping presents, crafting decorations, or adding a finishing touch to a handmade item, mastering the art of the ribbon bow is a valuable skill. From perfectly poised bows for gift-giving to whimsical embellishments for scrapbooks and hair accessories, the possibilities are endless once you understand the fundamental techniques. This often overlooked craft offers a surprisingly satisfying creative outlet, allowing you to personalize projects with a touch of handmade charm.
Forget struggling with frustratingly uneven bows! This tutorial will guide you through the easiest methods for creating beautiful ribbon bows, no matter your skill level. Let's dive into the step-by-step instructions to unlock your ribbon-tying potential and create stunning bows with confidence.
Preparation and Safety Guidelines
- Ribbon
- Fork
- Scissors
- Always supervise young children when using scissors and ribbons to prevent accidental cuts or injuries.
- Be mindful of long ribbons and keep them away from faces and necks to avoid strangulation hazards, especially with small children.
- Use sharp scissors for clean cuts to avoid frayed ribbon ends that could present a choking hazard.
Step-by-Step Instructions
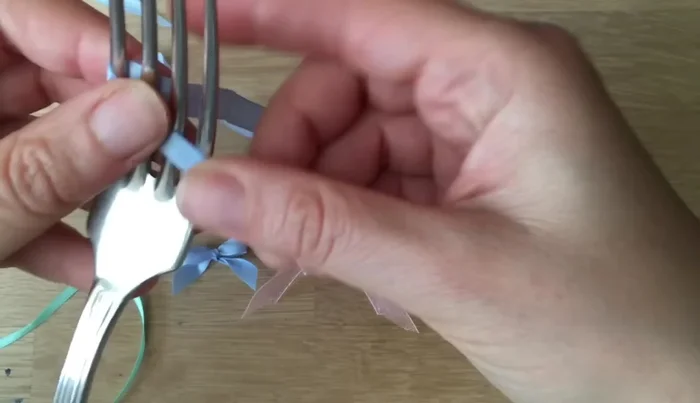
Prepare the Ribbon
- Prepare your ribbon. Make sure the bottom piece is longer than the top.

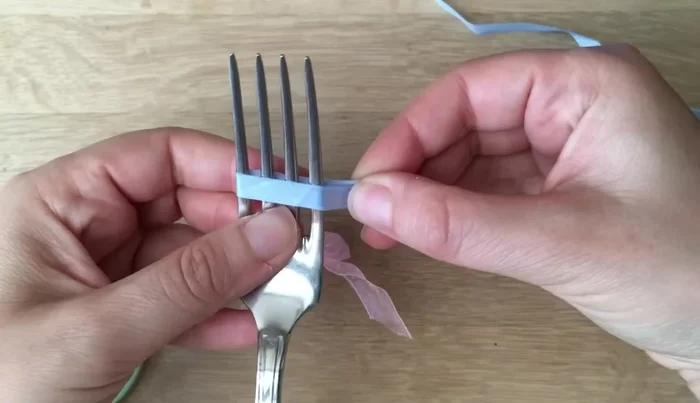
Prepare the Ribbon Create the Basic Bow Shape
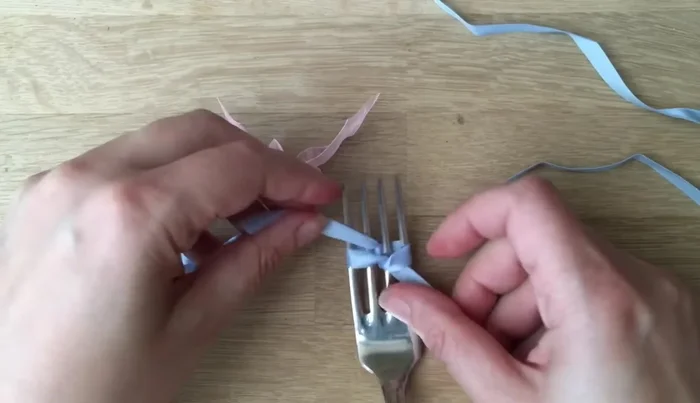
- Wrap the ribbon around a fork, creating a 'V' shape with the longer piece underneath.
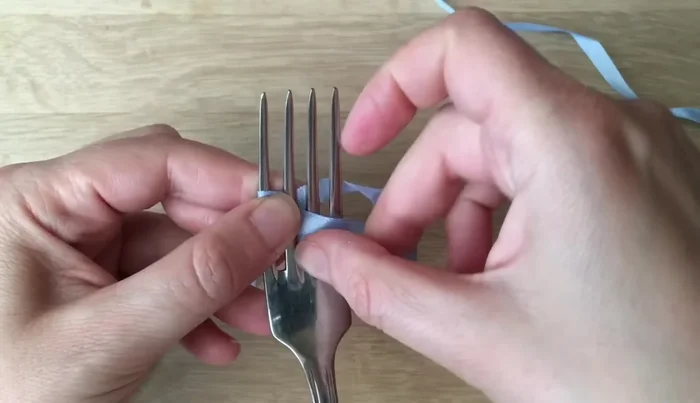
Create the Basic Bow Shape Secure the Bow
- Gently poke the top piece of ribbon through the middle gap.
- Bring the top ribbon to the back and then back up, keeping it neat and untwisted.
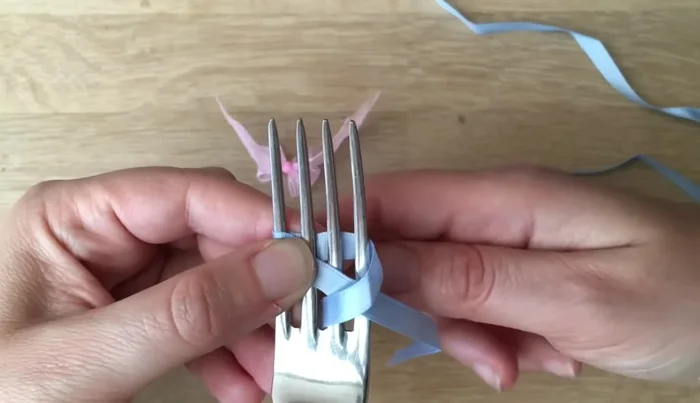
Secure the Bow Tie and Tighten the Bow
- Tie a knot by bringing one side over the other and pushing it under.
- Pull the knot tight, keeping the ribbons in a 'V' shape to create a neat bow.
Tie and Tighten the Bow Finish the Bow
- Once the knot is tight, trim the ends of the ribbon.
Finish the Bow

Read more: DIY Stretchy Fingerless Gloves: Easy Sewing Tutorial
Tips
- Experiment with ribbon length to find your preferred bow size.
- Keep the ribbon neat and untwisted for a perfect look.
- Pull the knot tight while maintaining the 'V' shape for a nice bow look.