Winter's chill doesn't have to mean sacrificing style! This season, stay warm and fashionable with a cozy, reversible fleece neck warmer, crafted entirely by your own hands. Forget expensive, mass-produced accessories; this beginner-friendly project empowers you to create a personalized piece that perfectly complements your wardrobe. Whether you're a seasoned sewer or just starting out, this tutorial will guide you through the simple steps, using readily available materials. You'll be surprised at how quickly and easily you can whip up a warm and stylish accessory.
Imagine the satisfaction of wearing something you've made yourself, something uniquely yours. This tutorial provides clear instructions and helpful images to ensure a successful project, even for complete novices. Get ready to unleash your creativity and embrace the warmth of a handcrafted neck warmer. Let's dive into the step-by-step process and create your own reversible fleece masterpiece!
Preparation and Safety Guidelines
- Working sewing machine with zig-zag stitch capability
- Polyester thread
- Fleece fabric
- Measuring tools
- Fabric scissors
- Clips
- Always use sharp fabric scissors to prevent fraying and ensure clean cuts. Dull scissors can cause fabric to stretch and distort.
- When using a sewing machine, keep fingers clear of the needle at all times. Take your time and stitch slowly, especially when working with fleece which can be bulky.
- Double-check your measurements before cutting your fleece to ensure your neck warmer will fit comfortably. Fleece doesn't fray much, but accurate cutting is still important for a neat finish.
Step-by-Step Instructions
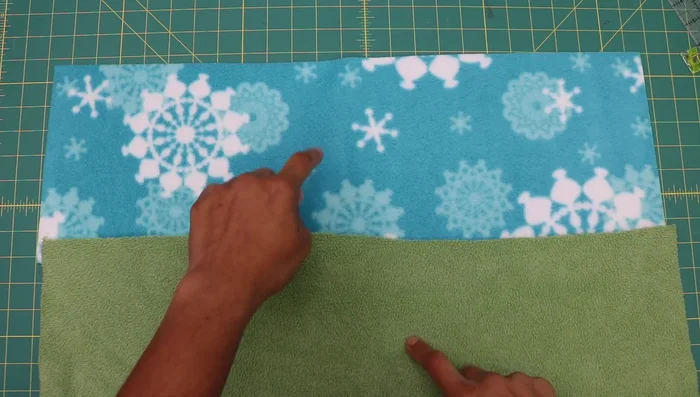
Prepare the Fabric
- 8 inches tall x 25 inches long; Child size: 7 inches tall x 22 inches long. Ensure the length is along the stretchy crosswise grain.

Prepare the Fabric Sew the Long Edges
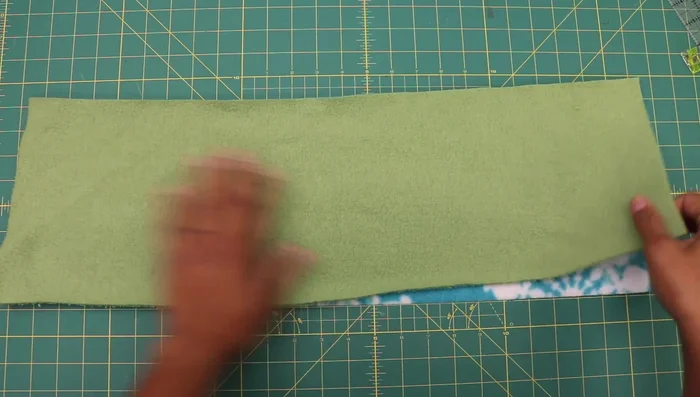
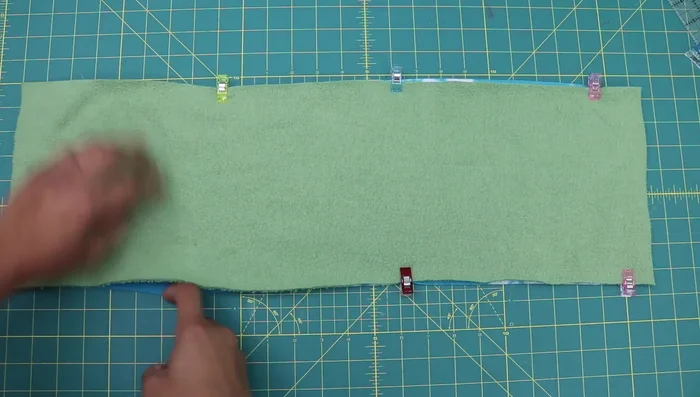
- Place two fabric pieces with pretty sides together, using clips to secure.
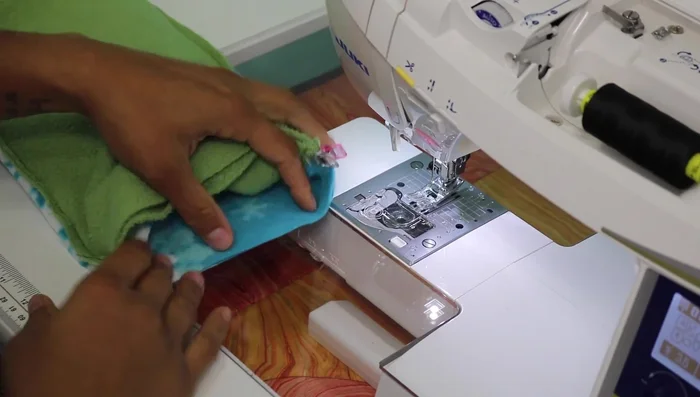
- Sew along the two long edges using a narrow zig-zag stitch (width 1.5, length 3.0). Use an 80/12 universal needle or a 90/14 needle if needed, and polyester thread.
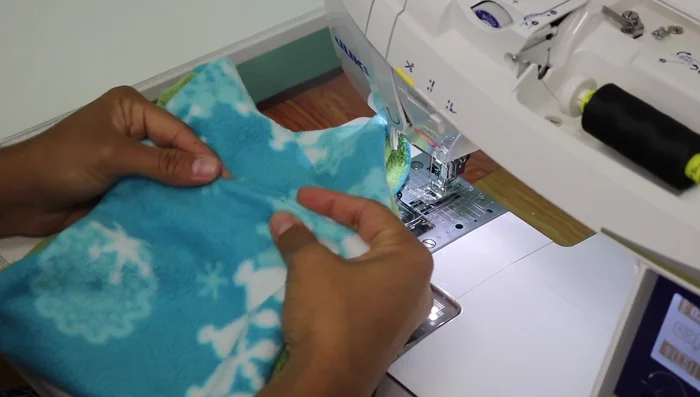
Sew the Long Edges Close the Neck Warmer
- Turn the fabric right side out, folding the raw edges to meet in the middle and clip them together.
- Sew around the perimeter, leaving a 2-inch opening.
- Turn the fabric right side out through the opening.
- Close the opening using a ladder stitch by hand, hiding the knot inside the seam allowance. Use thread that matches the fabric color.
Close the Neck Warmer


Read more: DIY Stretchy Fingerless Gloves: Easy Sewing Tutorial
Tips
- Orient the fabric correctly before cutting, ensuring the stretchy grain runs along the length of the piece.
- Use a narrow zig-zag stitch for sewing stretchy fabrics to prevent stitches from popping. Adjust stitch width and length accordingly.
- Use polyester thread when sewing with stretchy fabrics.
- Do not iron fleece fabric as it's a synthetic material and may be damaged.