Bucket hats are back, and this time, they're even better! Imagine a hat that's stylish, practical, and offers double the fashion options – all with minimal effort. This easy beginner tutorial will guide you through creating your very own reversible bucket hat, perfect for adding a pop of personality to any outfit. No complex patterns or advanced sewing skills are required; we'll use straightforward techniques that even the newest sewist can master. Whether you're a seasoned crafter looking for a quick project or a complete beginner eager to learn, this tutorial is designed for you.
Forget expensive store-bought options; this project is surprisingly affordable and allows for complete customization. Choose your favourite fabrics to create a hat that perfectly reflects your style, from playful prints to sophisticated solids. Ready to get started on your stylish new accessory? Let's dive into the step-by-step instructions and sew your reversible bucket hat today!
Preparation and Safety Guidelines
- sewing machine
- fabric (two different fabrics recommended)
- fusible fleece (optional)
- scissors (pinking shears recommended)
- iron
- pins or clips
- Always use sharp, well-maintained sewing machine needles and pins to prevent fabric from snagging or tearing. Dull needles increase the risk of injury.
- Be mindful of your fingers when working with the sewing machine. Keep your fingers away from the needle and presser foot at all times.
- Use caution when handling scissors and rotary cutters. Keep them away from children and store them properly when not in use.
Step-by-Step Instructions
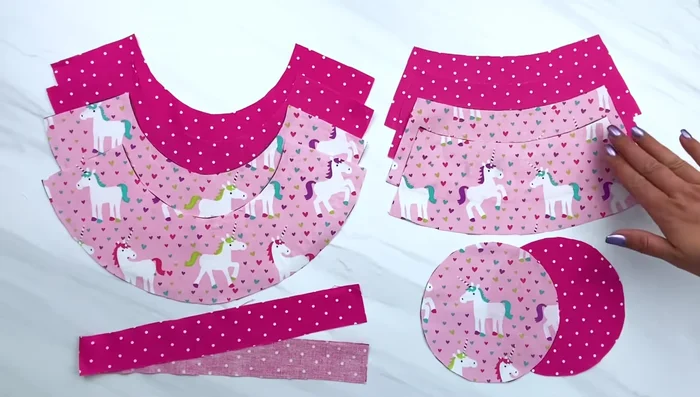
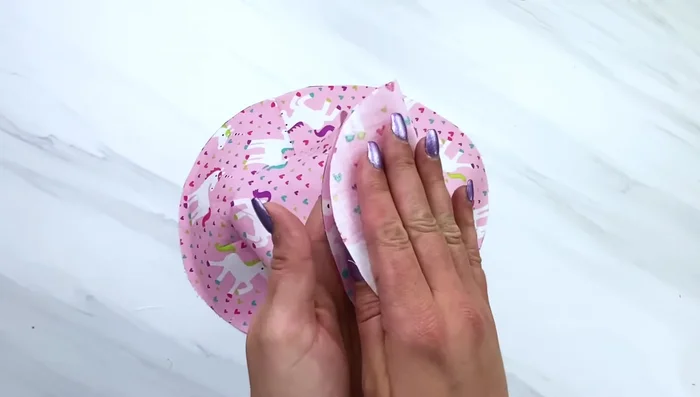
Prepare Fabric
- Print and trace the pattern pieces onto your fabrics.
- Add fusible fleece to the back of both brim pieces for added structure (optional).

Prepare Fabric Sew Brims
- Sew the two brim fabric pieces together (right sides together) using a 1/4 inch seam allowance.
- Press the seam open and flat.
- Repeat steps 3 and 4 for the outer hat brim.
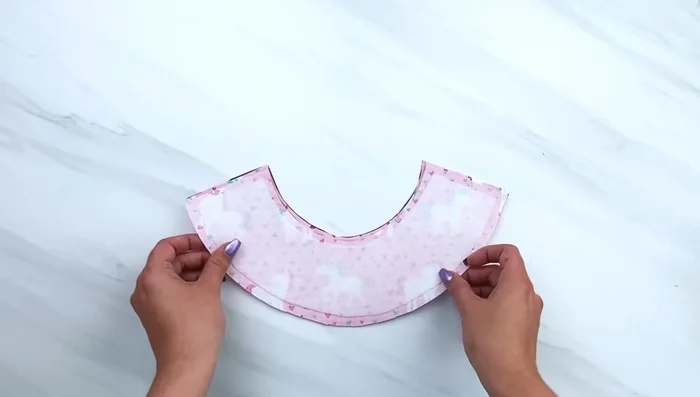
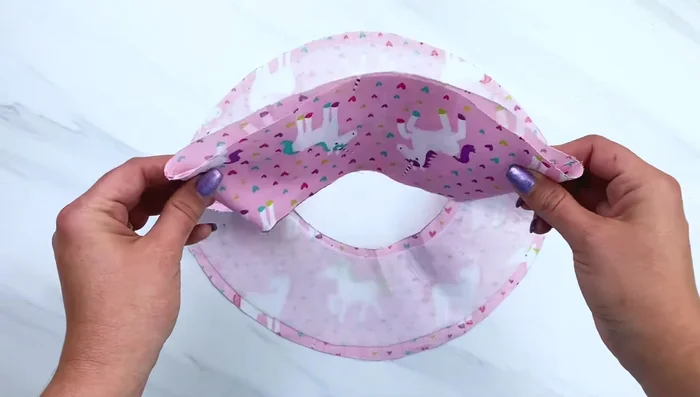
Sew Brims Attach Brim to Crown
- Quarter the brim and crown pieces by making slits at the folds.
- Attach the brim to the crown by matching the slits and sewing all around.
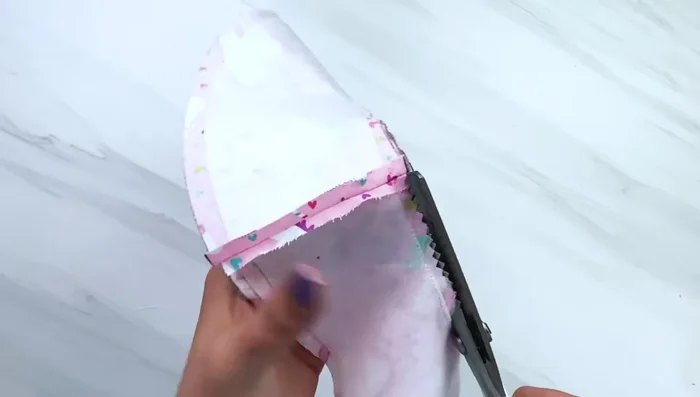
Attach Brim to Crown Prepare for Top Piece
- Trim seam allowance and prepare to add the top circular piece.
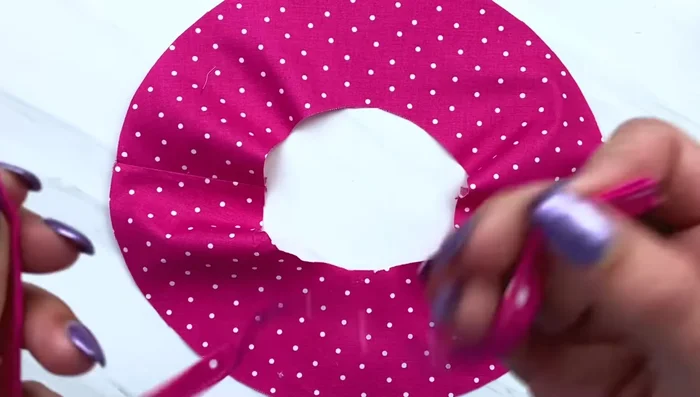
Prepare for Top Piece Attach Top Circular Piece
- Quarter the top circular piece and match it with the crown, sewing together with a 1cm seam allowance.
- Trim seam allowance.
Attach Top Circular Piece Make Ties (Optional)
- Fold fabric, press, and sew.
Attach Ties (Optional)
- Attach ties to the inside of the hat with basting stitches.
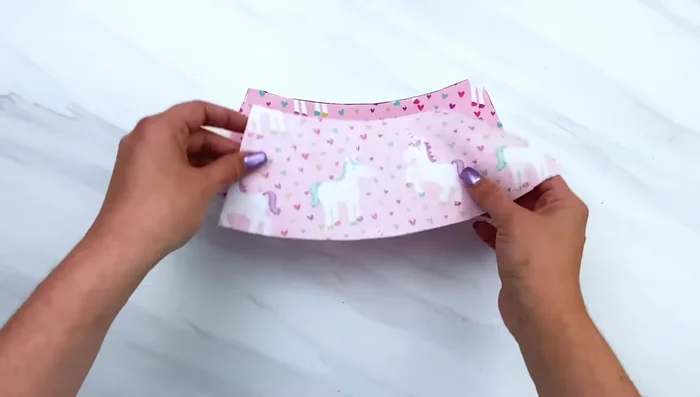
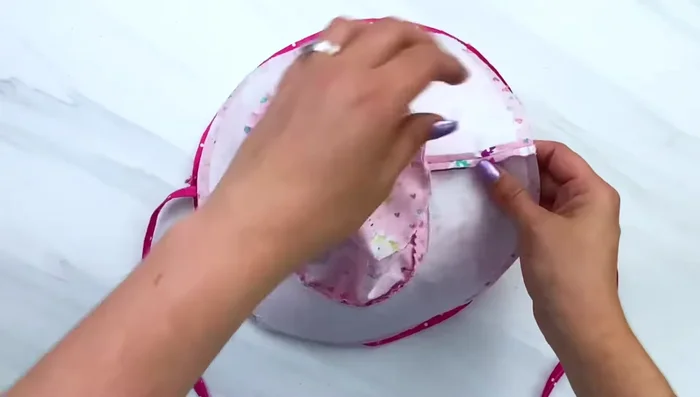
Attach Ties (Optional) Join Inner and Outer Hats
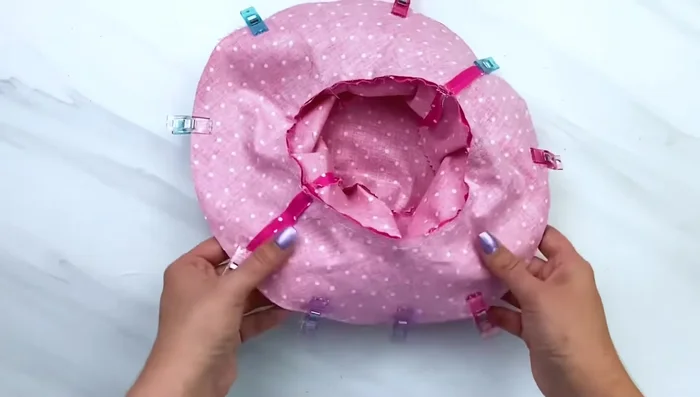
- Place the inner and outer hats together (inside out), matching seams. Pin or clip.
- Sew around the brim, leaving a small opening to turn right side out.
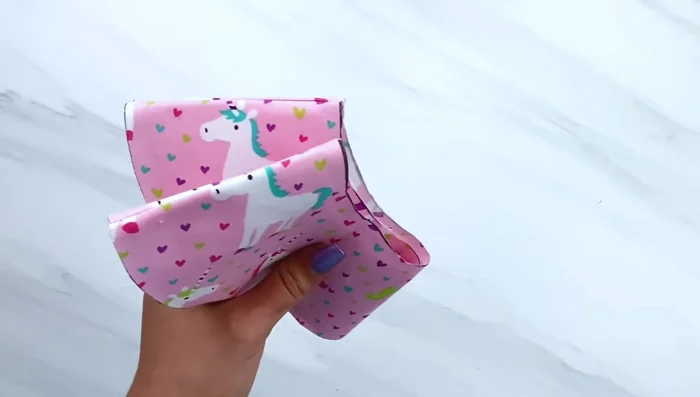
Join Inner and Outer Hats Finish and Topstitch
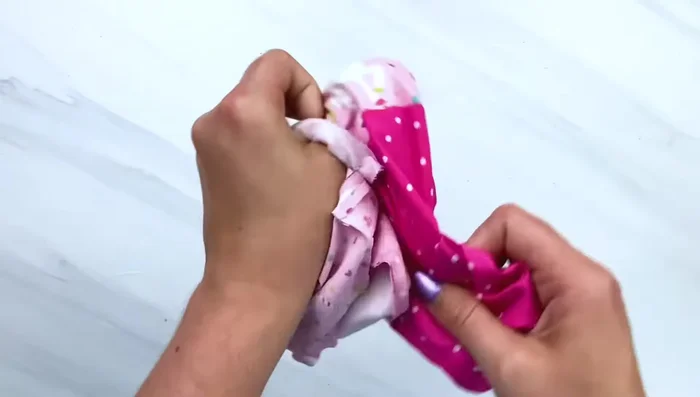
- Turn right side out, and topstitch around the brim to close the opening.
Finish and Topstitch


Read more: DIY Stretchy Fingerless Gloves: Easy Sewing Tutorial
Tips
- Use pinking shears to prevent fraying.
- Use a walking foot on your sewing machine to help sew the circular pieces more easily.
- Take your time and go slowly, especially when sewing the circular pieces.
- Use different colored pins/clips to mark areas that should not be sewn closed.
- Be careful not to pull too hard when turning the hat right side out.