The humble bucket hat, a seemingly simple garment, holds a surprising depth of potential for sophisticated design and construction. From its casual origins, the bucket hat has evolved into a versatile accessory, embraced by fashion-forward individuals and designers alike. However, achieving a truly professional finish, especially on a reversible design, demands meticulous attention to detail and mastery of specific techniques. The subtle differences between a well-made hat and one that looks homemade lie in the precision of its seams, the crispness of its shape, and the overall quality of its construction. These are the aspects that elevate a simple hat into a stylish statement piece.
This article delves into the essential professional finishing techniques required to create the perfect reversible bucket hat, transforming a casual item into a piece of wearable art. We will guide you through a step-by-step process, covering everything from precise seam finishing to achieving a perfectly symmetrical and crisp final product, ensuring your finished hat boasts impeccable quality and showcases your craftsmanship. Let's embark on this journey to mastering the art of bucket hat creation.
Preparation and Safety Guidelines
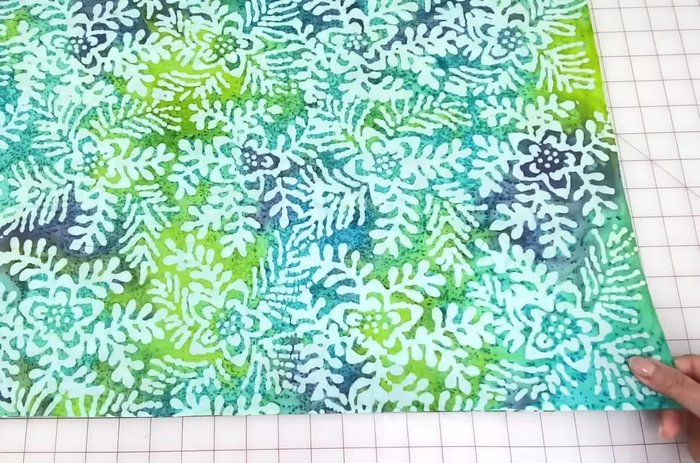
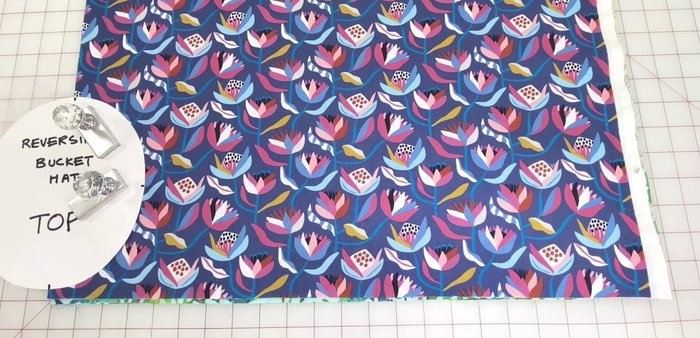
- Cotton prints
- Pattern
- Scissors or rotary blade
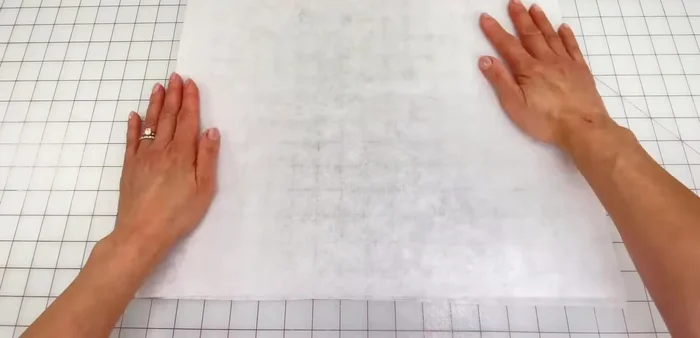
- Medium weight non-woven fusible interfacing
- Iron
- Brother NV50s sewing machine (or similar)
- Pins or clips
- Always use sharp, appropriate needles and pins to prevent fabric damage and injury. Dull needles can cause skipped stitches and fabric snags.
- When working with delicate fabrics, use a fine-gauge needle and a lightweight interfacing to avoid puckering or stretching.
- Press seams carefully with the correct iron temperature for your fabric to avoid scorching or melting. Use a pressing cloth for extra protection.
Step-by-Step Instructions
Prepare Fabric
- Wash, dry, and press two cotton prints. Fold in half and layer them with folds matching.

Prepare Fabric Cut Fabric Pieces
- Place the hat top pattern (oval shape) lengthwise on the fold. Cut out crown and brim pieces from both prints, using notches to mark center and sides.
Cut Fabric Pieces Add Interfacing
- Fuse interfacing to the wrong side of one set of crown and brim pieces.
Add Interfacing Sew Crown and Brim
- Stitch all edges of crown and brim pieces together (right sides together) with a 3/8 inch seam allowance.
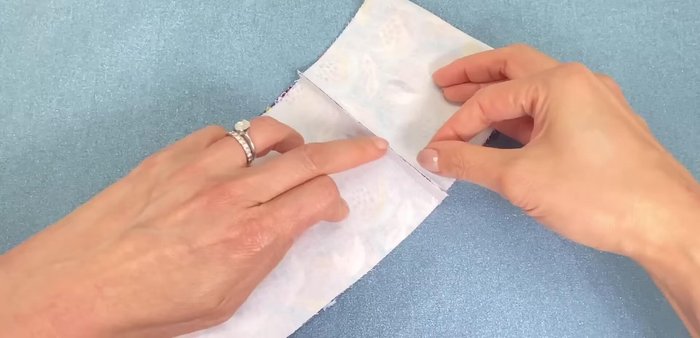
Sew Crown and Brim Press Seams
- Open and press all seams flat.
Press Seams Stay Stitch Crown
- Sew a stay stitch 1/4 inch from the edge around the top of the side pieces.
Prepare for Crown Attachment
- Cut small angled triangles at the center notches and make small cuts along the top edge for both the hat and lining.
Prepare for Crown Attachment Attach Crown to Top
- Match crown pieces to the tops (right sides together), matching notches and pinning. Stitch with a 3/8 inch seam allowance.
Edge Stitch Crown
- Sew a stay stitch along the top of the crown, starting from the center back. Maintain seam allowances to one side.
Sew and Prepare Brim
- Stitch brim pieces together (right sides together) with a 1/4 inch seam allowance. Turn right side out, roll seam, press, and pin to prevent twisting.
Sew and Prepare Brim Topstitch Brim
- Topstitch brim with a longer stitch length, starting at the center back and stitching in a spiral.
Topstitch Brim Attach Brim to Hat
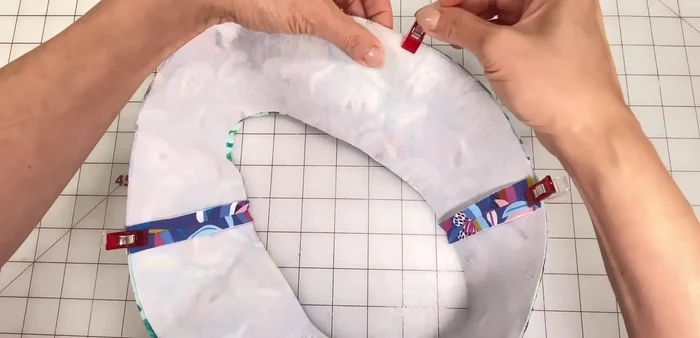
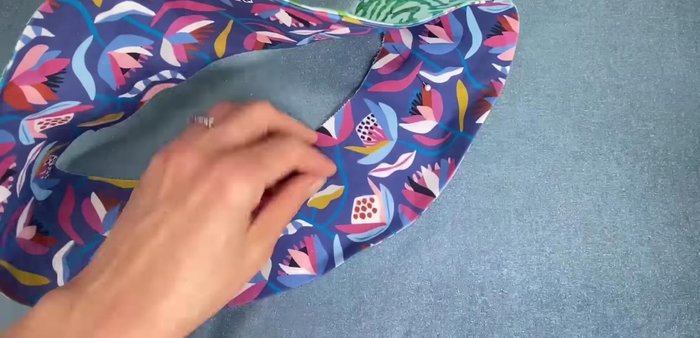
- Attach brim inside the hat (right sides together), matching edges, seams, and notches. Stitch with a 3/8 inch seam allowance, leaving an opening.
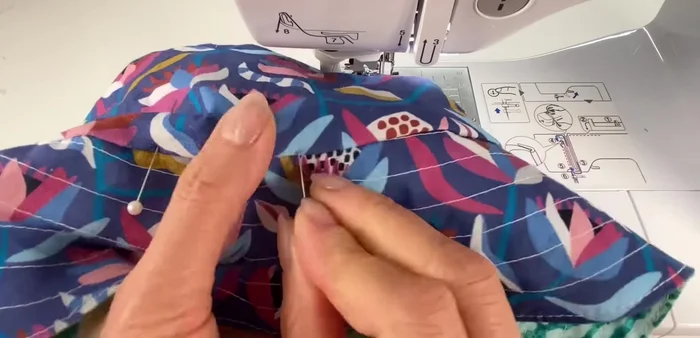
Attach Brim to Hat Finishing Touches
- Turn hat right side out, fold and pin the opening. Edge stitch the crown, pulling both layers taut.
Finishing Touches


Read more: DIY Stretchy Fingerless Gloves: Easy Sewing Tutorial
Tips
- Use a rotary blade for efficient cutting.
- Use a coupon code for special offers on sewing machines.
- Trim excess interfacing to maintain accurate seam allowances.
- Use pins or clips to hold pieces in place while sewing.
- Backtack at the beginning and end of seams for added durability.