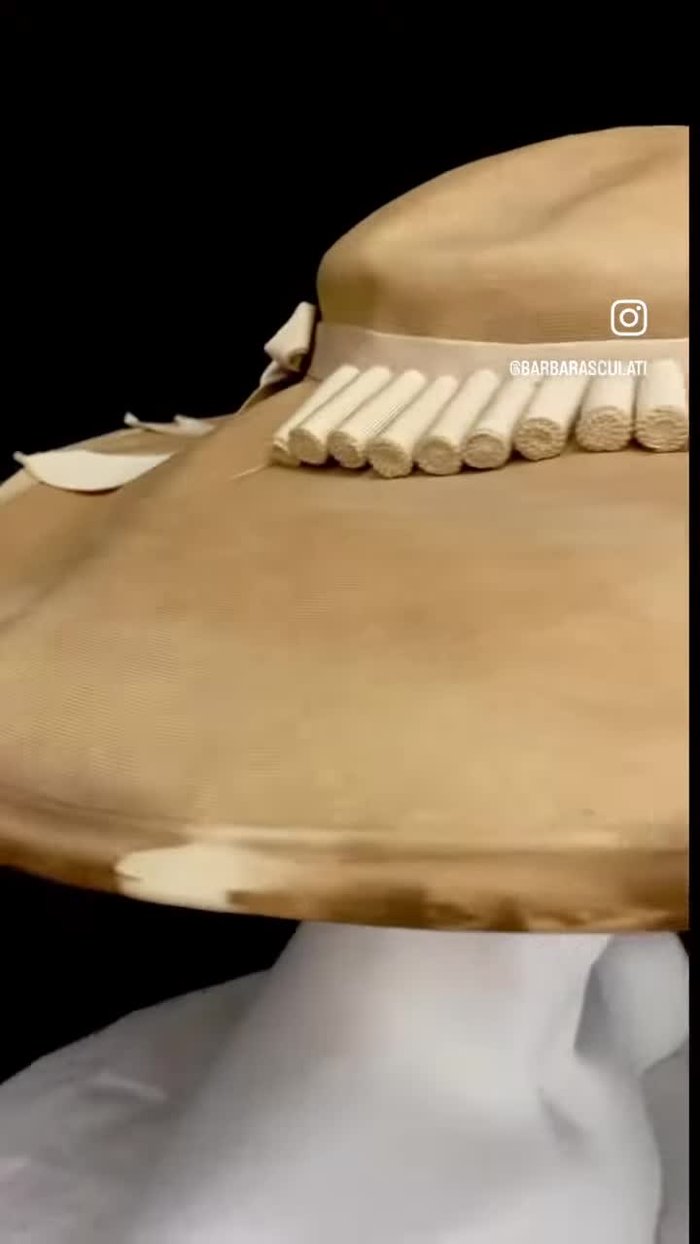
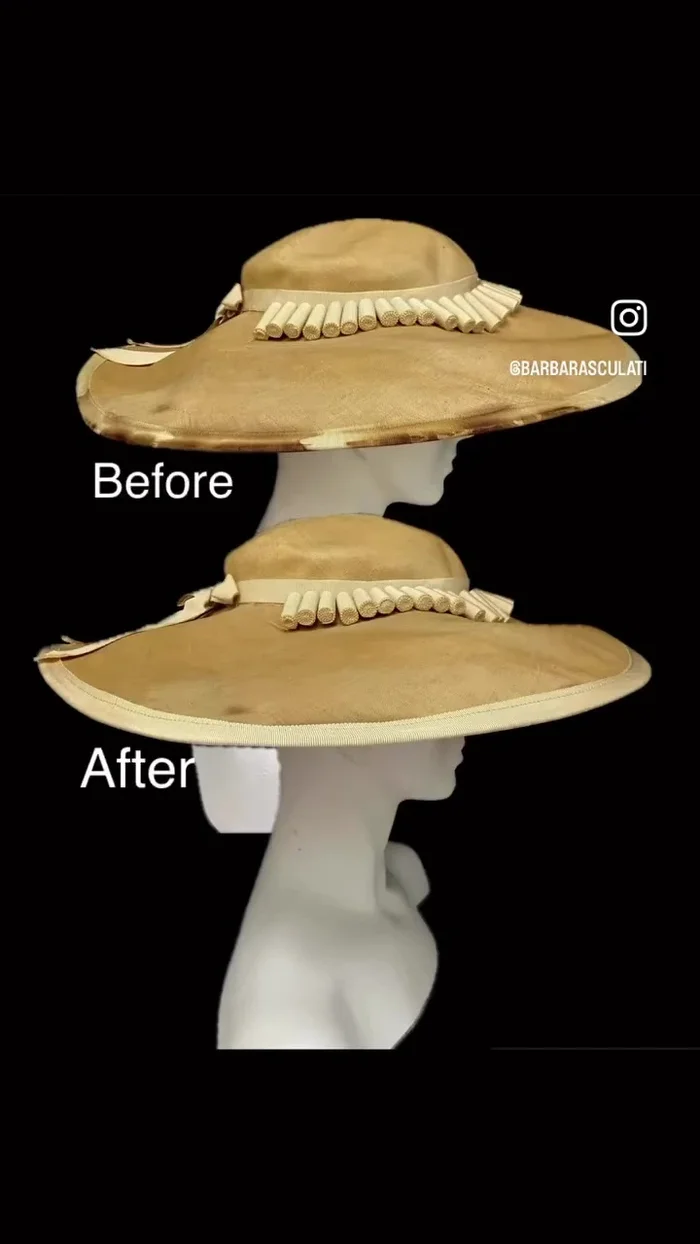
Vintage hats, with their unique charm and timeless elegance, often hold a special place in our hearts. However, the passage of time can leave even the most cherished headwear showing its age. Faded fabrics, damaged brims, and loose embellishments can dim the glory of a once-magnificent piece. But despair not, for the world of millinery restoration offers exciting possibilities for reviving these forgotten treasures. One particularly effective technique, renowned for its ability to dramatically transform a vintage hat, is the Peter Sham ribbon cover method. This meticulous process allows for the complete or partial covering of a hat's crown with beautifully arranged ribbon, concealing imperfections while adding a touch of modern flair or a nod to a different era.
This technique, when executed correctly, can breathe new life into a hat, seamlessly blending old-world craftsmanship with contemporary design. From choosing the perfect ribbon to the precise application of adhesive, each step is crucial for achieving a professional and stunning result. To learn more about this revitalizing process and embark on your own hat restoration project, let’s delve into the detailed, step-by-step guide below.
Preparation and Safety Guidelines
- 1930s hat
- Peter sham ribbon
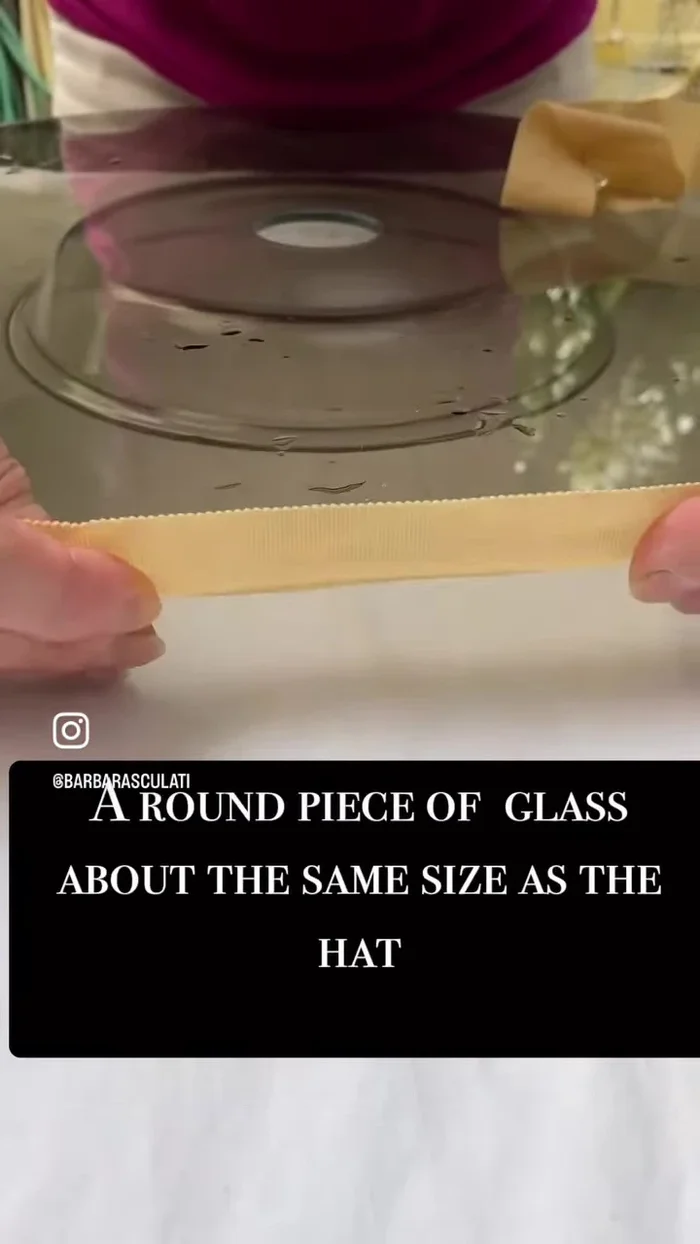
- Large glass disc
- Upside down plate
- Plastic clothes pins
- Towel
- Always test any cleaning solution or dye on a hidden area of the hat first to avoid damaging the vintage fabric or trim.
- Handle vintage hats with care to avoid stretching or tearing the delicate materials. Use gentle pressure and support the hat's structure throughout the cleaning and revitalization process.
- If unsure about any step of the process, consult with a professional milliner or vintage hat restoration expert before proceeding. Improper handling can cause irreparable damage.
Step-by-Step Instructions
Preparation
- Assess the hat's damage and prepare the Peter sham ribbon.

Preparation Ribbon Shaping
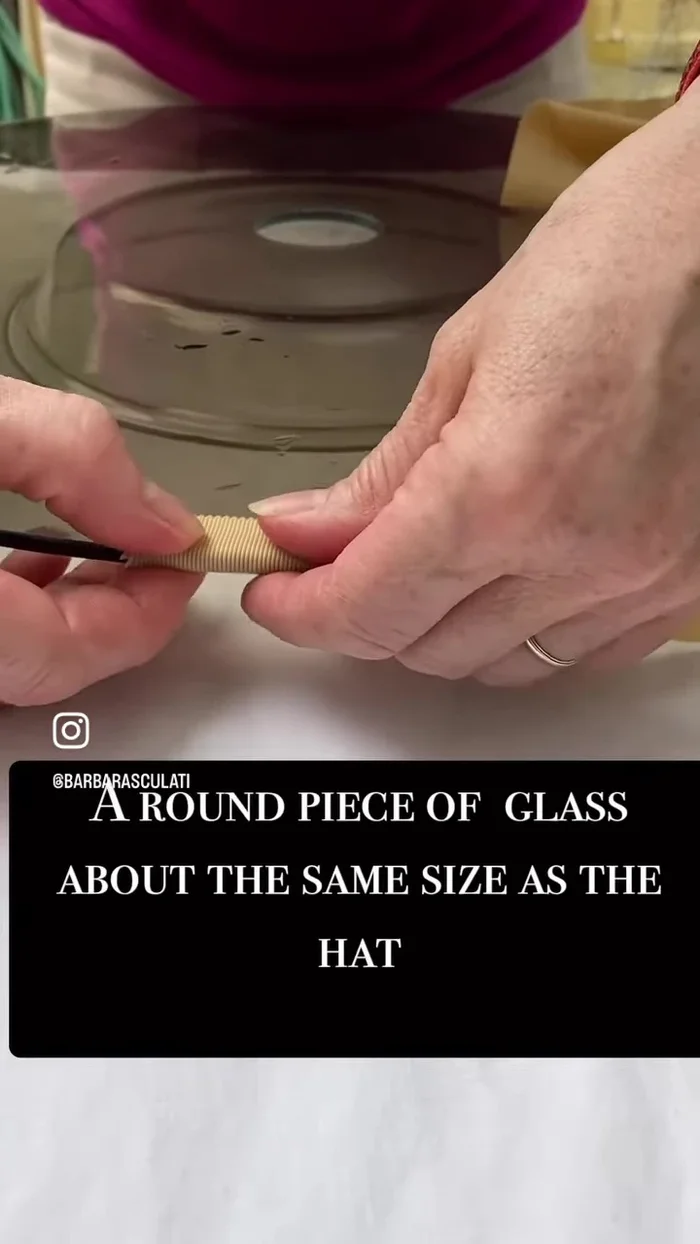
- Wet the Peter sham ribbon.
- Remove excess moisture with a towel.
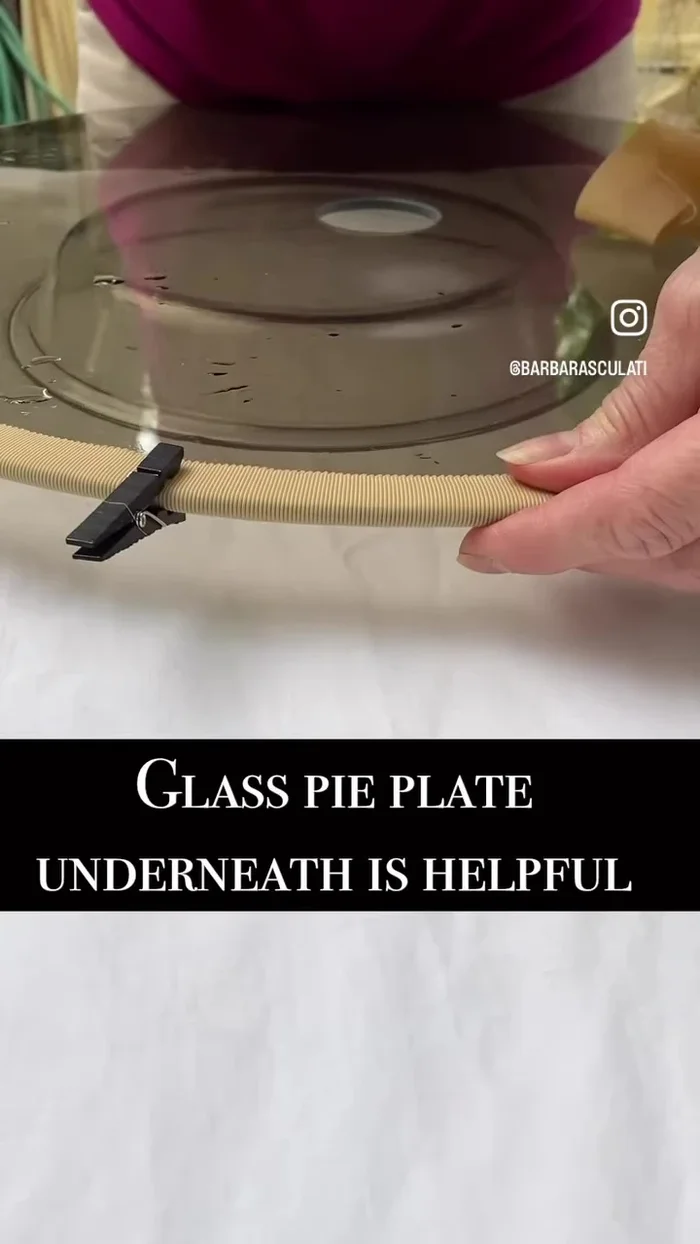
- Place the glass disc on an upside-down plate to create a working surface.
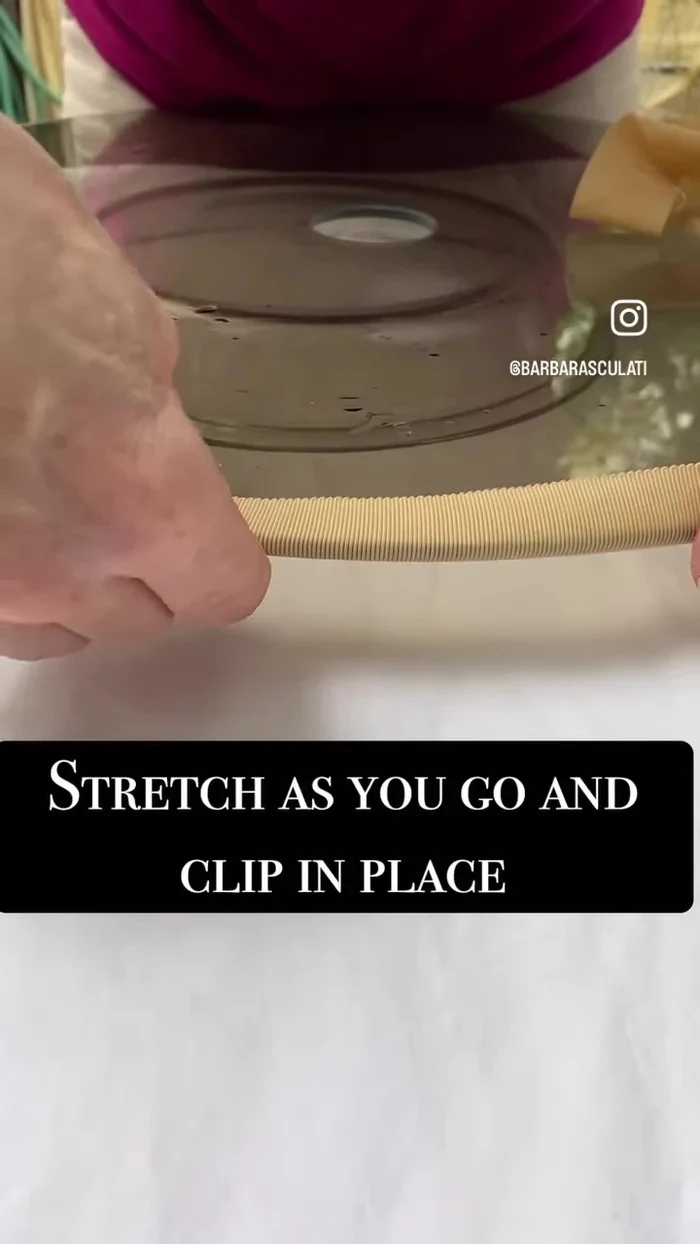
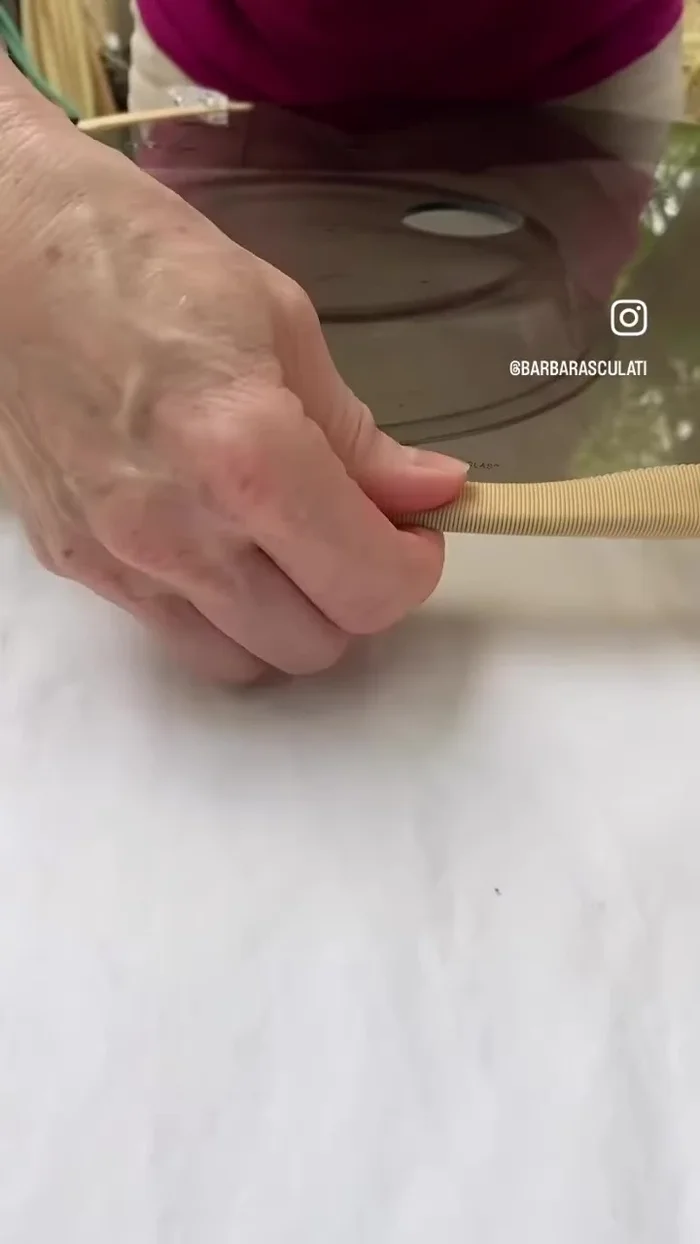
- Stretch the wet ribbon over the glass disc, using plastic clothes pins to secure and shape it to the curve of the hat.
Ribbon Shaping - Monitor the process from both sides (top and bottom) to ensure even coverage and drying.
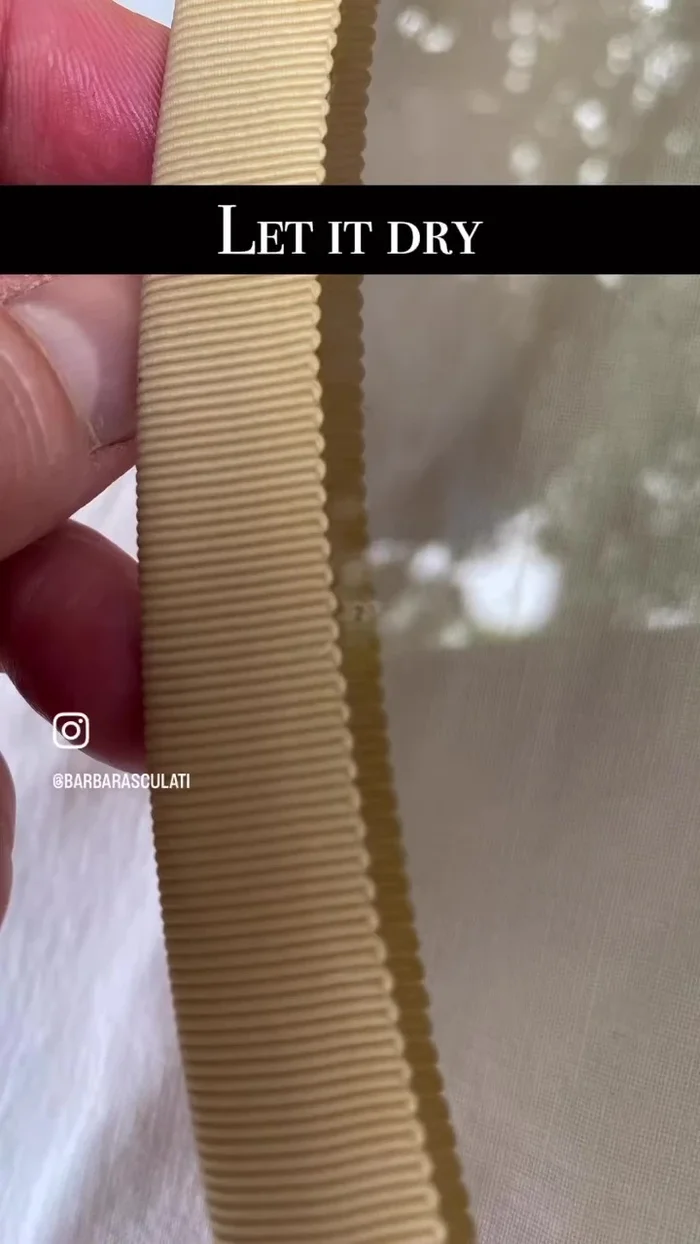
- Allow the ribbon to dry completely on the glass disc.
Ribbon Shaping Application and Finishing
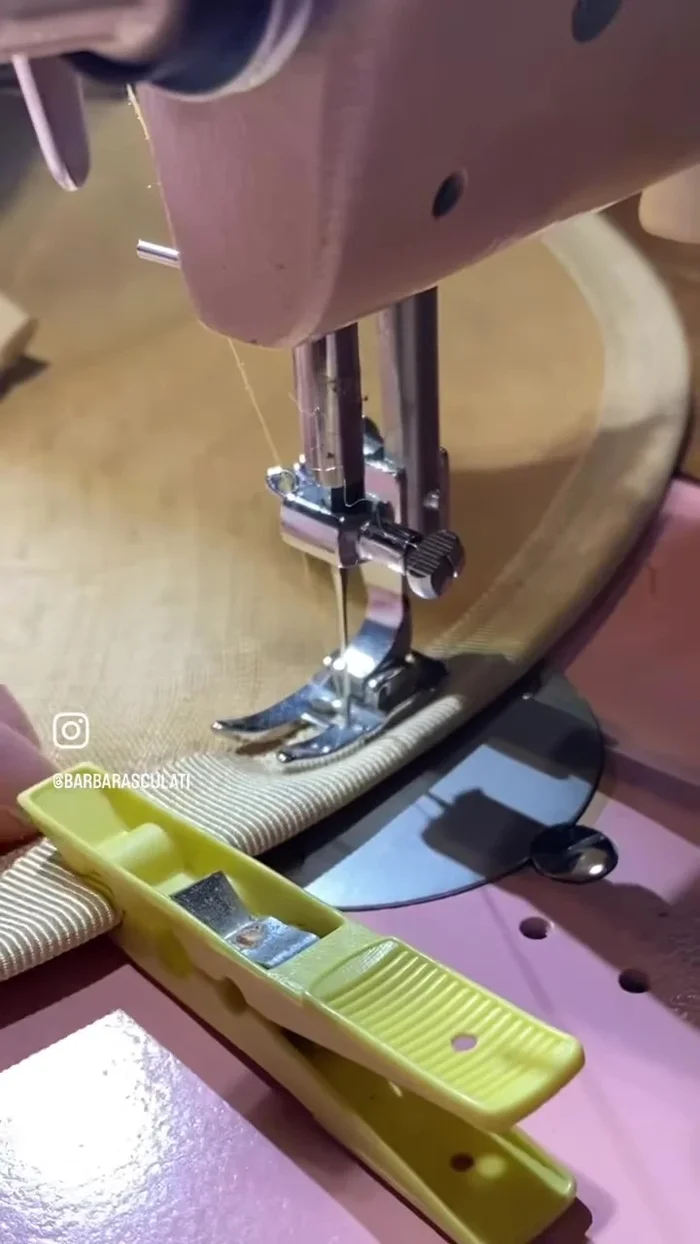
- Carefully remove the dried ribbon from the glass disc.
- Apply the ribbon to the hat, gently working it into place.
- Machine wash (if needed).
Application and Finishing

Read more: DIY Stretchy Fingerless Gloves: Easy Sewing Tutorial
Tips
- Peter sham ribbon's flexibility makes it ideal for millinery.
- The glass disc allows for visibility to ensure even coverage.