Have you got a pair of old canvas shoes gathering dust in the back of your closet? Don't toss them just yet! Those worn-out kicks hold the potential for a stylish and unique makeover, transforming from drab to fab with a little creativity and paint. Canvas shoes, with their durable material and blank canvas-like surface (pun intended!), are the perfect foundation for a fun and personalized DIY project. Whether you're aiming for a subtle update or a bold, artistic statement, painting your old shoes is a surprisingly simple and rewarding endeavor.
This guide will equip you with everything you need to breathe new life into your beloved (or once-beloved) footwear. Forget expensive replacements; prepare to discover the joy of upcycling with our easy-to-follow step-by-step instructions, transforming your tired canvas shoes into head-turning masterpieces. Let's get started!
Preparation and Safety Guidelines
- Old canvas shoes
- Sponge
- Brushes (thin and thick)
- Palette
- Acrylic paint
- Fabric medium
- Paper sheet
- Always work in a well-ventilated area. Acrylic paints and other crafting supplies can release fumes.
- Protect your work surface. Canvas shoes can easily stain tables and floors. Use a drop cloth or newspaper.
- Allow paint to fully dry before wearing shoes. This prevents smudging and ensures longevity of your design.
Step-by-Step Instructions
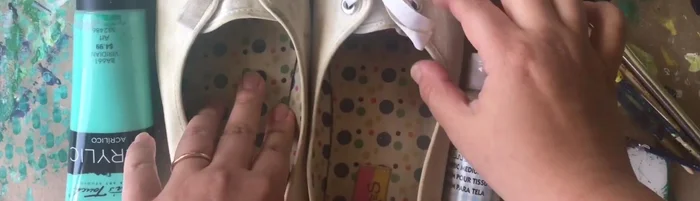
Preparation
- Prepare your workspace and clean your shoes.

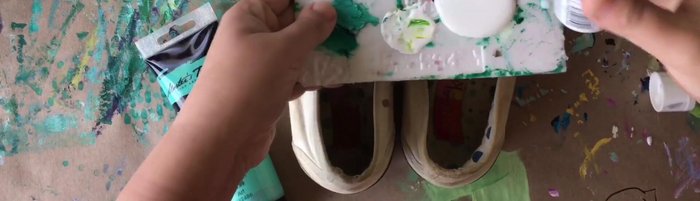
Preparation Mix Paint
- Mix fabric medium and acrylic paint on the palette.
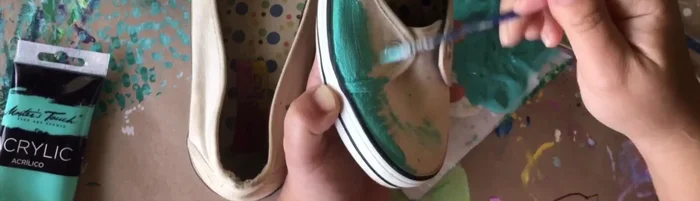
Mix Paint First Coat - One Shoe
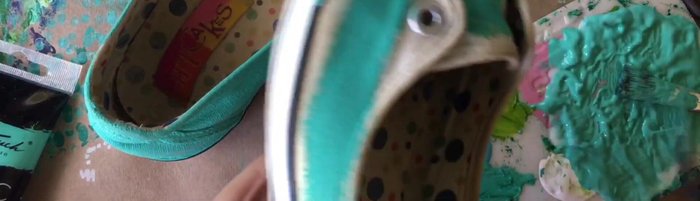
- Apply the paint mixture to the edges of the shoes using thin brushes, being careful around grommets. If you paint the rubber, wipe it off with your finger.
- If paint is too thick, gently brush it down with a thicker brush.
First Coat - One Shoe First Coat - Second Shoe
- Repeat steps 3 and 4 for the other shoe.
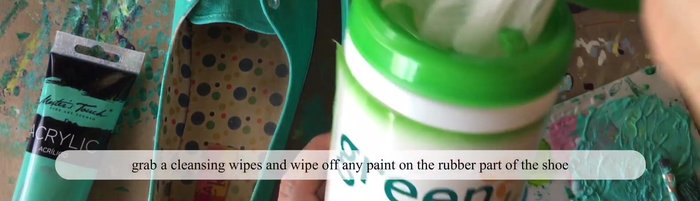
First Coat - Second Shoe Clean Rubber
- Before the paint dries, clean up any paint on rubber areas using a wet cloth.
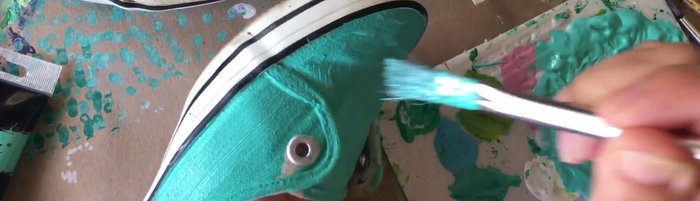
Clean Rubber Second Coat
- Apply a second coat of paint, adding more where needed to ensure no white shows through.
Second Coat
Read more: DIY Reversible Baby Slippers: Easy Sewing Tutorial
Tips
- Use thinner brushes for detailed areas and thicker brushes for larger areas.
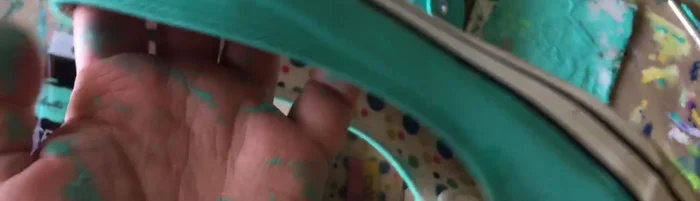
- Don't worry about accidentally painting the rubber; you can easily wipe it off.
- If you make a mistake, gently rub it off with your finger or a slightly wet brush.
- Take your time and be careful around details.