Cozy up your feet and your home with a pair of handmade Norwegian house slippers! These charming and practical slippers, known for their warmth and comfort, are surprisingly simple to create with a little patience and basic sewing skills. Forget flimsy, mass-produced footwear; these slippers offer a delightful blend of rustic charm and enduring practicality, perfect for chilly evenings spent by the fire or adding a touch of Scandinavian style to your everyday life. They’re a wonderful project for beginners and a satisfying way to personalize your winter wardrobe.
The unique design of Norwegian house slippers, with their characteristic folded construction and often intricate details, might seem intimidating at first glance. However, this step-by-step guide will break down the process into manageable stages, guiding you through each step from choosing your fabric to the final stitching. Let's get started and learn how to craft your own pair of wonderfully warm and stylish Norwegian house slippers!
Preparation and Safety Guidelines
- Yarn
- Needle
- Thread
- Sewing Machine (optional)
- Use sharp scissors and needles to prevent injury. Always point scissors away from yourself and others.
- Be mindful of your fingers when using the sewing machine. Keep fingers clear of the needle and moving parts.
- Choose fabrics appropriate for indoor use and consider using non-slip soles for added safety.
Step-by-Step Instructions
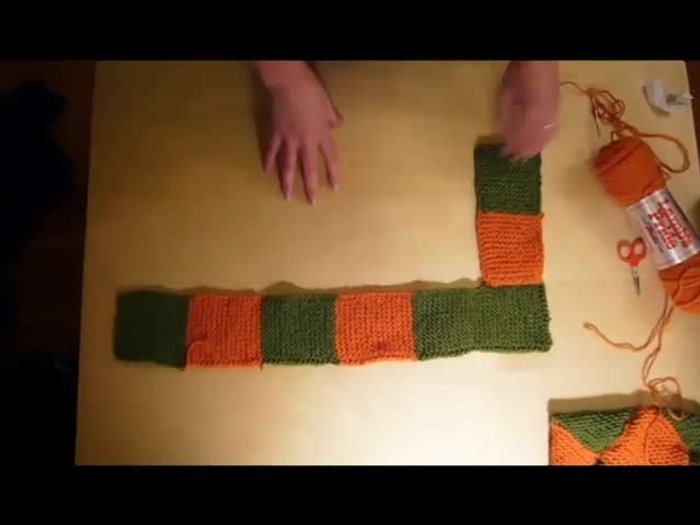
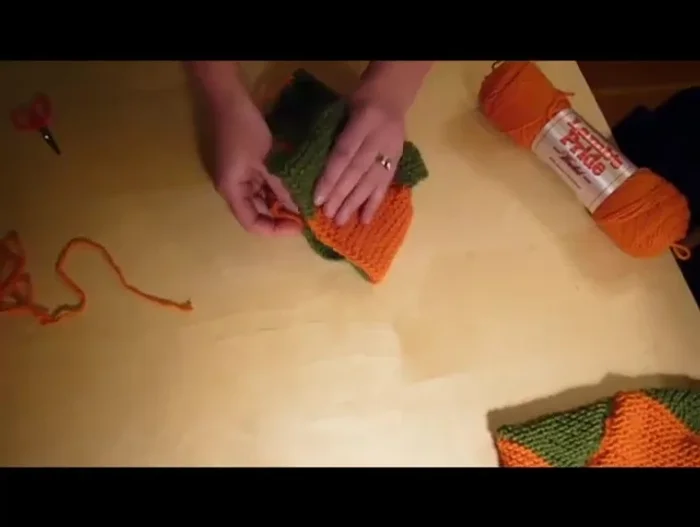
Initial Fold
- Lay the slipper flat.
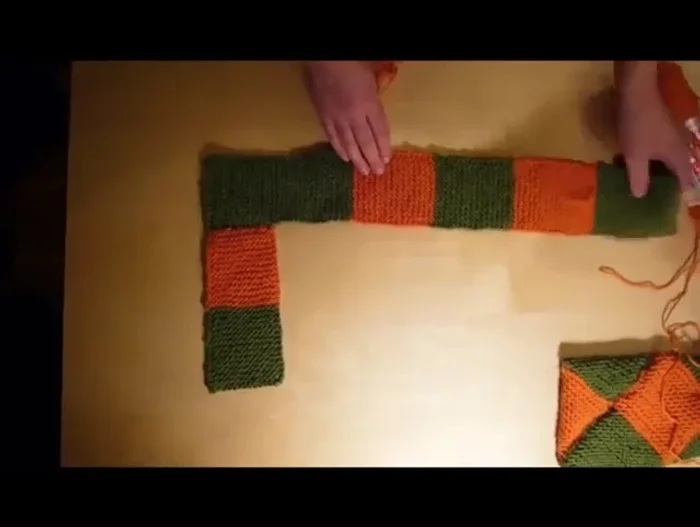
- Fold the square section (numbered 1-4) down to create a U-shape.
- Fold the slipper over so the folded section faces inward. Sew this seam securely.

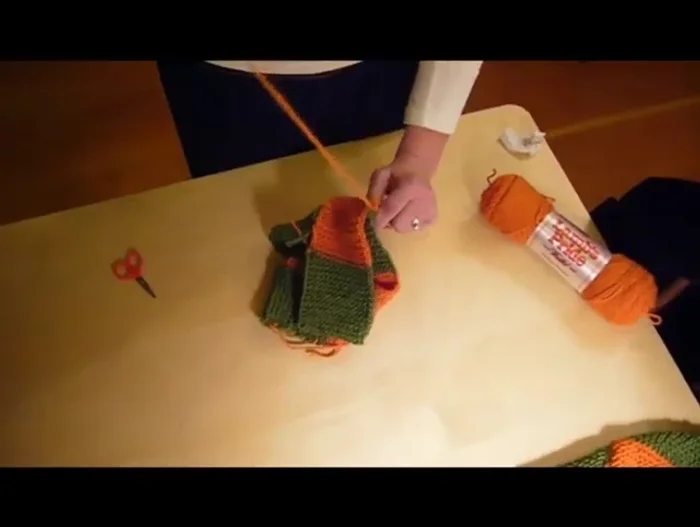
Initial Fold Attaching the Flap
- Turn the slipper over and sew the flap to the side.
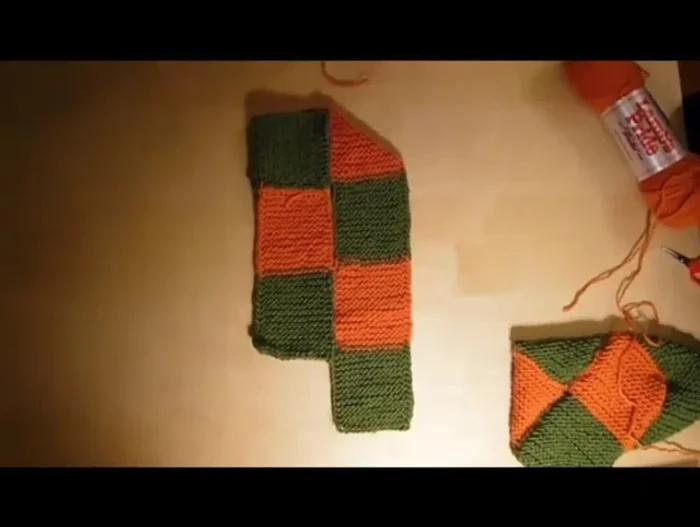
Attaching the Flap Sewing the Heel
- Sew the orange (heel) section to the green section.
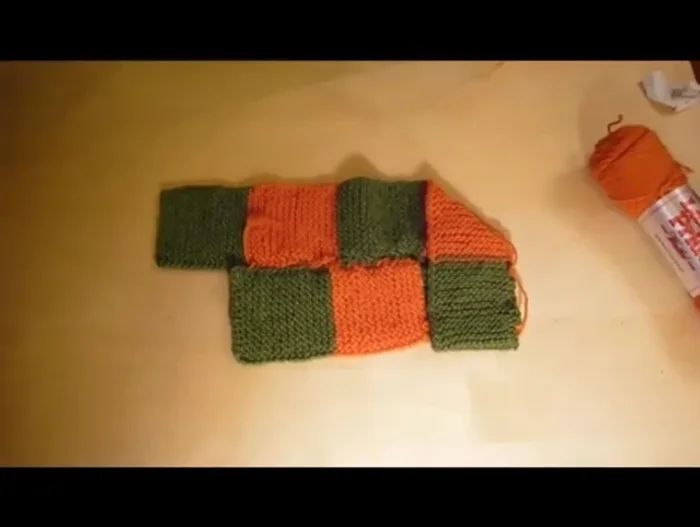
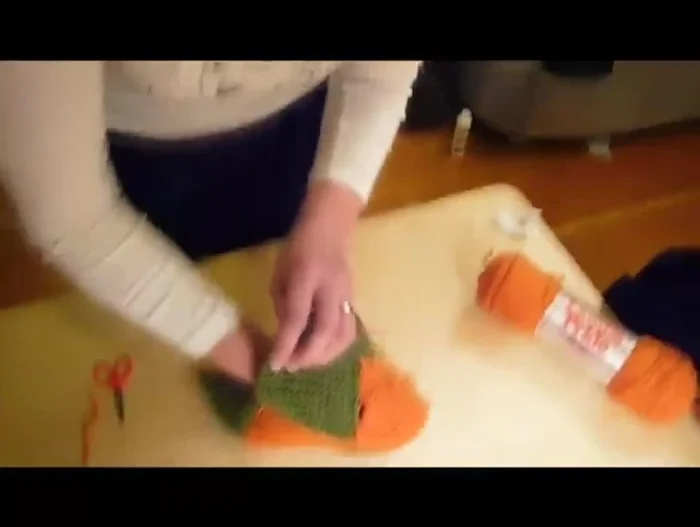
Sewing the Heel Closing the Slipper
- Sew the remaining side seams together, closing the slipper completely.
Closing the Slipper Finishing Touches
- Turn the slipper right-side out.
Finishing Touches
Read more: DIY Reversible Baby Slippers: Easy Sewing Tutorial
Tips
- Use small, neat stitches for a durable slipper.
- Ensure the squares match up perfectly during sewing.
- If slippers are too big, felt them again in the wash with towels.