Winter's chill can be a formidable opponent, but with a little ingenuity and some readily available materials, you can craft cozy, effective hand warmers without ever picking up a needle and thread. This no-sew wool mitten tutorial offers a delightful escape from the complexities of traditional knitting or sewing, delivering a surprisingly simple and satisfying DIY project perfect for all skill levels, even absolute beginners. Forget struggling with complicated patterns and frustrating knots; these mittens are remarkably easy to make and offer a fantastic way to personalize your winter wardrobe or create thoughtful, handmade gifts.
Imagine warm, woolen hands even on the frostiest days, achieved with nothing more than felt, wool fabric scraps, and a bit of patience. This tutorial provides a clear and concise guide to creating these incredibly simple, yet effective, no-sew mittens, perfect for adults and children alike. Ready to transform your leftover wool into stylish and practical winter accessories? Let's dive into the step-by-step process and get started!
Preparation and Safety Guidelines
- Wool fabric
- Elastic
- Safety pin
- Paper
- Scissors
- Sewing machine (optional)
- Felting wool shrinks significantly. Pre-felt your wool pieces according to the pattern instructions to avoid a too-small final product.
- Use sharp scissors to prevent fraying and ensure clean cuts. Always cut away from yourself.
- Supervise children closely if they're assisting with any part of the project, especially when handling sharp scissors or needles (if using for embellishment).
Step-by-Step Instructions
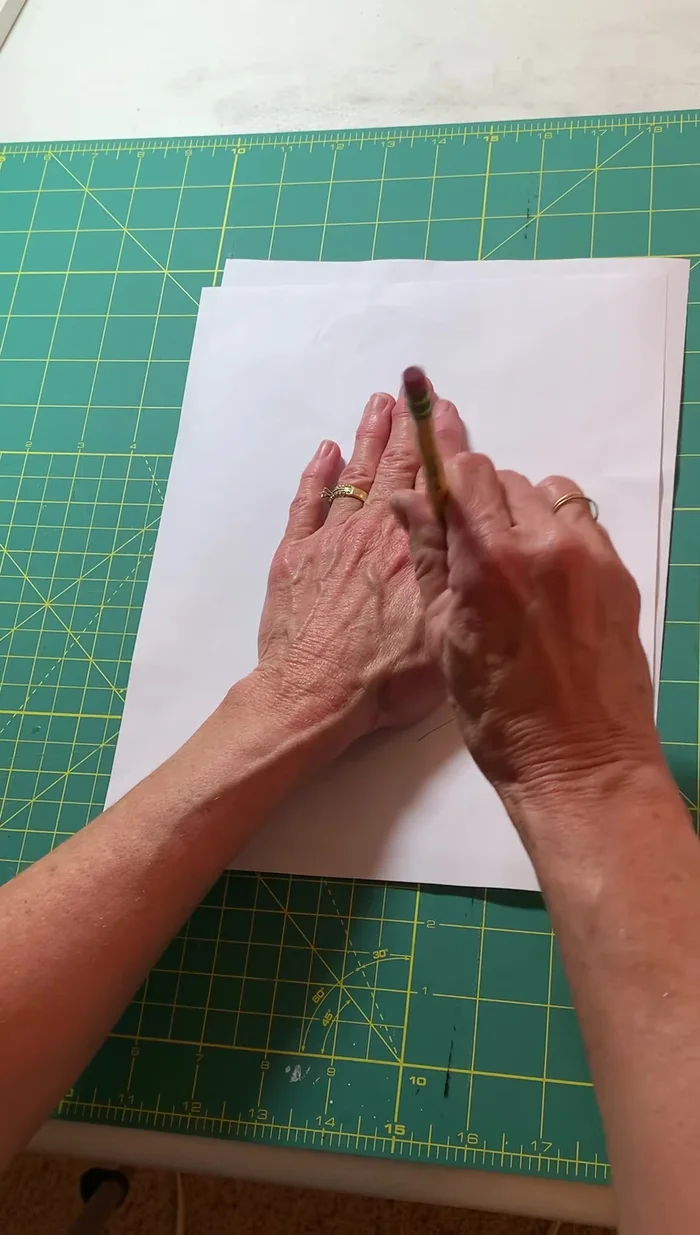
Create the Pattern
- Trace your hand (or child's hand) onto a piece of paper, leaving about a half-inch seam allowance around the edges and a larger opening at the bottom for your hand.

Create the Pattern Cut the Fabric
- Cut out two mitten shapes from your wool fabric, following the pattern and adding a half-inch or more seam allowance. Pay attention to the thumb opening.
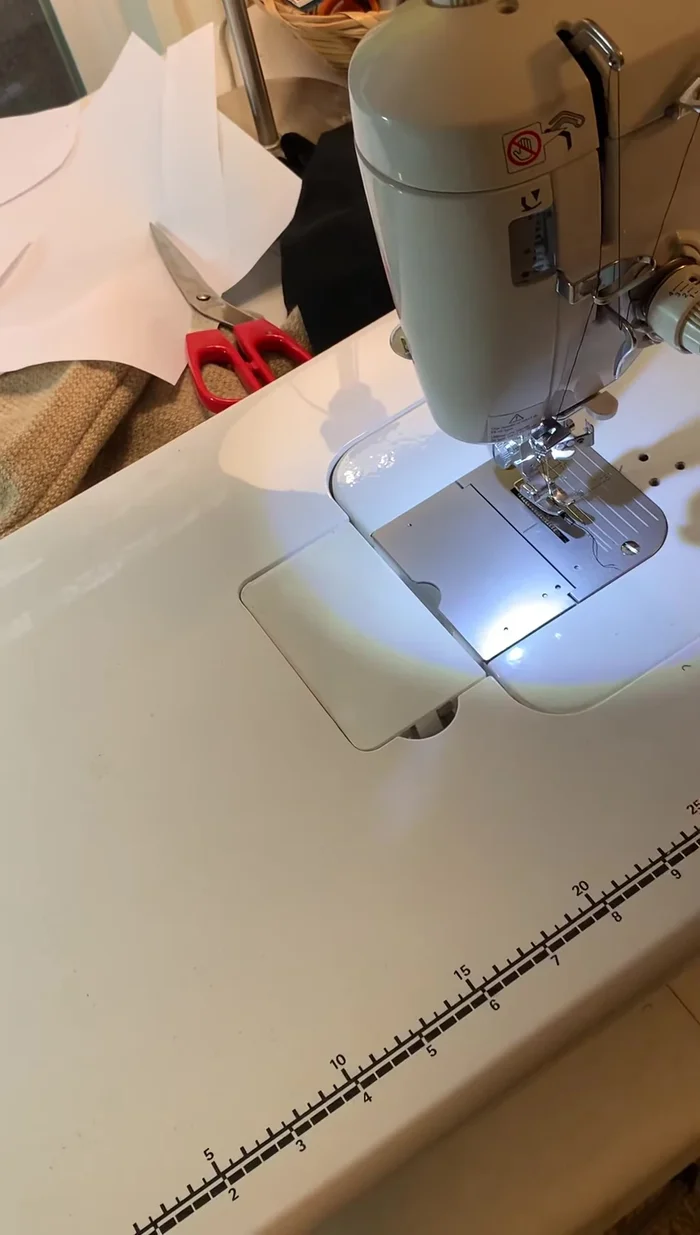
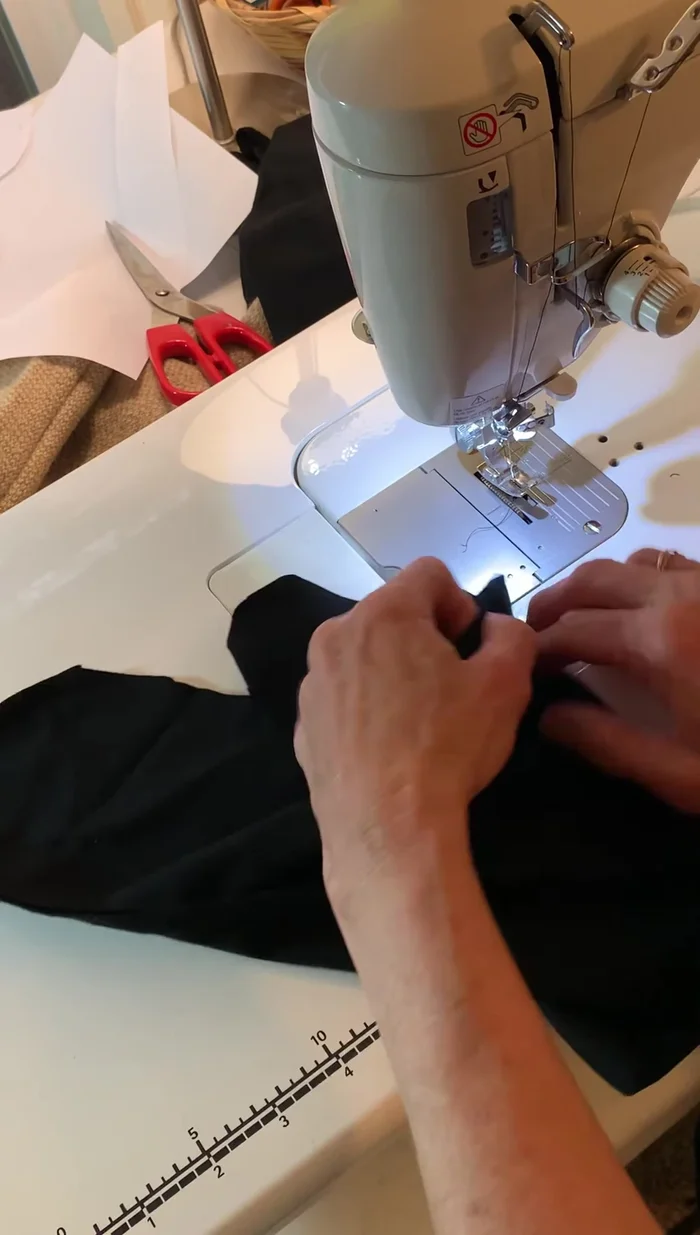
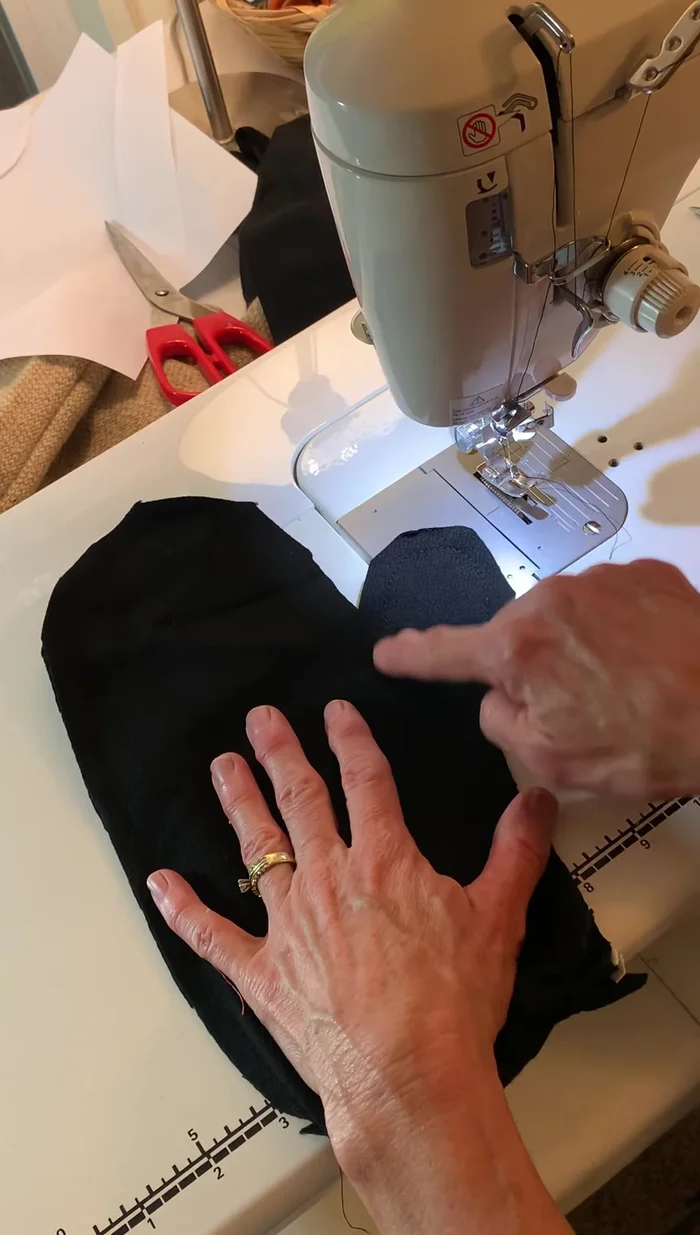
Cut the Fabric Sew the Mitten Pieces
- With right sides together, sew around the perimeter of each mitten, leaving the bottom opening for the hand open. If using a sewing machine, you can optionally pin the pieces together first.
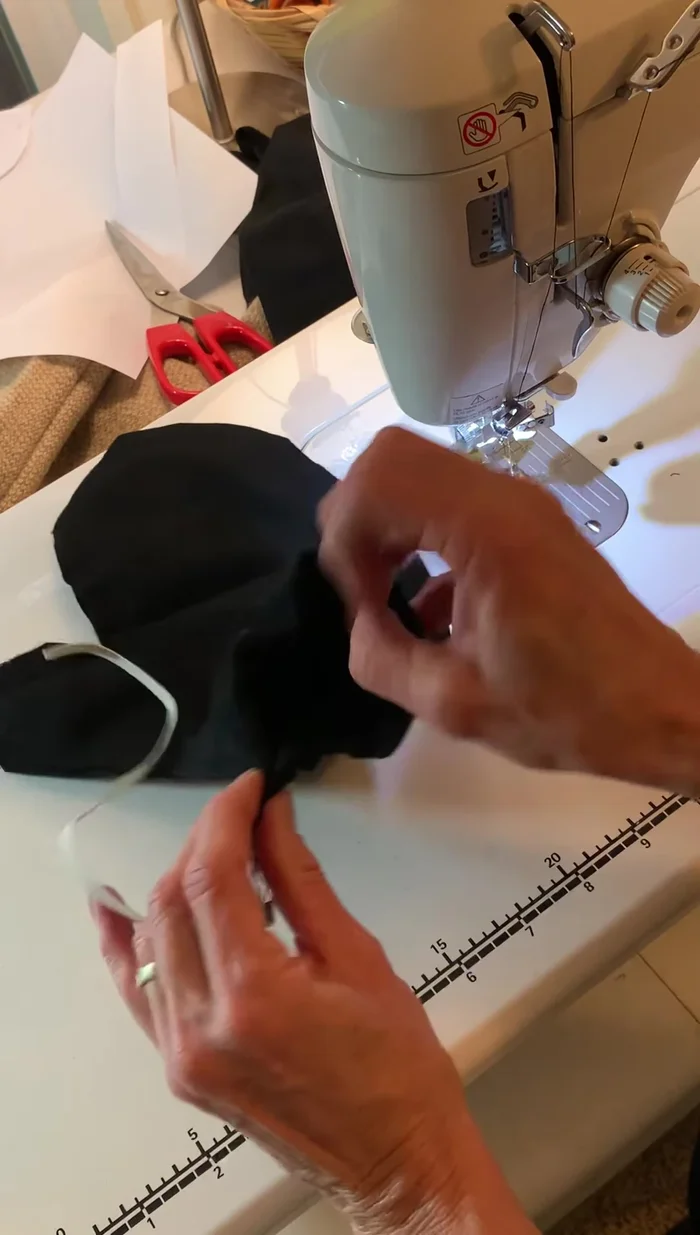
Sew the Mitten Pieces Insert and Secure Elastic
- Turn the mitten inside out. Insert elastic into the bottom casing using a safety pin. Pull the elastic through completely, leaving a bit of slack to create a gathered fit.
- Sew the ends of the elastic together, overlapping them slightly, and backstitch to secure.
Insert and Secure Elastic Reinforce and Finish
- Reinforce the V-shaped area of the mitten by sewing over this stress point to prevent tearing.
- Turn the mitten right side out and try it on to ensure a proper fit.
Reinforce and Finish


Read more: DIY Stretchy Fingerless Gloves: Easy Sewing Tutorial
Tips
- Make the opening at the bottom larger than you think necessary to allow for easy insertion of your hand, especially with non-stretchy fabric.
- Leave the elastic long for easier insertion and adjustment of fit.
- Pinning fabric pieces together before sewing can make the process easier and more accurate.
- Add extra seam allowance around the thumb to ensure a secure and comfortable fit.