Winter's chill got you reaching for the warmest socks you can find? Why not create your own cozy, unique pair using fabric scraps you already have? This guide will show you how to upcycle old t-shirts, sweaters, or even those beloved but worn-out jeans into delightful no-sew socks, perfect for keeping your feet toasty all season long. Forget expensive store-bought options and embrace the satisfying creativity of a DIY project that’s both environmentally friendly and wonderfully personal. This simple technique requires minimal materials and even less time, making it ideal for crafters of all skill levels.
No more itchy seams or uncomfortable fits! This ingenious no-sew method uses clever techniques to create snug and surprisingly durable socks, perfect for lounging around the house or even slipping into boots on a brisk winter day. Ready to transform your fabric scraps into warm, wearable winter accessories? Let’s dive into the step-by-step instructions and get crafting!
Preparation and Safety Guidelines
- Paper (A4)
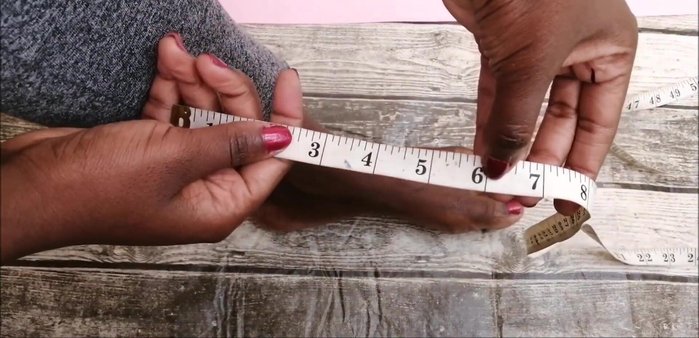
- Tape Measure
- Scissors
- Fabric (outer, lining, optional printed)
- Pins
- Sewing Machine (optional)
- Elastic
- Thread
- Always supervise young children if they are participating in any part of the sock creation process, especially when handling scissors or sharp objects during the cutting phase.
- Ensure all fabric edges are securely fastened to prevent fraying and potential hazards. Use strong adhesive or fabric glue designed for this purpose.
- Thoroughly wash and dry all fabrics before use to remove any potential allergens or irritants that could come into contact with your skin.
Step-by-Step Instructions
Create the Sock Pattern
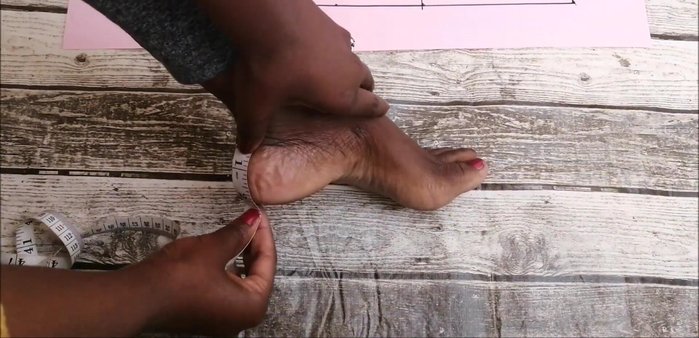
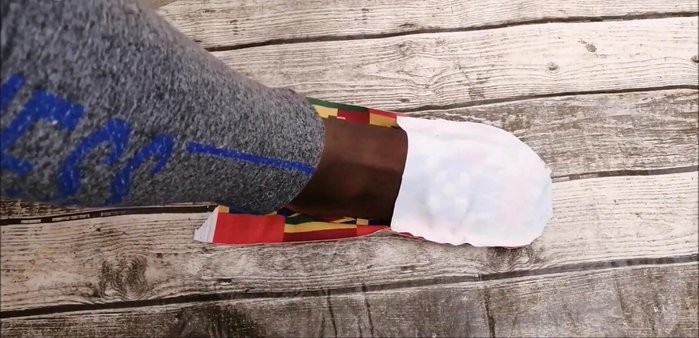
- Trace your foot onto paper to create the sock's sole pattern. Add 1-inch seam allowance on all sides.
- Measure from your big toe to where your leg starts; add 1-inch seam allowance to create the sock's upper pattern.
- Measure your heel (ideally 2 inches, not 3 as stated in the video); incorporate this measurement into the pattern.
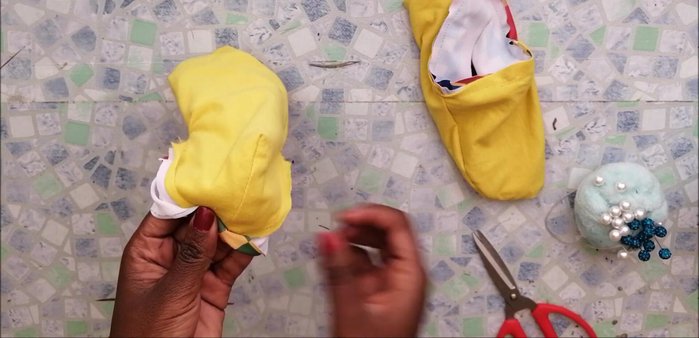
- Cut out the paper pattern. Create curved cuts for the heel and the top of the sock, ensuring the pieces are connected to create a single pattern.

Create the Sock Pattern Cut Fabric Pieces
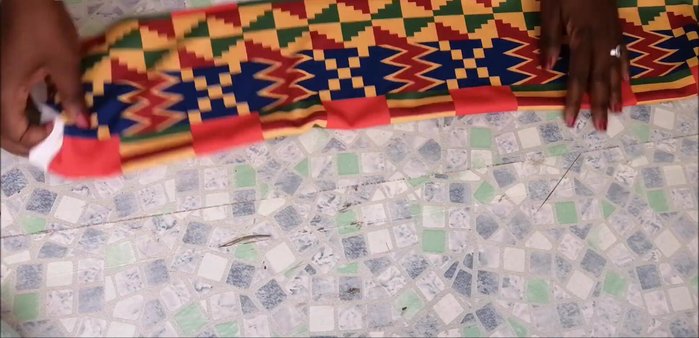
- Cut out two of each pattern piece from both your outer fabric and lining fabric.
Cut Fabric Pieces Sew the Outer Sock
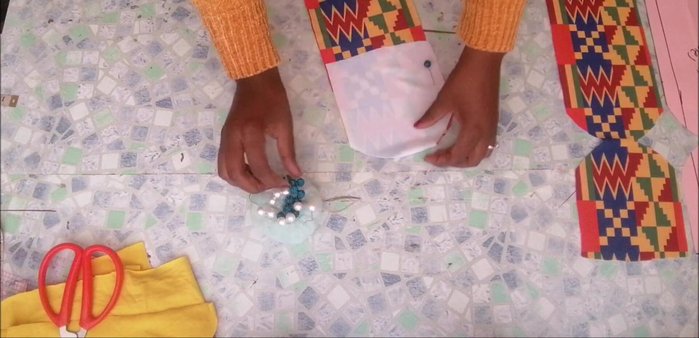
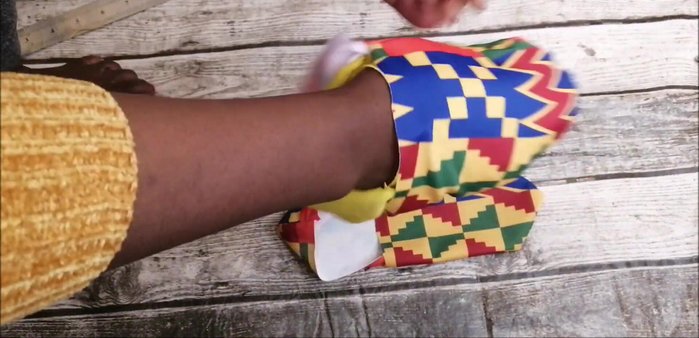
- Fold the fabric pieces with right sides together; pin and sew the sock's upper and sole pieces, leaving one side open to insert the lining.
- Try on the sock and adjust the fit by pinning and resewing any excess fabric.
Sew the Outer Sock Attach the Lining
- Insert the lining pieces into the outer fabric pieces, ensuring the wrong sides face each other. Sew around the edges of the sock to close the lining.
Attach the Lining Create and Attach the Cuff
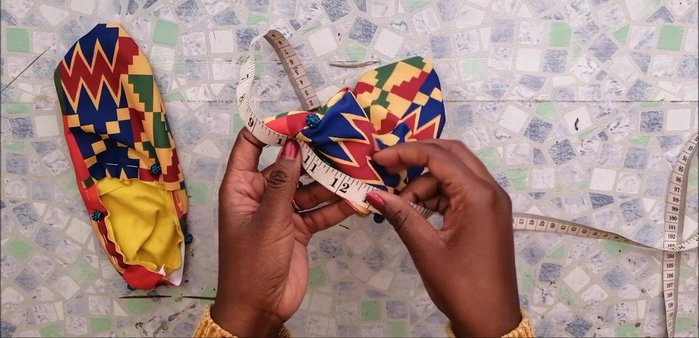
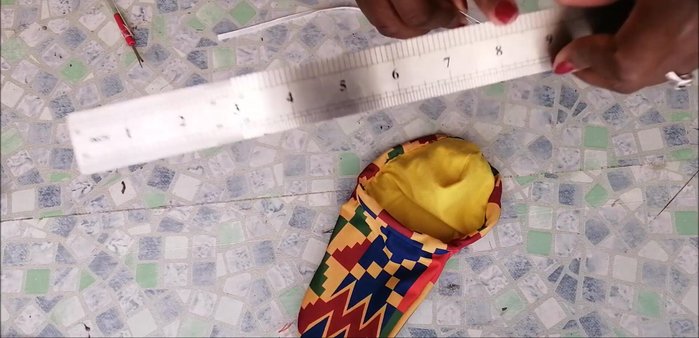
- Measure the opening of the sock; cut fabric strips of that length and 2 inches wide to create a cuff.
- Attach the fabric strips to the sock opening, right sides together, pinning and then sewing.
Create and Attach the Cuff Finish the Cuff and Add Elastic
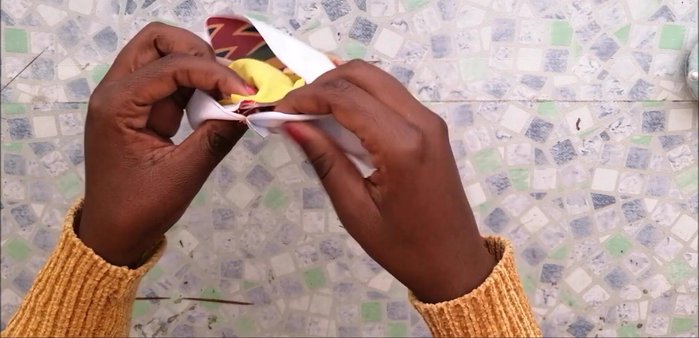
- Trim the excess fabric. Turn the sock inside out; fold over the fabric strips and use a blanket stitch to finish the cuff.
- Insert elastic into the cuff and sew the gap closed.
Finish the Cuff and Add Elastic


Read more: DIY Reversible Baby Slippers: Easy Sewing Tutorial
Tips
- Use stretchy fabrics and add generous seam allowances for a better fit.
- Consider using a smaller heel measurement (2 inches) for a more comfortable sock.
- This method is great for using up leftover fabric scraps or old t-shirts.