Indulge in the ultimate comfort with effortlessly chic DIY no-sew fabric sleepers! Forget expensive, restrictive pajamas – this guide shows you how to create your own personalized lounge wear using readily available materials and absolutely no sewing skills required. Imagine sinking into luxuriously soft fabric, tailored perfectly to your body, all without ever touching a needle and thread. These sleepers are perfect for relaxing at home, enjoying a cozy night's sleep, or even lounging around on weekends. The soft, breathable fabric will keep you comfortable all day long, and the simple design makes them incredibly easy to customize to your own style and preferences.
This project is ideal for beginners, requiring only basic crafting skills and a handful of everyday items. We'll guide you through each step, from choosing the right fabric to finishing touches that elevate your creation. Ready to create your dream pair of no-sew fabric sleepers? Let's dive into the simple, step-by-step process below!
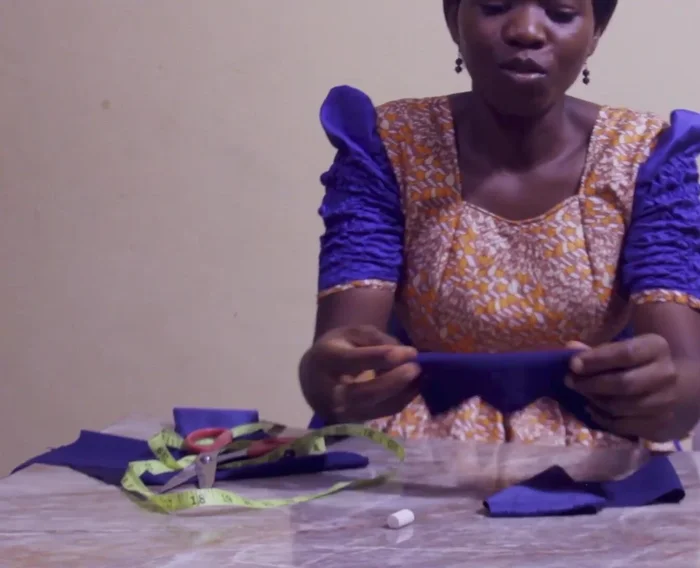
Preparation and Safety Guidelines
- Fabric (approx. 1 yard)
- Cardboard
- Scissors
- Glue (transparent recommended)
- Optional: Embellishments (stones, etc.)
- Sewing machine (optional)
- Always use fabric intended for direct skin contact. Avoid fabrics that are rough, irritating, or may cause allergic reactions. Pre-wash fabrics before making the sleeper to prevent shrinkage and improve softness.
- Ensure all edges are securely fastened. Loose threads or unfinished edges can pose a choking hazard, especially for babies or young children. Use fabric glue, fray check, or double-fold and stitch edges where necessary (even without sewing, securing edges is crucial).
- Supervise children closely while wearing the no-sew sleeper. While designed for comfort, ensure the garment fits appropriately and doesn't restrict movement or breathing.
Step-by-Step Instructions
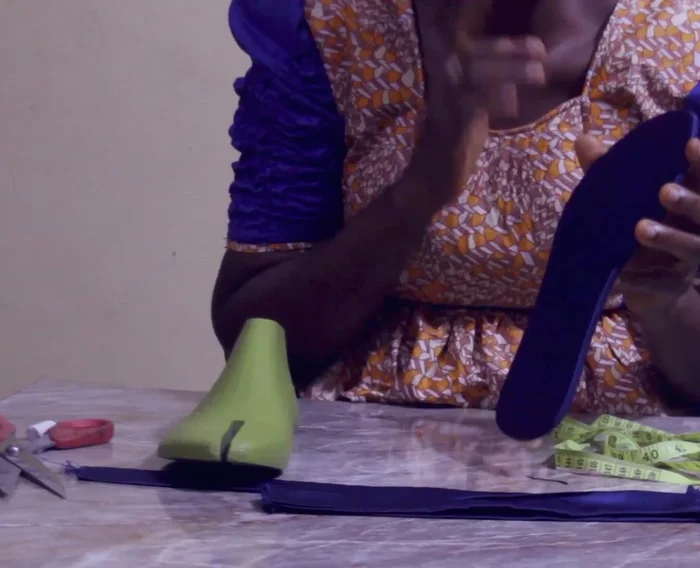
Prepare Fabric Strips
- Cut two strips of fabric measuring 23cm long and 9.5cm wide for the first two straps (later doubled for strength). A third strip measuring 36cm long and 9.5cm wide is also needed.
Double and Stitch Fabric Strips
- Fold each fabric strip in half lengthwise, creating a doubled-up strip which will be stitched together. This adds strength and accounts for seam allowance.
- Stitch the long edges of each doubled fabric strip together. You can hand-stitch or use a sewing machine. Make two pairs of the shorter strips and one longer strip.

Double and Stitch Fabric Strips Prepare and Glue Cardboard Inserts
- Cut cardboard pieces that are slightly smaller than the fabric strips (to account for the fabric's thickness after being folded and stitched).
- Apply glue ONLY to the cardboard, not the fabric. This prevents glue stains on the fabric. Place the folded and stitched fabric strip onto the glued cardboard, pressing firmly for about 10 seconds to ensure adhesion.
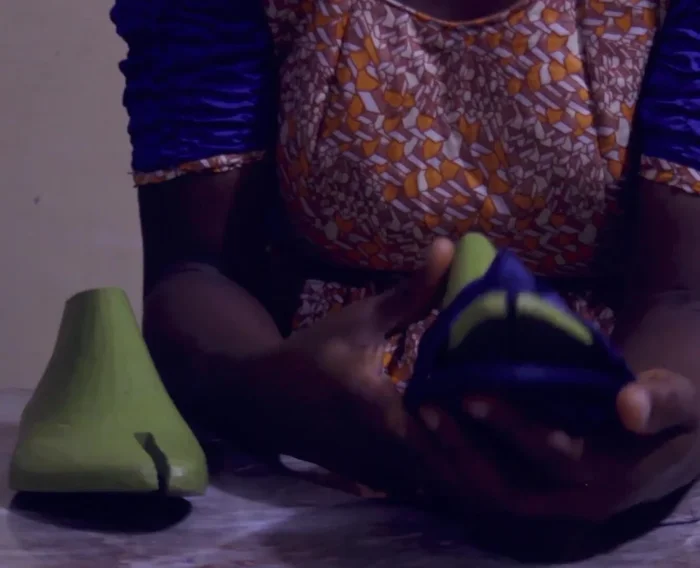
Prepare and Glue Cardboard Inserts Assemble the Sleepers
- Position the two shorter fabric-covered cardboard pieces on either side of the longer one. The longer strip will form the top center of the sleeper.
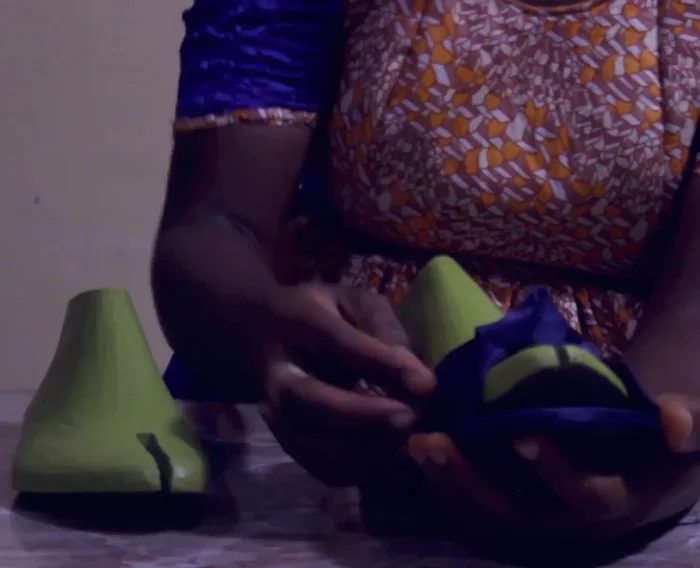
Assemble the Sleepers Glue and Finish
- Apply transparent glue to the edges where the shorter strips meet the longer strip. Carefully press and hold until the glue sets. Then fold the excess fabric over the edges of the longer strip and secure with glue, creating a neat finish.
Glue and Finish Add Embellishments (Optional)
- Add embellishments like stones for extra sparkle (if desired). Ensure embellishments don't interfere with the inner layers of fabric which contact the cardboard.
Add Embellishments (Optional)

Read more: DIY Reversible Baby Slippers: Easy Sewing Tutorial
Tips
- Use transparent glue to avoid visible glue marks.
- Apply glue only to the cardboard to prevent glue stains on the fabric.
- Consider using a fabric with enough body to hold its shape, avoiding overly thin or flimsy materials.
- Allow adequate time for the glue to dry completely before handling the finished sleepers.