Machine embroidery offers a fantastic way to elevate a simple scarf into a unique, personalized accessory, transforming a functional item into a wearable work of art. Whether you're a seasoned embroiderer looking to refine your technique or a curious beginner eager to explore this craft, this guide will walk you through the process of achieving professional-quality machine embroidery on your scarves. From choosing the right fabric and stabilizer to selecting stunning designs and mastering the crucial finishing touches, we’ll cover everything you need to know.
This comprehensive guide will equip you with the skills and knowledge to confidently create beautifully embroidered scarves. We'll explore various design options, troubleshooting common problems, and provide expert tips for achieving crisp, clean stitches every time. Ready to transform your scarf making? Let's dive into the step-by-step process, starting with selecting the perfect base fabric.
Preparation and Safety Guidelines
- Embroidery Machine
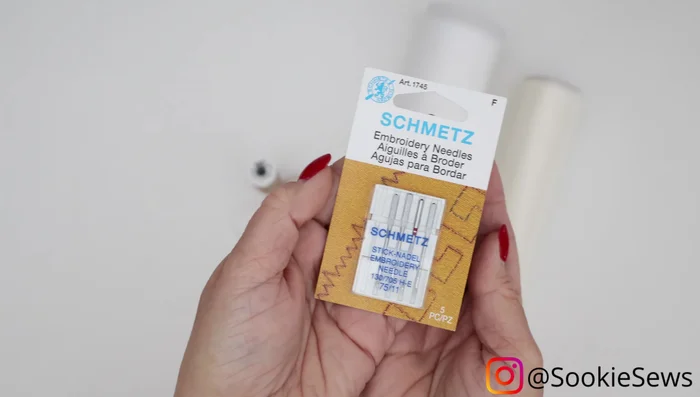
- Embroidery 75/11 Needle
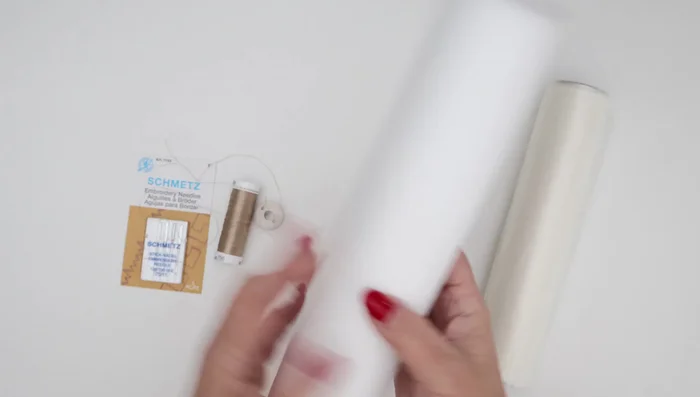
- 40 wt Embroidery Thread (Metler Poly Sheen recommended)
- Wash-Away Mesh Stabilizer
- Clear Wash-Away Stabilizer
- Embroidery Scissors
- Small Angled Tweezers
- So Tight Magnetic Fabric Holders
- Marking Pencil/Sticker/Wash Away Chalk
- Always use a stabilizer appropriate for your fabric and embroidery design. Insufficient stabilizer can cause puckering or damage to your scarf.
- Test your embroidery design on a scrap piece of similar fabric before embroidering on your final scarf. This allows you to adjust settings and avoid mistakes on your project.
- Never leave your machine unattended while it's running. Pay close attention to the process to prevent accidents or damage.
Step-by-Step Instructions
Prepare Materials
- Use a brand new embroidery 75/11 needle and 40 wt embroidery thread (same thread top and bobbin).
- Use a wash-away mesh stabilizer for backing and a clear wash-away stabilizer for topping.

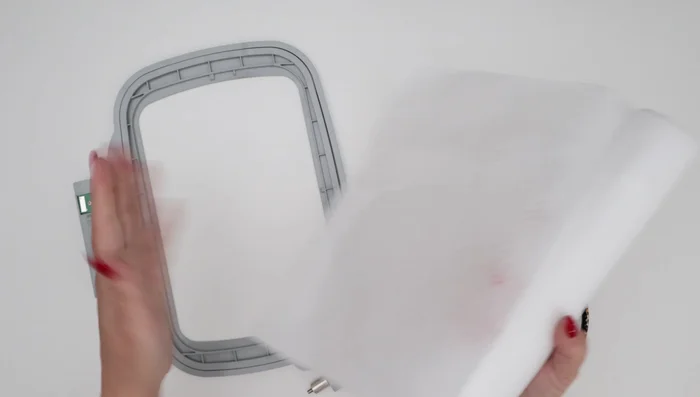
Prepare Materials Prepare the Hoop
- Secure the wash-away mesh stabilizer in your hoop, ensuring it's taut and evenly placed.
- Accurately mark the desired embroidery placement on both the scarf and the stabilizer. Use a method that will easily remove later. Align the marks to ensure precise placement.
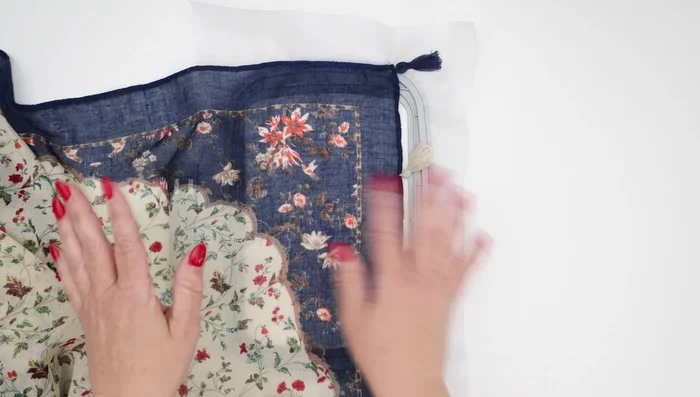
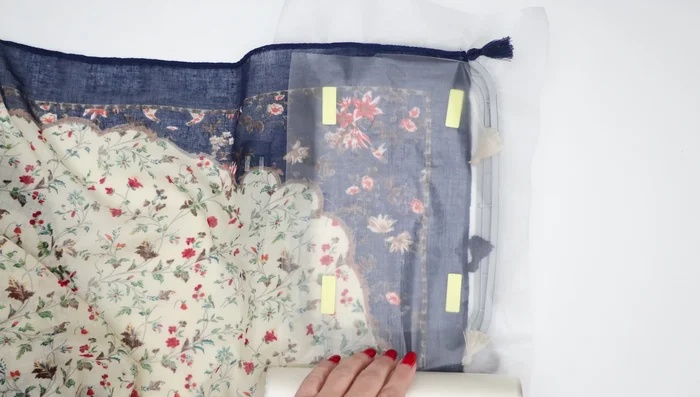
Prepare the Hoop Secure the Scarf
- Use So Tight magnetic fabric holders to attach the scarf to the stabilizer without pins or adhesives. Place them at the four corners.
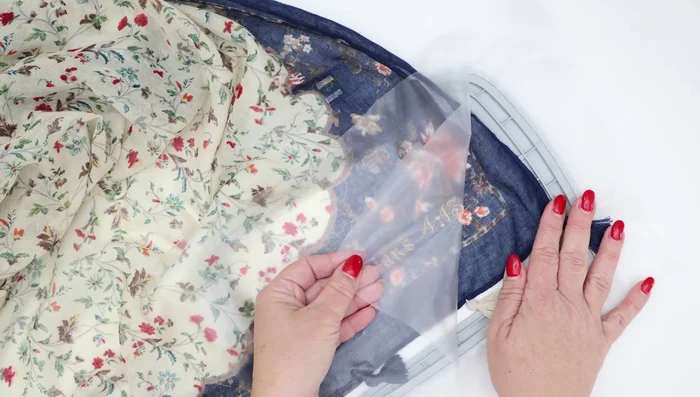
- Layer the clear wash-away stabilizer over the scarf, ensuring it's smooth and taut.
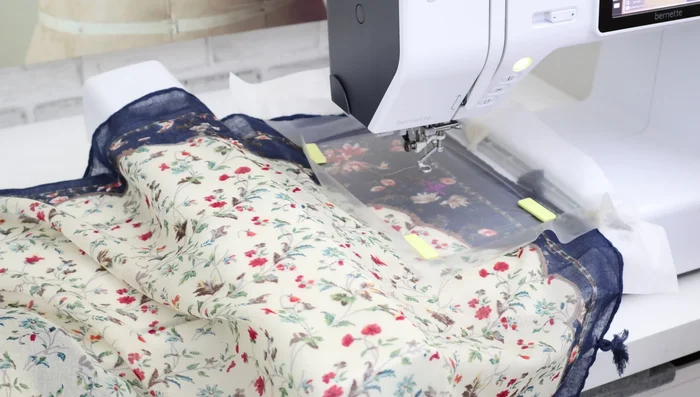
Secure the Scarf Machine Embroidery Setup
- Center the needle over the desired embroidery starting point.
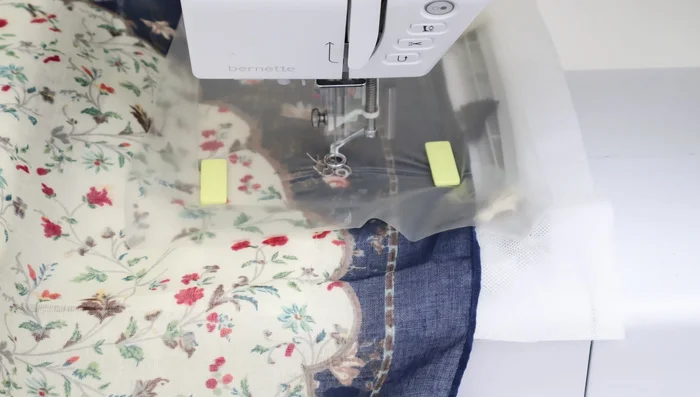
Machine Embroidery Setup Embroider
- Start the embroidery process on your machine.
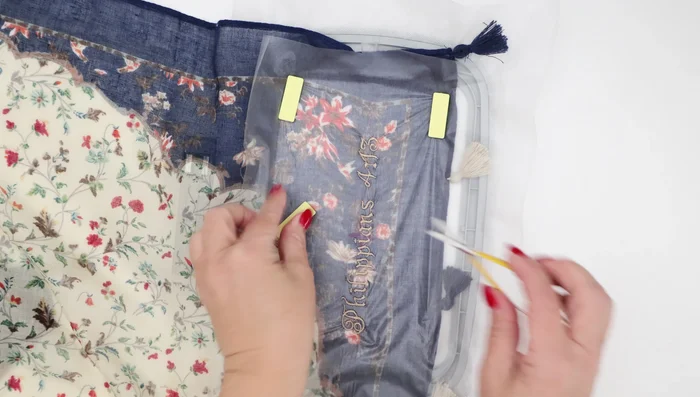
Embroider Remove Stabilizers and Holders
- Carefully remove the magnetic holders and trim any jump threads.
- Gently peel away the clear wash-away stabilizer while holding the stitches to prevent distortion.
- Carefully cut away as much of the mesh stabilizer as possible using duckbill scissors to avoid damaging the scarf. Wash away any remaining stabilizer.
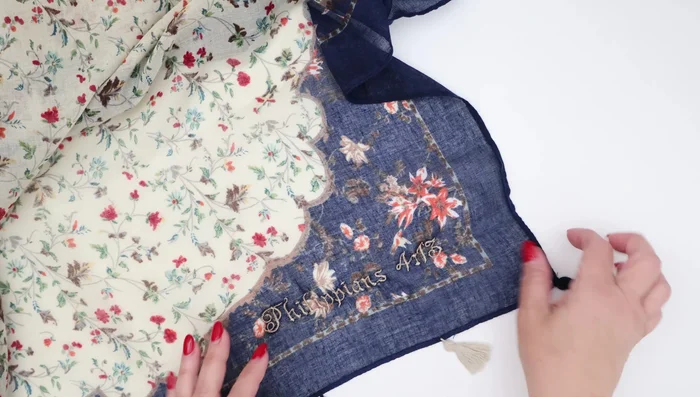
Remove Stabilizers and Holders Finishing
- Trim excess threads from both the front and back of the scarf. Press gently to achieve a flat finish.
Finishing


Read more: DIY Stretchy Fingerless Gloves: Easy Sewing Tutorial
Tips
- Always use a brand new needle for embroidery.
- Test your marking method to ensure it's removable.
- Use So Tight magnetic holders to avoid pinholes and adhesive residue.
- Use duckbill applique scissors for trimming stabilizer near the fabric to prevent accidental cuts.
- Gently massage the stabilizer while washing to speed up the removal process.