Leather slides offer a unique blend of comfort and style, effortlessly transitioning from casual outings to relaxed evenings. But what if you could elevate that simple design, crafting a pair uniquely yours, showcasing the rich texture and luxurious feel of contrasting leathers? This tutorial empowers you to do just that, guiding you through the process of creating bespoke leather slides that reflect your personal taste. Forget mass-produced footwear; this is your chance to experience the satisfaction of handcrafted quality.
Imagine the smooth, supple feel of high-quality leather against your skin, the subtle sheen of contrasting tones working together in perfect harmony. This detailed guide will walk you through each step, from selecting your materials to finishing touches, providing clear instructions and helpful tips along the way. Prepare to embark on a rewarding crafting journey, and let's begin the step-by-step process of creating your stunning contrast leather slides.
Preparation and Safety Guidelines
- Scissors
- Measuring tape
- Meter rule
- Punch plier
- Utility knife
- Cardboard
- Leather
- Lining
- Always use sharp, well-maintained tools to avoid accidents and ensure clean cuts. Dull tools require more force, increasing the risk of slippage and injury.
- Wear appropriate safety gear, including eye protection and gloves, throughout the entire crafting process. Leather dust and sharp tools can cause serious harm.
- Work in a well-ventilated area. Some leather treatments and adhesives release fumes that can be harmful if inhaled.
Step-by-Step Instructions
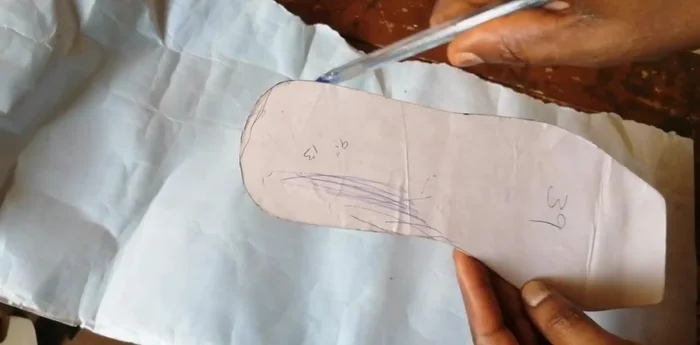
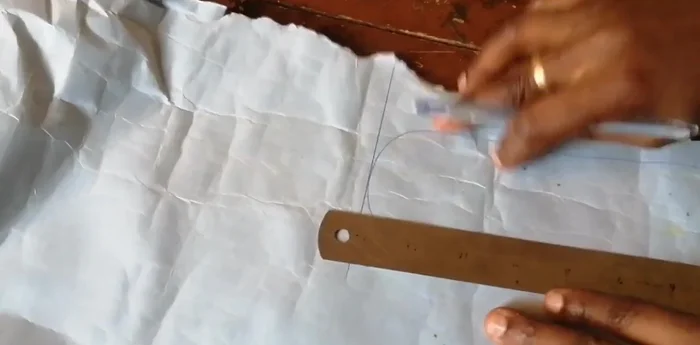
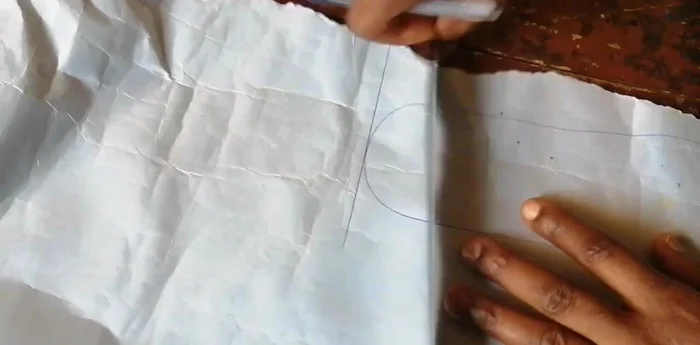
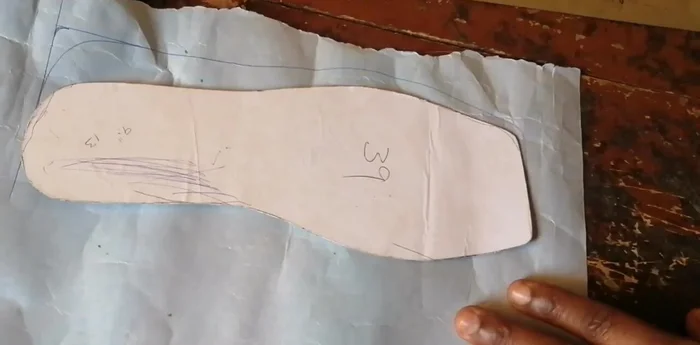
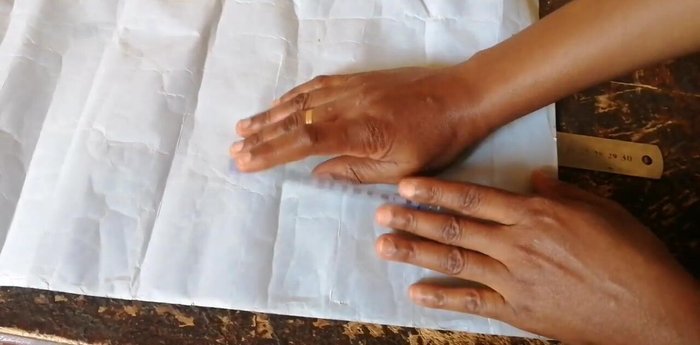
Insole Shaping
- Start with the inner sole. Create a square shape for the insole, referring to previous tutorials for detailed instructions (link provided at the end of the video).
- Make the sides of the insole slightly curved, ensuring a comfortable fit for a wide range of foot sizes.
- Create a square shape at the bottom tip of the insole by aligning the meter rule to touch both sides.
- Adjust the width by placing the initial pattern and tilting it outwards to increase the size as needed. Maintain the same length while widening the shape.

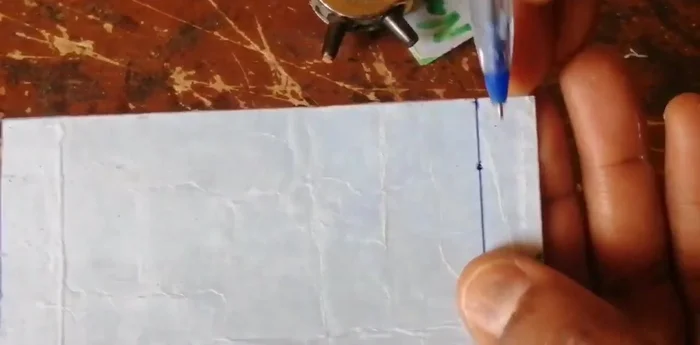
Insole Shaping Leather Measurement and Cutting
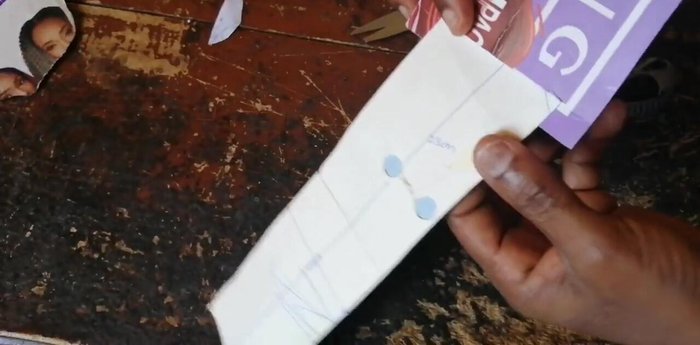
- Take measurements for the leather pieces. The white leather will be smaller in width but longer than the brown leather.
- approximately 23cm length and 6.5cm width for the white leather; 11cm length and 9.5cm width for the brown leather. (Adjustments based on desired size).
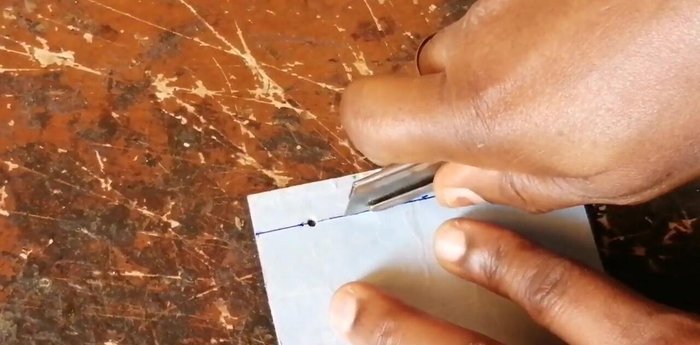
Leather Measurement and Cutting Preparing for Assembly
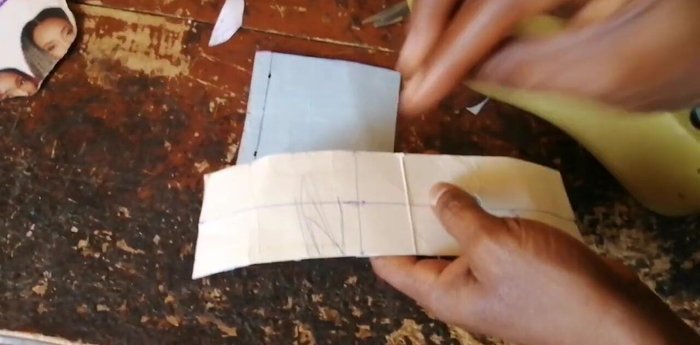
- Locate the center of both leather pieces and align them to determine the punch points for the openings.
Preparing for Assembly Creating the Openings
- Punch the openings, moving slightly inward to avoid overly wide gaps.
- Open the punched holes using a utility knife, carefully following the marked lines.
Creating the Openings Assembling the Slides
- Insert the white leather into the opening from underneath, ensuring a snug fit. Adjust the position if needed for a proper fit.
Assembling the Slides Finishing Touches
- Stitch around the edges to secure the leather pieces. Alternatively, use strong adhesive to bond the upper leather and lining together.
Finishing Touches

Read more: DIY Reversible Baby Slippers: Easy Sewing Tutorial
Tips
- Use a thicker cardboard backing to prevent tearing of the leather while working.
- Leave an allowance (1.2-1.5cm) on the sides for a comfortable fit and to prevent the slide from being too wide.
- Carefully align the leather pieces to ensure a seamless and visually appealing finish.
- Apply gum to both the upper leather and lining for a strong bond if not stitching.