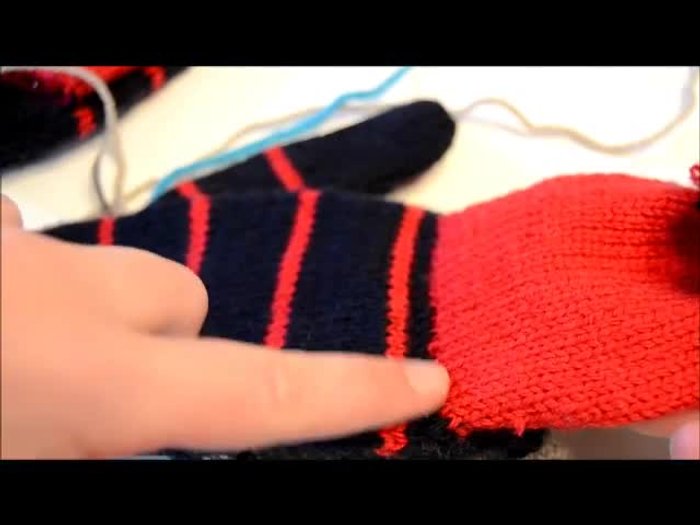
Knitting fingerless gloves offers a delightful blend of warmth and dexterity, perfect for those chilly days when you need to retain the use of your fingers. But what if you wanted more versatility? Enter the stadium convertible fingerless mitts, a clever design allowing you to easily transform them from simple fingerless gloves to cozy mittens with a simple flap closure. This unique design utilizes a clever flap technique, offering both warmth and adaptability, making them ideal for a wide range of activities and weather conditions.
This innovative technique allows for a seamless transition between open and closed configurations, providing the wearer with exceptional comfort and convenience. The following step-by-step guide will walk you through the process of creating your own pair of stadium convertible fingerless mitts using the flap technique, enabling you to craft a truly unique and functional accessory. Prepare to be amazed by how easily this seemingly complex design comes together!
Preparation and Safety Guidelines
- yarn
- knitting needles
- stitch holder or yarn needle
- Use appropriate needle size for your yarn weight to avoid overly tight or loose stitches, impacting both comfort and the overall look of the flap and mitts.
- Pay close attention to your stitch count at the end of each row, especially when working the increases and decreases for shaping the flap and thumb gusset. Incorrect counts can lead to unevenness.
- Before beginning the thumb gusset, ensure the flap is firmly attached and the increases/decreases for shaping are complete to avoid complications while working the thumb.
Step-by-Step Instructions
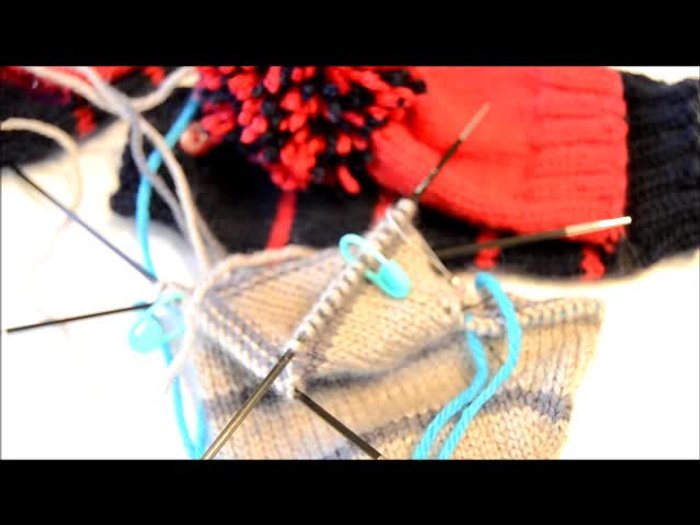
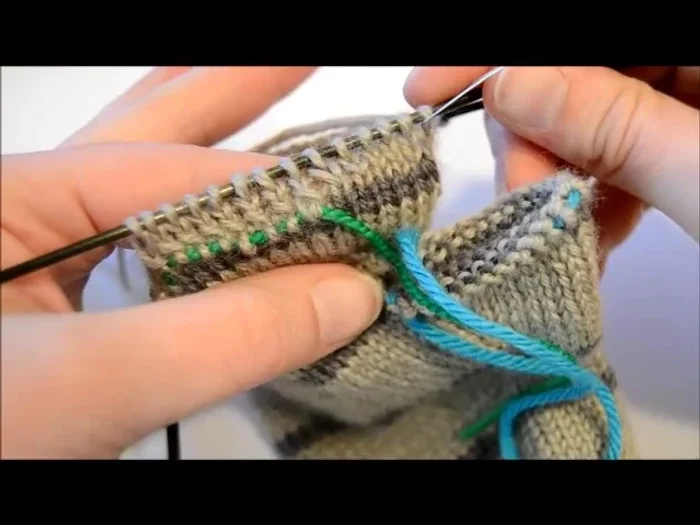
Prepare the Stitches
- Place markers to divide stitches into sections for the flap and the mitt body. You should have approximately 61 stitches in total before starting this step.

Prepare the Stitches Knit the Initial Sections
- Knit the first six stitches.
- Knit the last 20 stitches for the mitt body.
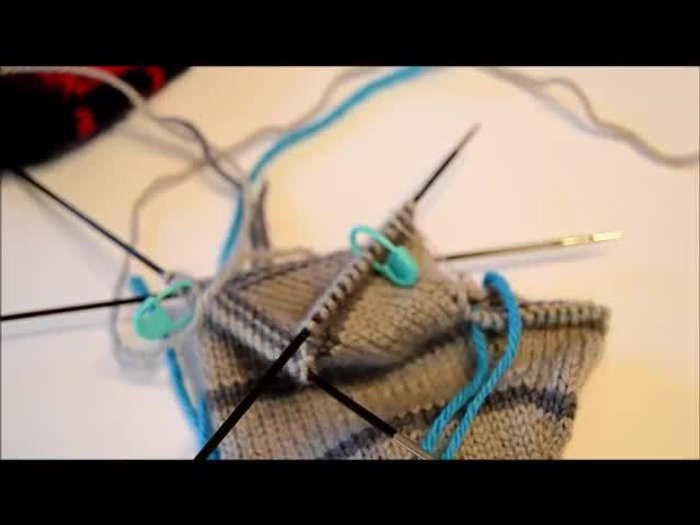
Knit the Initial Sections Create the Flap
- Knit front and back for 21 stitches to double the number of stitches and create the flap.
- Continue knitting front and back for the next 21 stitches to create the other half of the flap.
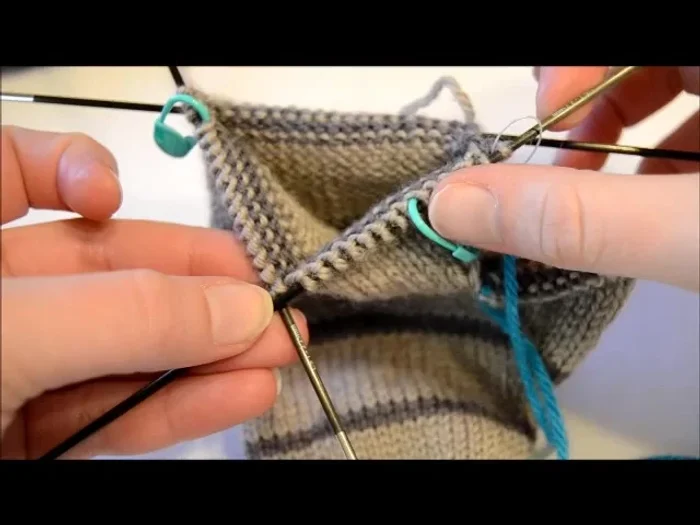
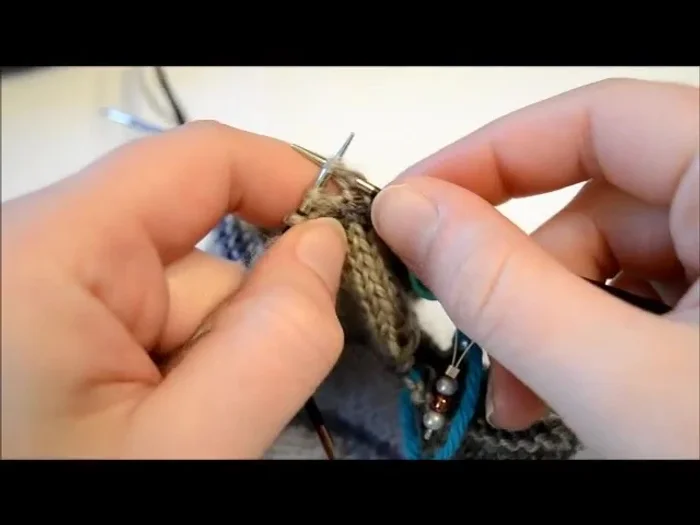
Create the Flap Transfer Flap Stitches
- Using a stitch holder or yarn needle, carefully transfer the increased flap stitches (42 total) to a separate holder. Slip the first stitch purlwise onto the holder, then knit the next stitch, repeating this process across all 42 stitches.
Transfer Flap Stitches Complete the Mitt Body
- Knit the remaining stitches on the needle according to your pattern.
Complete the Mitt Body

Read more: DIY Stretchy Fingerless Gloves: Easy Sewing Tutorial
Tips
- Use stitch markers to avoid counting stitches while knitting.
- When transferring stitches, slip the first stitch purlwise to maintain the correct orientation.
- If you get confused about which stitch to slip or knit, look at the texture of the stitch on the needle. Knit stitches have a diagonal line, purl stitches have a small bump.
- After completing this step, you'll have the flap stitches separated and the mitt body stitches ready for the next stages of the pattern.