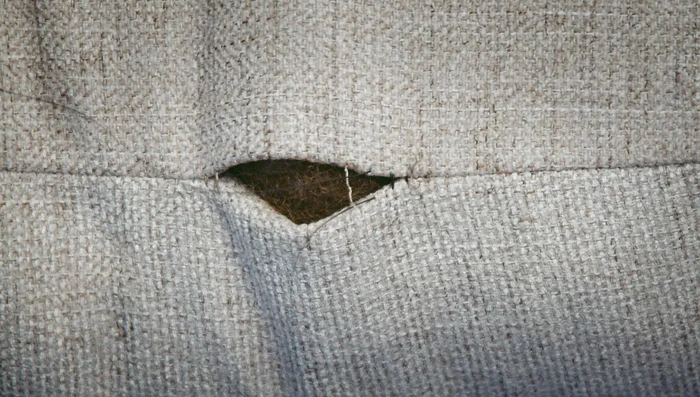
Upholstery is the unsung hero of a well-loved piece of furniture, silently enduring years of use and wear. When damage occurs, however, a skilled hand is needed to restore its beauty and functionality without betraying the repair. One such skill, vital to professional furniture repair, is the invisible double blind stitch. This seemingly simple stitch, when expertly executed, allows for seamless repairs that are virtually undetectable, preserving the original aesthetic of the piece and extending its lifespan. Often considered the gold standard for upholstery repair, its mastery takes practice and precision.
This intricate technique, though requiring patience, delivers exceptional results. From selecting the appropriate needle and thread to achieving consistent tension and flawlessly concealing the stitches, mastering the invisible double blind stitch is key to high-quality furniture restoration. In the following step-by-step guide, we’ll unravel the secrets to achieving this professional finish and transform your damaged furniture from worn to wonderful.
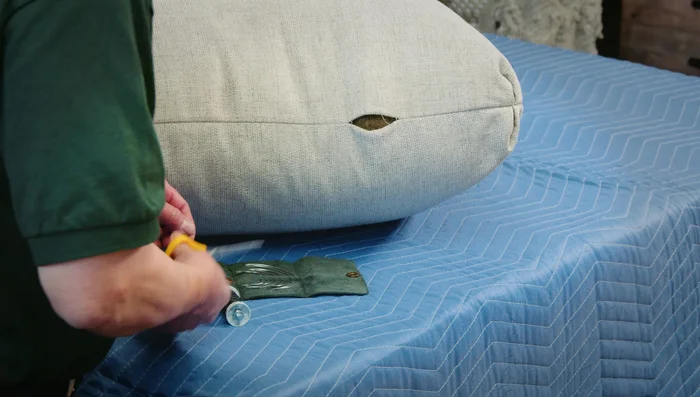
Preparation and Safety Guidelines
- Curved needle
- Colored thread
- Always use sharp needles appropriate for your upholstery fabric to avoid snags and ensure clean stitches. Dull needles increase the risk of injury.
- Exercise caution when working with upholstery staples or tacks. Wear safety glasses to protect your eyes from flying debris.
- If you are unsure about any aspect of the repair, especially involving power tools or working at heights, seek professional assistance. Improper techniques can lead to injury or damage.
Step-by-Step Instructions
Prepare the Needle and Thread
- Thread the needle.

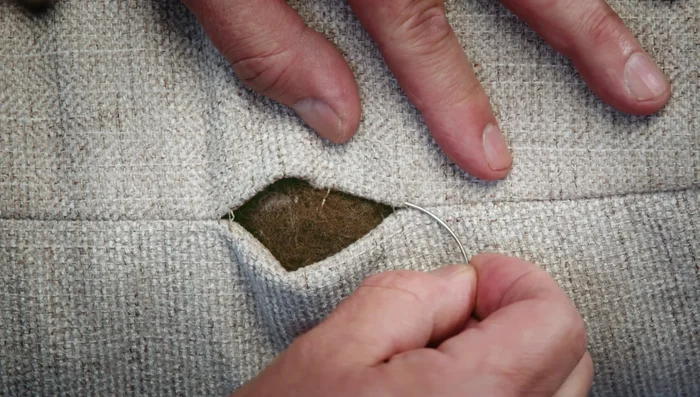
Prepare the Needle and Thread Initial Stitch: First Side
- Sink the needle into the fabric just above and before the broken seam (hole 1).
- Bring the needle to the other side of the seam to create holes 2 and 3.
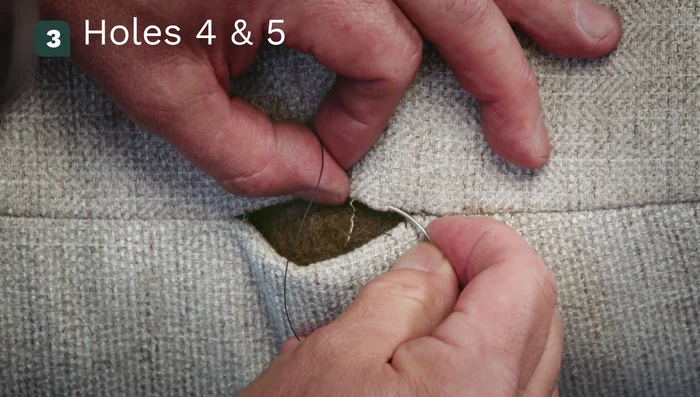
- Go back across, creating holes 4 and 5. Stitches should be about 1/4 inch apart.
Initial Stitch: First Side Initial Stitch: Second Side
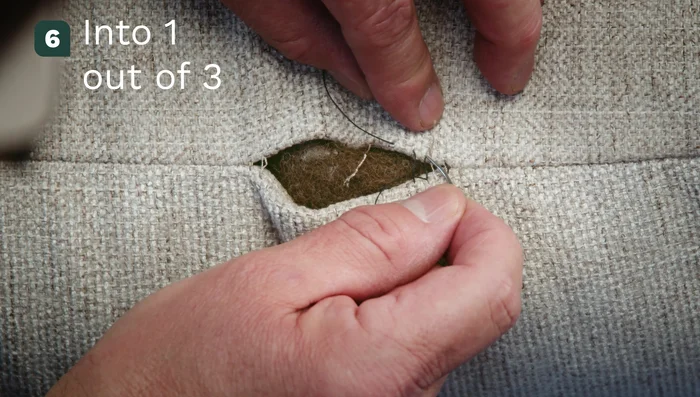
- Swap to the other end of the thread.
- Repeat on the opposite side, sinking the needle below and before the seam (aiming for hole 2).
- Bring the needle out of hole 2, then into hole 1 and out hole 3.
- Continue across the seam, into hole 4 and out to create hole 6.
Initial Stitch: Second Side Complete the Stitch
- Pull both ends tight. This creates the double blind stitch.
- Repeat steps 6-9 along the length of the seam.
Complete the Stitch Finishing Stitches
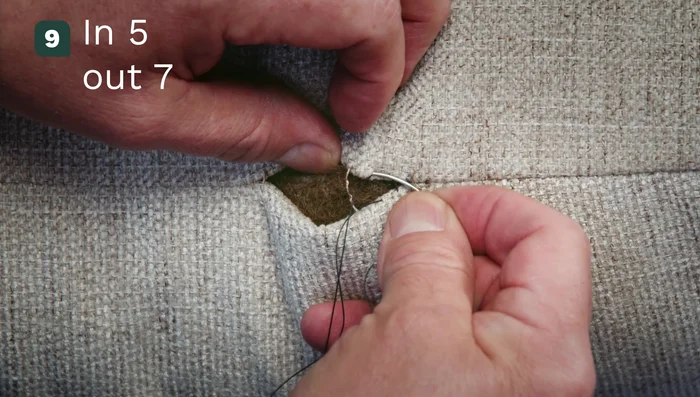
- To finish, go into hole 5, creating hole 7. Then across the seam to create holes 8 and 10.
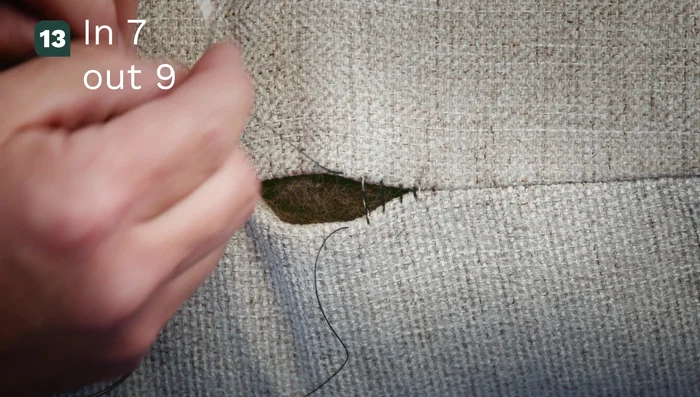
- Swap the needle to the other end of the thread. Go into hole 6, out hole 8, then across into hole 7 to create hole 9.
- Pull tight. Continue until the end of the seam.
Finishing Stitches Secure and Finish
- Tie off the threads with a knot, and tuck the knot into the fabric.
- Cut the thread.
Secure and Finish


Read more: DIY Reversible Baby Slippers: Easy Sewing Tutorial
Tips
- N/A