The allure of handcrafted leather goods is undeniable, and few items offer the same satisfaction as a bespoke leather belt, meticulously stitched by hand. This enduring craft, passed down through generations, combines artistry with practicality, resulting in a piece that's both beautiful and built to last a lifetime. From selecting the perfect hide to finishing the final stitch, hand-stitching a leather belt is a rewarding journey, blending traditional techniques with personal creativity. It’s a process that allows for unique customization, ensuring your belt reflects your individual style and preferences.
This comprehensive guide will walk you through every stage of creating your own hand-stitched leather belt, from initial design and material selection to the crucial steps of cutting, punching, stitching, and finishing. Ready to transform raw leather into a lasting testament to your craftsmanship? Let's delve into the detailed step-by-step process outlined below.
Preparation and Safety Guidelines
- Stitching Pony
- Rivets
- Small Hammer (as anvil)
- Stanley Knife
- Punch
- Beeswax
- Waxed Nylon Thread
- Needles
- Awl
- Compact Cement
- Hot Screwdriver
- Always use sharp needles and be extremely careful to avoid pricking yourself. Keep a first-aid kit nearby.
- Leather can be stiff and resistant. Use a thimble to protect your fingers from needle punctures and the pressure of pushing the needle through the leather.
- Work in a well-lit area to ensure accurate stitching and avoid eye strain. Take breaks to prevent fatigue and maintain precision.
Step-by-Step Instructions
Prepare Materials
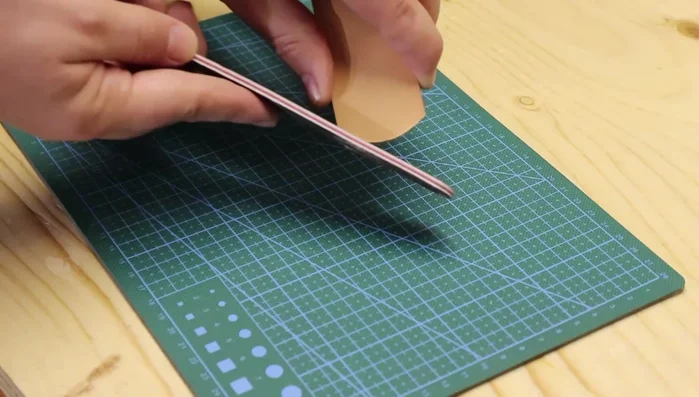
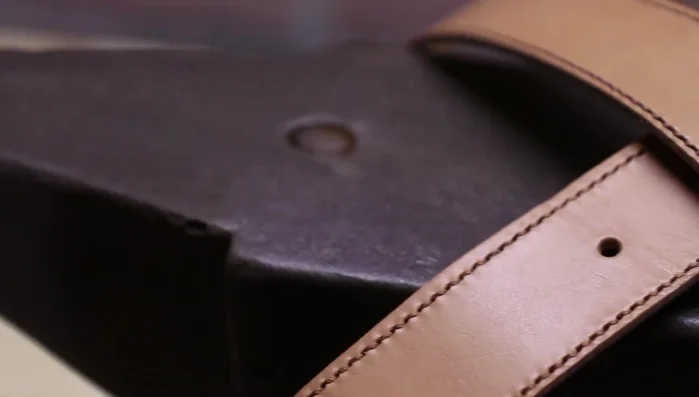
- Cut the leather to the desired dimensions, punch holes in the strap, and shave off some leather at the buckle end for flexibility.
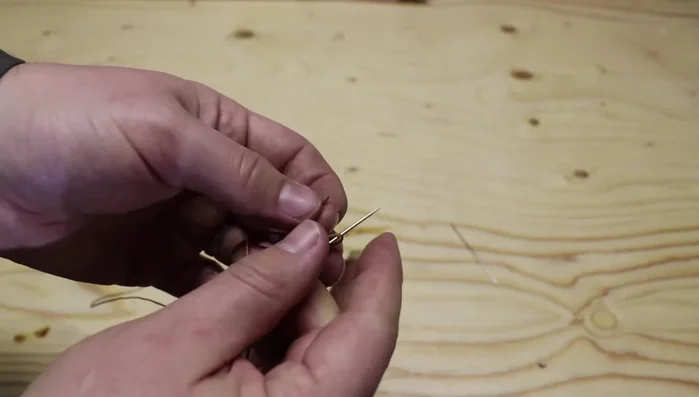
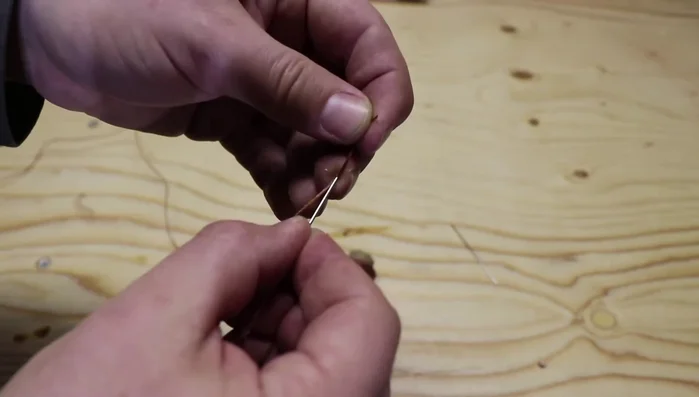
- Use a long piece of waxed nylon thread (although shorter pieces are recommended for efficiency) and thread it through the needle.

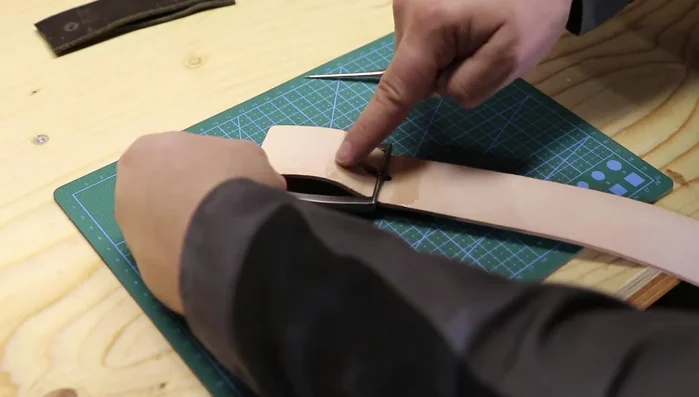
Prepare Materials Attach the Buckle
- Secure the buckle using compact cement.
Attach the Buckle Hand Stitch the Belt
- Using the saddle stitch technique, consistently pass the needle through the holes, ensuring the thread on the right-hand side goes over the needle with each stitch. Pull the threads tightly after each stitch.
Hand Stitch the Belt Secure and Finish Stitching
- Complete two additional stitches in already stitched holes to secure the thread. Then, melt the thread ends together using a hot screwdriver to prevent unraveling.
Secure and Finish Stitching Final Touches
- Apply leather conditioner.
Final Touches

Read more: DIY Stretchy Fingerless Gloves: Easy Sewing Tutorial
Tips
- Apply beeswax to a heated punch to make it easier to punch holes in the leather.
- Use shorter pieces of thread for faster stitching.
- Use an awl to open up the holes for easier needle passage.
- Maintain consistency in your stitching process for a neat appearance.
- Use pliers to help if the needle struggles to pass through the leather.