Ever dreamt of crafting your own magical headwear, brimming with whimsical charm? Step into a world of fantasy and felting with this comprehensive guide to creating DIY whimsical mage hats! Forget mass-produced, uninspired accessories; we'll be conjuring unique, handcrafted hats perfect for cosplay, whimsical fashion, or simply adding a touch of enchanting flair to your everyday life. Imagine the possibilities: vibrant colors, playful embellishments, and textures that practically whisper of ancient spells and forgotten lore. These aren't just hats; they're wearable works of art, reflecting your individual style and creativity.
This tutorial will walk you through the process of felting your own truly unique mage hat, from selecting the perfect wool to adding those final, magical touches. Get ready to unleash your inner artisan and prepare for a journey filled with creative exploration and the satisfaction of bringing your fantastical vision to life. Let's dive into the step-by-step instructions and begin felting your very own whimsical masterpiece!
Preparation and Safety Guidelines
- 100% wool
- bubble wrap
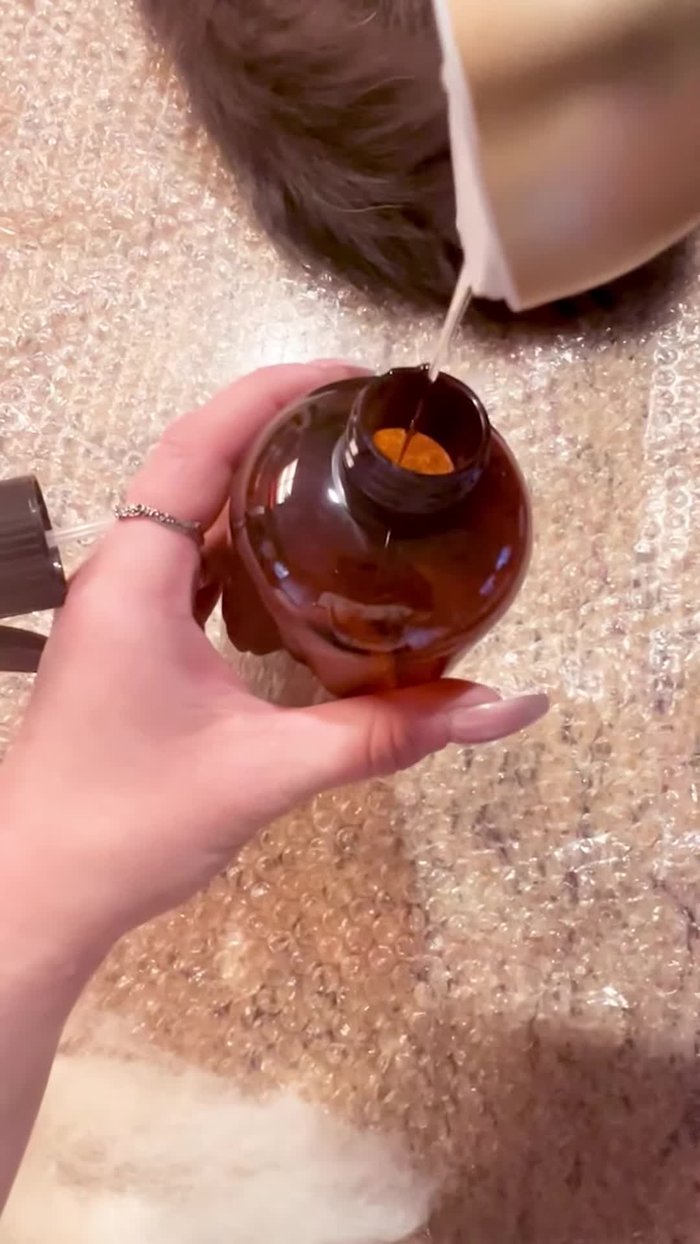
- gentle soap
- warm water
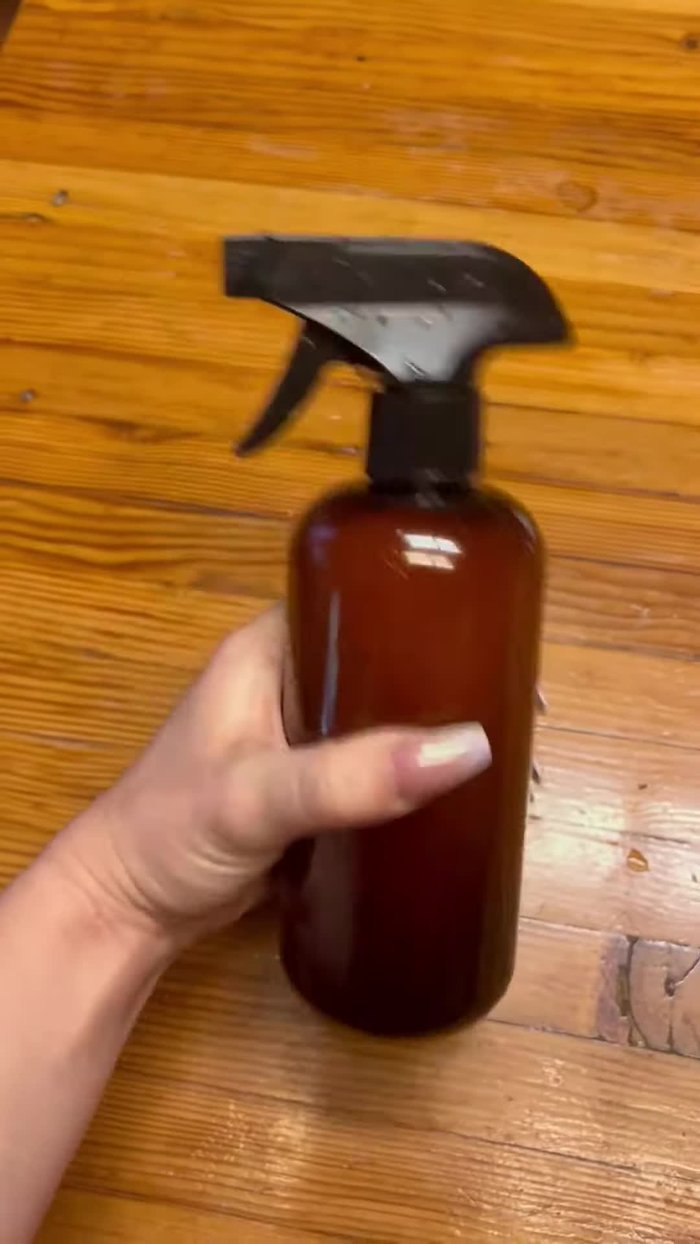
- spray bottle
- pattern (triangle)
- rolling pin
- Needle felting involves sharp needles. Always felting on a stable surface away from children and pets to prevent accidental pokes or ingestion of fibers.
- Proper ventilation is crucial. Felting can create dust, so work in a well-ventilated area or wear a dust mask, especially if you have allergies or respiratory sensitivities.
- Use caution when handling hot water, especially during wet felting techniques (if applicable in your tutorial). Avoid scalding yourself.
Step-by-Step Instructions
Prepare Work Surface and Wool
- Prepare a soapy mixture of gentle soap and warm water.
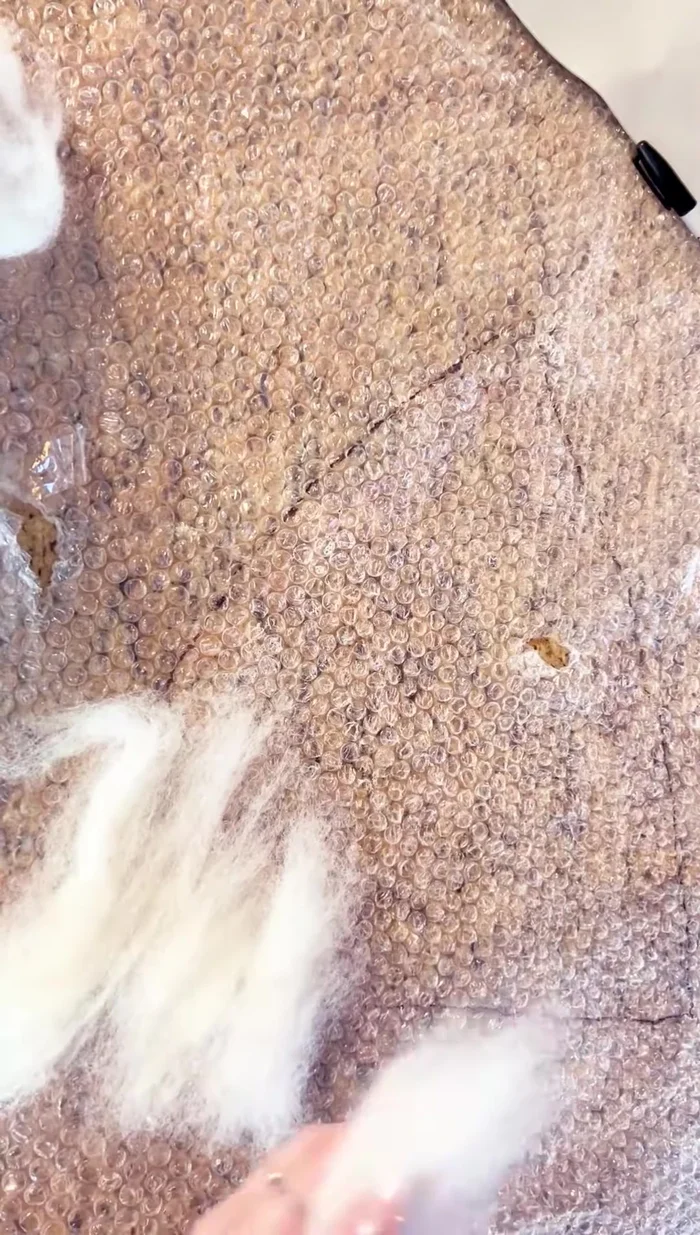
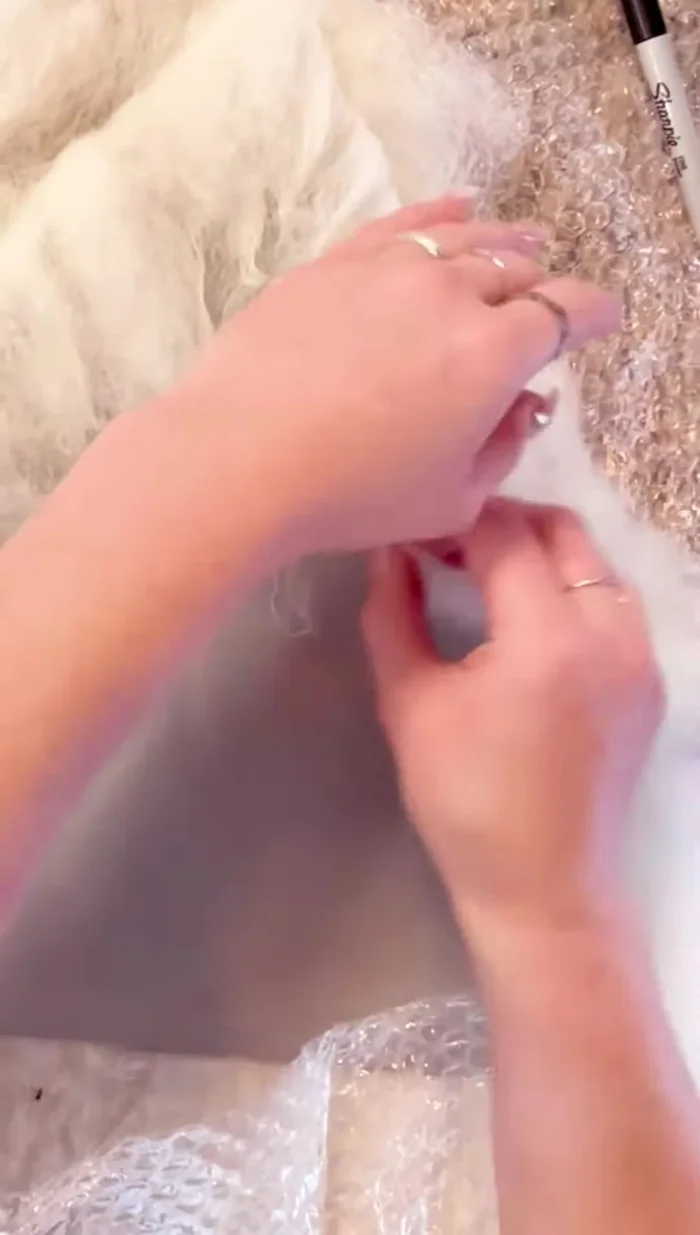
- Trace your triangle pattern onto a sheet of bubble wrap (bubbles facing up) and spritz it with water.

Prepare Work Surface and Wool Felt the First Hat Section
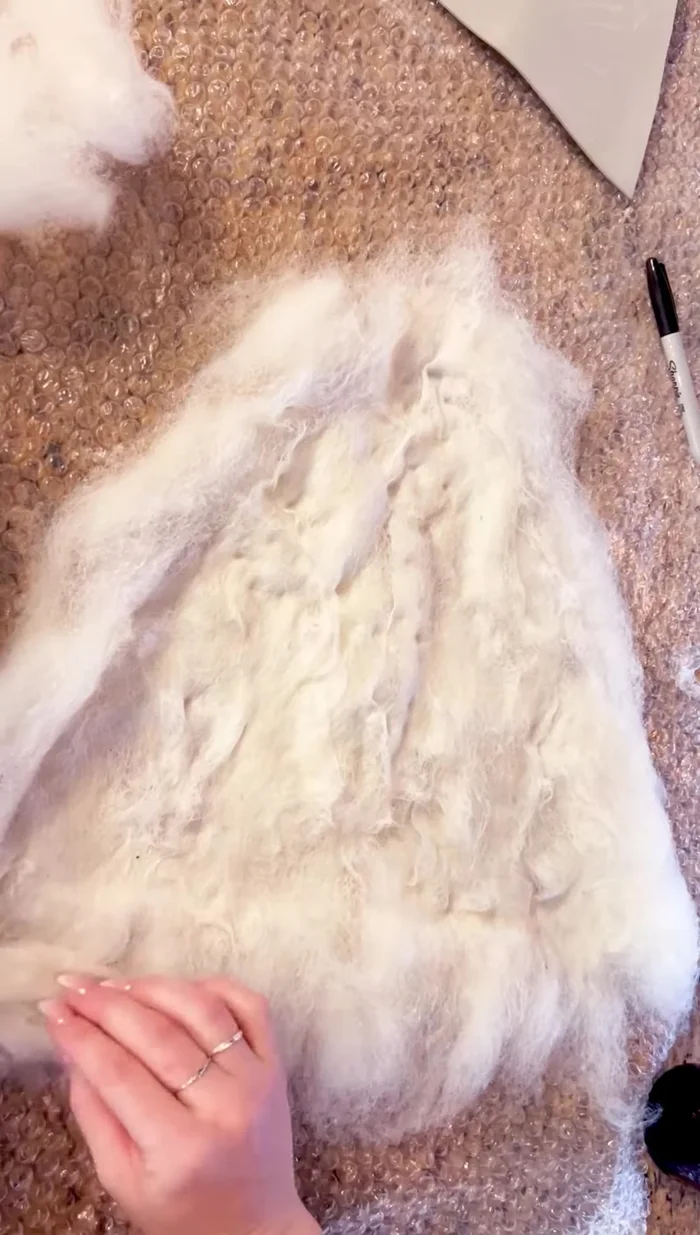
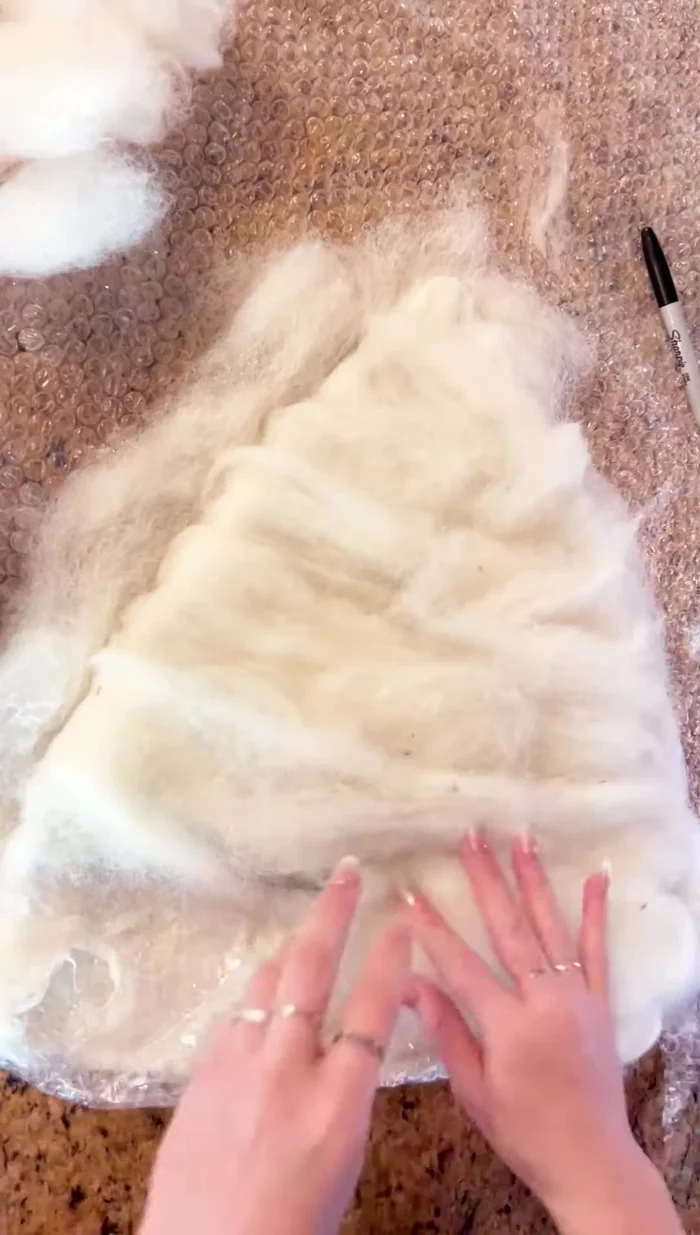
- Lay down small pieces of 100% wool, ensuring the fibers face the same direction. Spritz with water and gently press the pattern onto the wool to begin felting.
- Remove the pattern and add another layer of wool in the opposite direction. Repeat spritzing and pressing until you achieve the desired thickness.
- Fold the edges of the first hat section over the pattern.
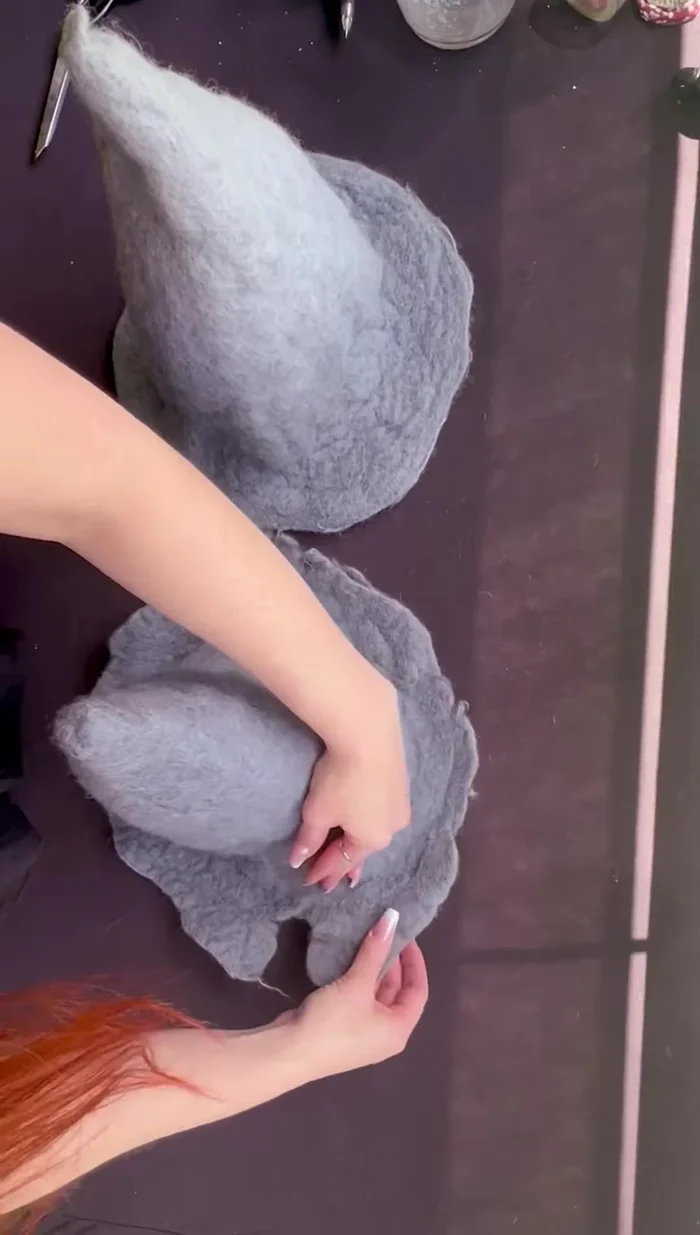
Felt the First Hat Section Felt the Second Hat Section
- Create the second hat section by layering wool, spritzing, and pressing. Fold down the edges.
Felt the Second Hat Section Final Felting and Shaping
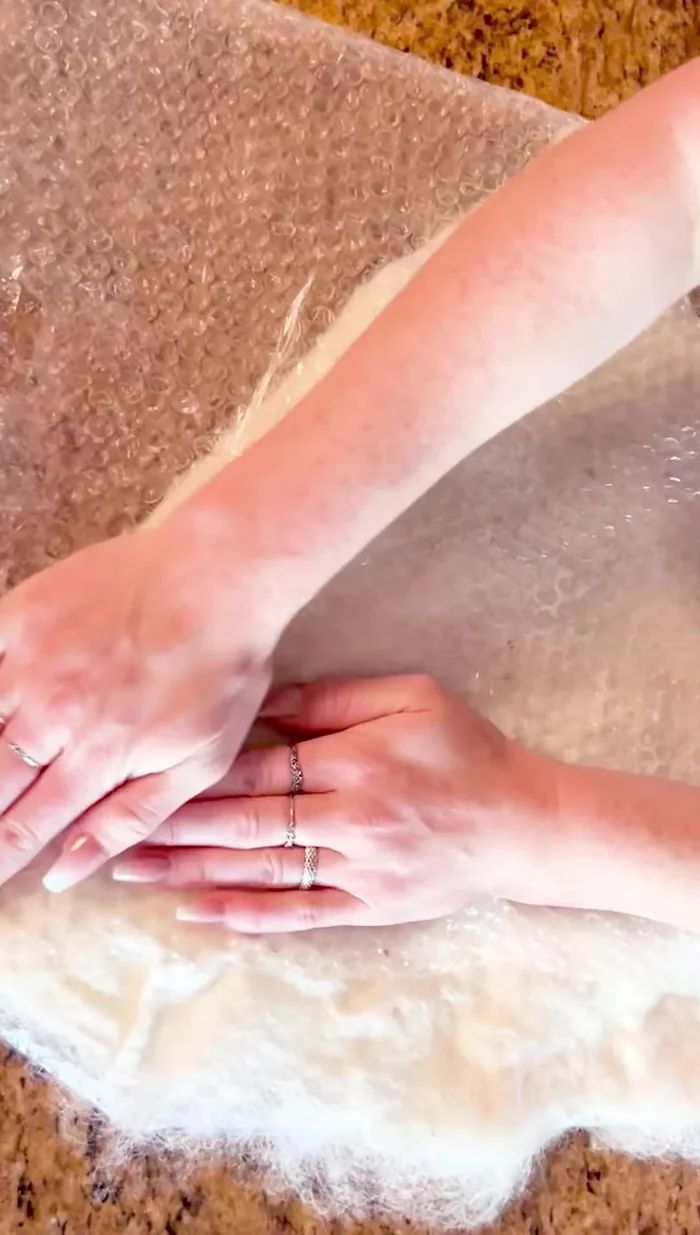
- Add a final layer of wool, spritzing and pressing. Roll the hat with a rolling pin and bubble wrap in multiple directions for even felting.
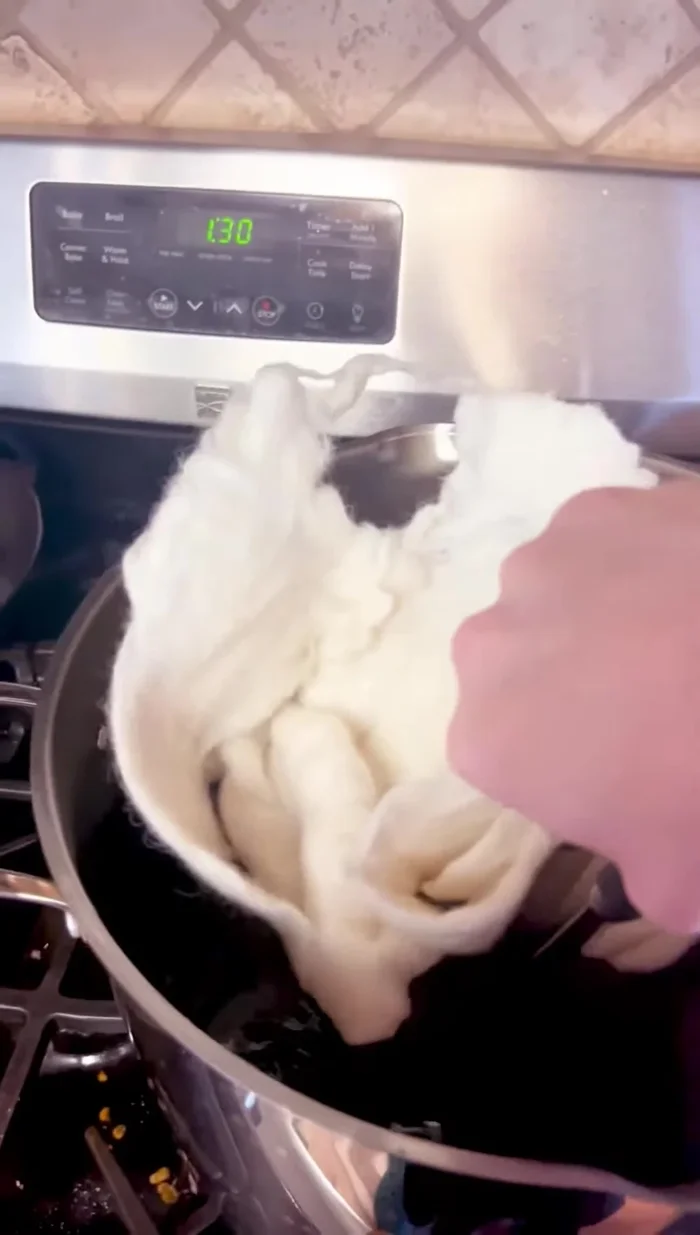
- Remove the pattern, smooth out the seams, and rinse the hat in warm water to remove excess soap.
Final Felting and Shaping Dyeing (Optional)
- Dye the hat (optional).
Dyeing (Optional) Finishing and Shaping
- Once dry, shape the hat by gently pulling and molding the brim and sides.
Finishing and Shaping

Read more: DIY Stretchy Fingerless Gloves: Easy Sewing Tutorial
Tips
- Make the brim bigger than you initially think it should be, allowing for adjustment later.
- The process is quite ‘spritzy smooshy’, so be prepared for a bit of wet work.
- Dyeing can result in slightly different shades than expected; experiment with colours!