Looking for a quick and easy way to add a touch of cute and effortless style to your outfit? Then look no further than this DIY fabric headband tutorial! Forget expensive, mass-produced accessories; crafting your own headband is surprisingly simple, incredibly affordable, and allows for endless customization to perfectly match your wardrobe and personality. Whether you’re a seasoned sewer or a complete beginner, this project is perfect for unleashing your creativity and making a statement piece in minutes. You can choose your favorite fabrics, patterns, and embellishments to create a truly unique accessory.
This simple sewing project requires minimal materials and expertise, making it ideal for a weekend craft session or a quick weeknight project. From choosing the right fabric to adding the finishing touches, we’ll guide you through each step with clear instructions and helpful images. Ready to create your own adorable and personalized headband? Let's dive into the step-by-step process now!
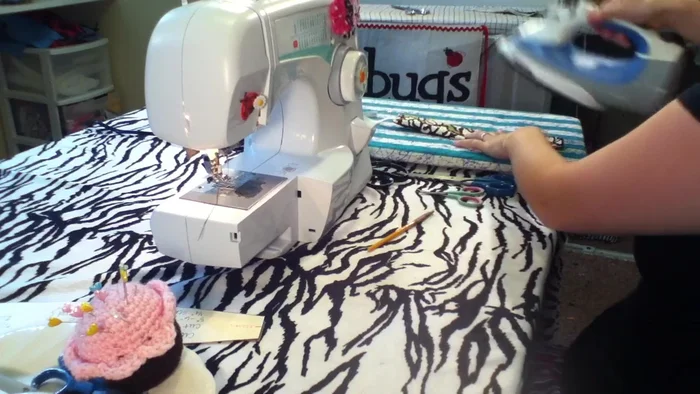
Preparation and Safety Guidelines
- sewing machine
- iron
- ironing board
- fabric (12in x 3in)
- fusible web (12in x 3in)
- elastic (5-6in)
- scissors
- pins
- turning tool
- marking tool
- pinking shears (optional)
- safety pin
- ruler
- Always use sharp scissors and pins to avoid accidental pricks and cuts. Handle with care, especially around children.
- Ensure your sewing machine needle is the correct size for your fabric to prevent breakage and ensure a clean stitch. If hand-sewing, use a needle appropriate for the fabric thickness.
- If using hot glue, work in a well-ventilated area and avoid touching the glue until it is completely cool. Adult supervision is recommended when using hot glue.
Step-by-Step Instructions
Prepare Pattern and Materials
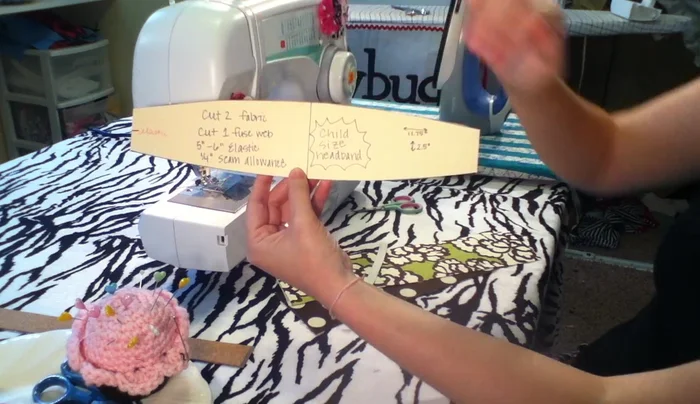
- Prepare your pattern. A 12in x 3in rectangle works, or taper it slightly for a curved headband.
- Cut two pieces from your main fabric, one from fusible web.

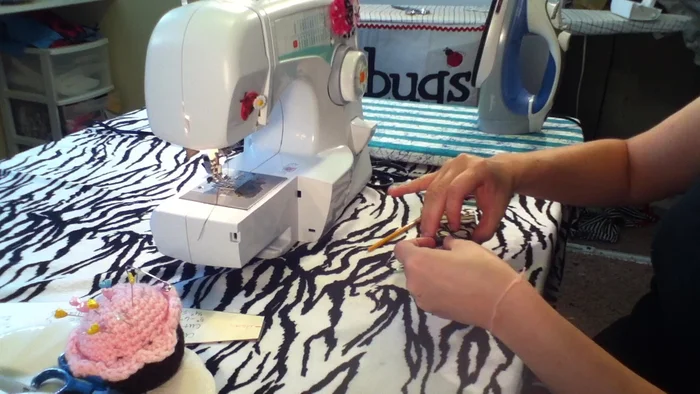
Prepare Pattern and Materials Fuse and Trace
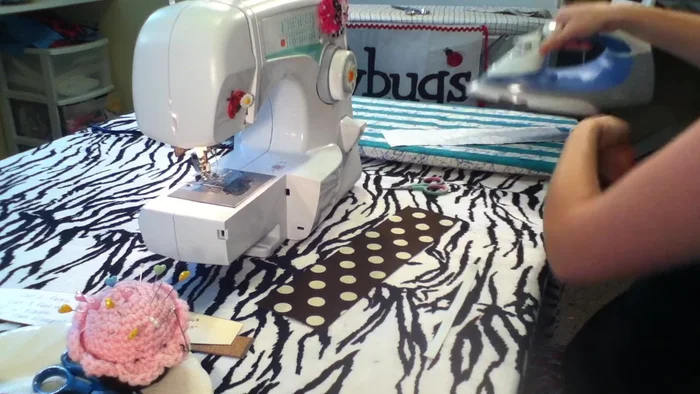
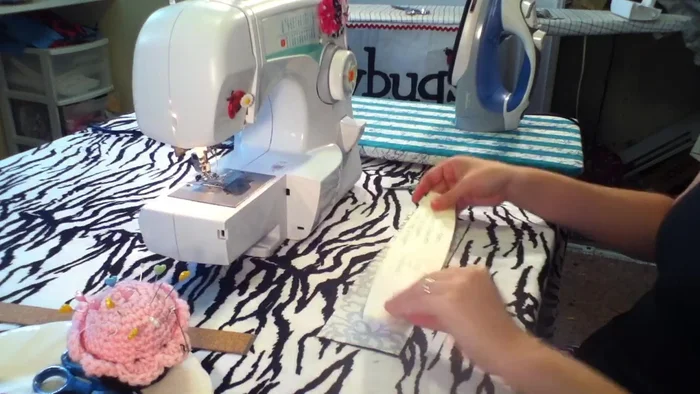
- Iron the fusible web onto the wrong side of one fabric piece.
- Trace your pattern onto the fabric with the fusible web.
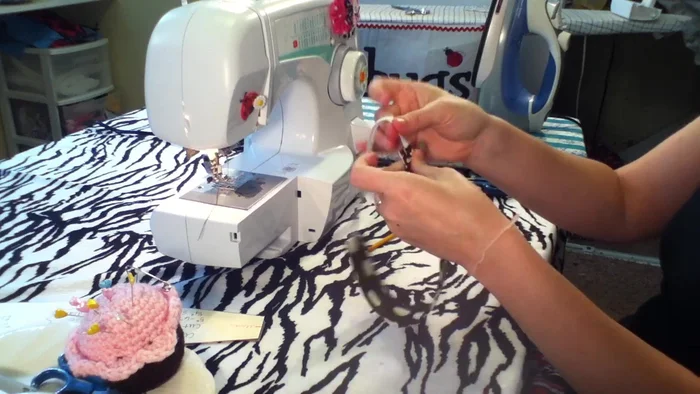
Fuse and Trace Assemble and Pin
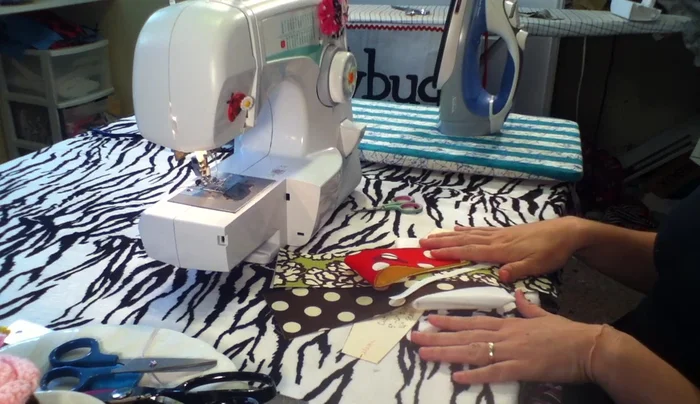
- Place the elastic between the two fabric pieces, centering it according to your markings.
- Pin the elastic and fabric layers together securely.
- Fold over a 1/4 inch seam allowance on one end for a neat finish and iron it.
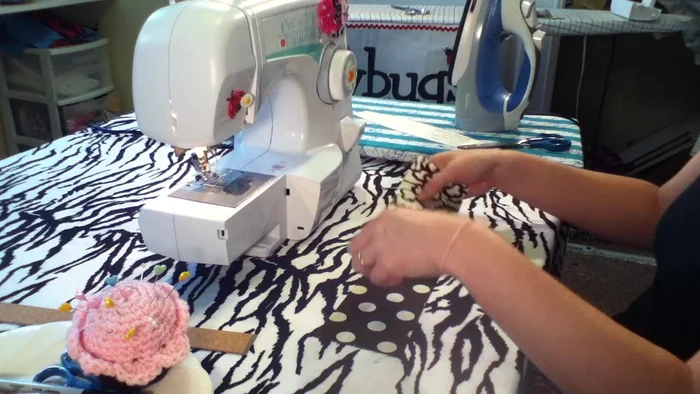
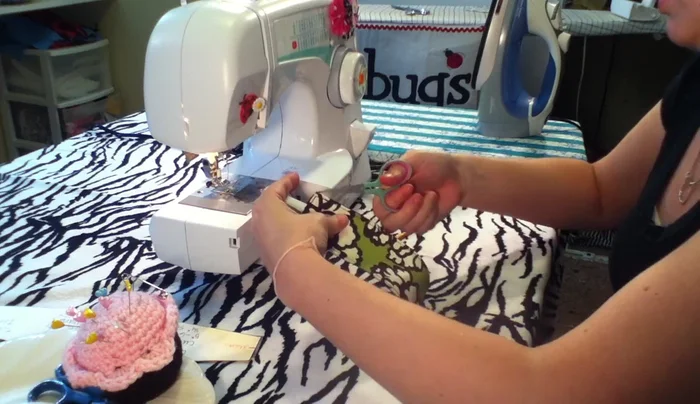
Assemble and Pin Sew the Headband
- Sew along the traced lines, using a straight stitch and backstitching at the beginning and end.
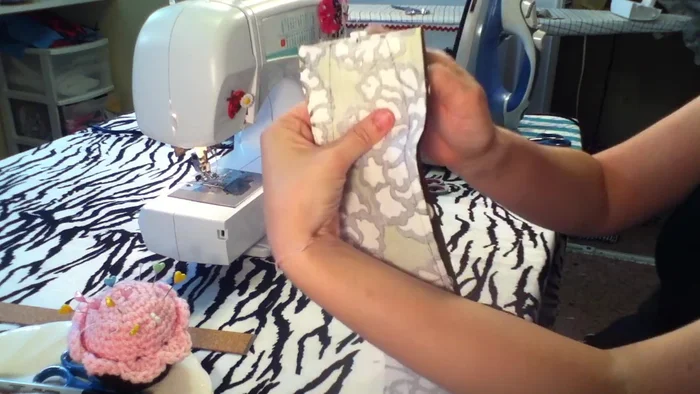
Sew the Headband Trim and Turn
- Trim the excess fabric close to the seam. Pinking shears are optional but recommended for a cleaner finish.
- Turn the fabric right side out, using a turning tool to help with corners.
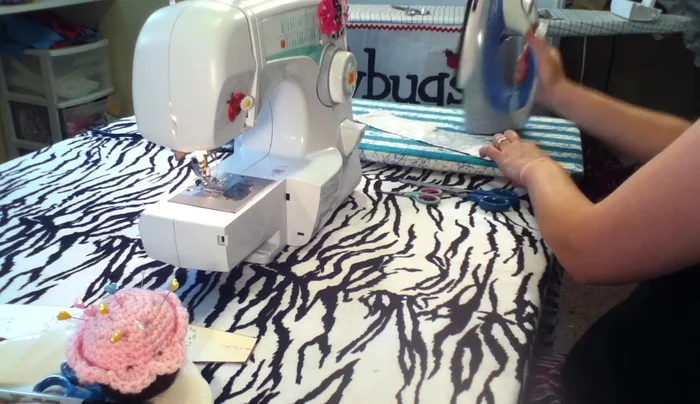
Trim and Turn Press and Finish
- Iron the headband to press the seams flat and create a neat finish.
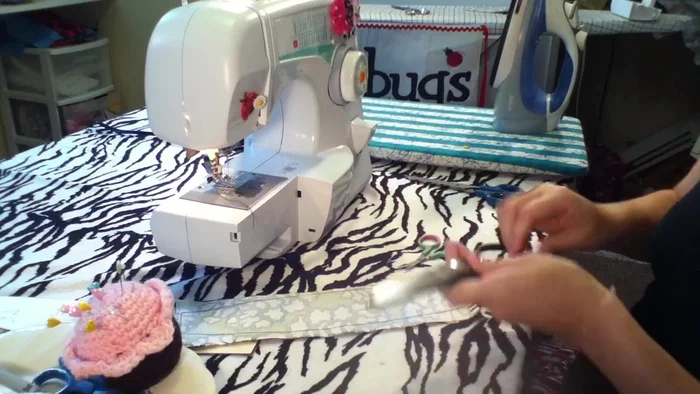
- Tuck one end of the elastic into the casing (about 1/4 inch) and pin it in place.
- Topstitch all the way around to close the casing and secure the elastic.
- Trim any loose threads.
Press and Finish


Read more: DIY Stretchy Fingerless Gloves: Easy Sewing Tutorial
Tips
- Using fusible web adds structure and a neater look to the finished headband.
- Backstitch generously at the beginning and end of seams to prevent unraveling.
- Use pinking shears to create a smooth curve when turning the fabric.
- Use a turning tool to help push out corners neatly.
- When topstitching, keep your needle in the down position when turning corners.