Step into comfort and creativity with this comprehensive embroidered slipper tutorial! Forget mass-produced footwear and embrace the joy of crafting unique, personalized slippers perfect for cozy nights in. This project allows you to express your personal style through vibrant embroidery, transforming simple slipper blanks into stunning, handcrafted masterpieces. Whether you're a seasoned embroiderer or a curious beginner, this tutorial provides clear instructions and helpful tips to guide you through every step. You'll learn how to select the right materials, prepare your slipper bases, and execute beautiful embroidery designs that will reflect your individual flair.
Imagine the warmth of hand-stitched comfort paired with the satisfaction of creating something truly special. This tutorial will equip you with the skills and confidence to design and embroider your own cozy, custom slippers. Ready to get started? Let's dive into the step-by-step process and transform your plain slipper blanks into unique works of wearable art!
Preparation and Safety Guidelines
- Embroidery machine
- Applique scissors
- Batting
- Water-soluble topper
- Fabric (base, lining, non-slip sole)
- Tape
- Pins
- Use sharp embroidery needles with caution to avoid pricks and injuries. Always point needles away from yourself and others when not actively embroidering.
- Ensure the slipper soles are securely attached before and after embroidery to prevent slipping or tearing during wear. Use strong, appropriate adhesive and allow ample drying time.
- If using fabric dyes or paints, work in a well-ventilated area and wear appropriate protective gear, such as gloves and a mask, to prevent inhalation or skin irritation.
Step-by-Step Instructions
Prepare the Slipper Top
- Place the top file into your embroidery machine and run the placement stitch.
- Place batting over the placement stitch, cover completely, and tape in place. Run the tacking stitch for the batting.
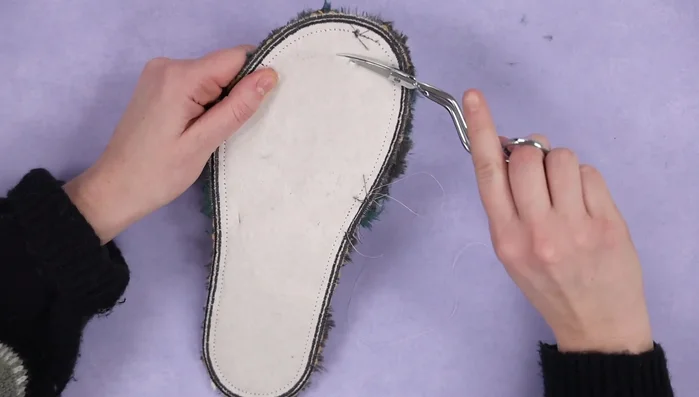
- Trim excess batting close to the tacking stitch line using sharp, curved applique scissors.
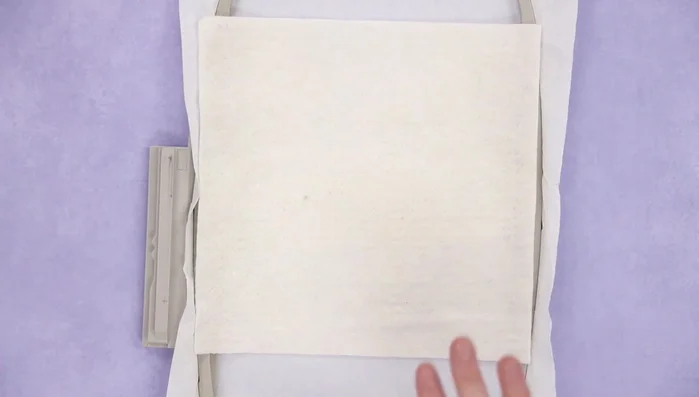
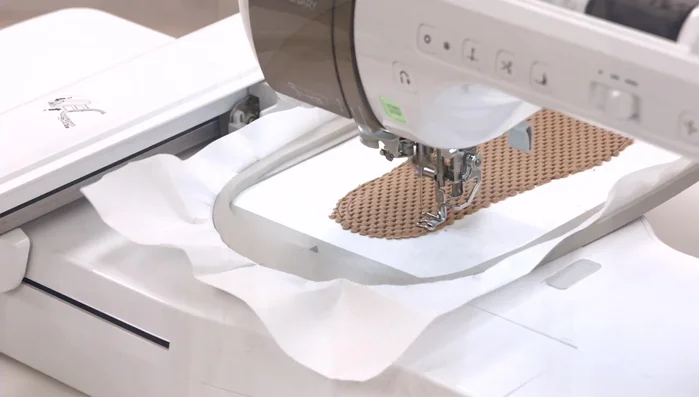
- Place base fabric over the batting, leaving seam allowance, and secure with tape.

Prepare the Slipper Top - Place water-soluble topper over the base fabric and tape in place.
- Run the tacking stitch for the base fabric. Skip to the first embroidery step to prevent the design from going through the lining.
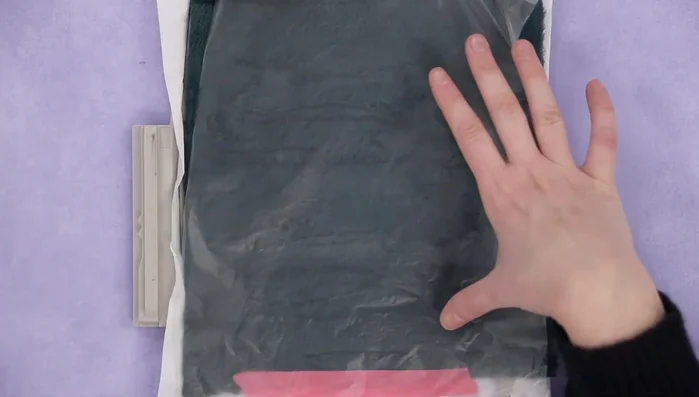
- Run the embroidery step. Then, flip the hoop, place lining fabric over the design, tape it in place, and run the tacking stitch for the lining.
- Trim excess fabric and remove the water-soluble topper.
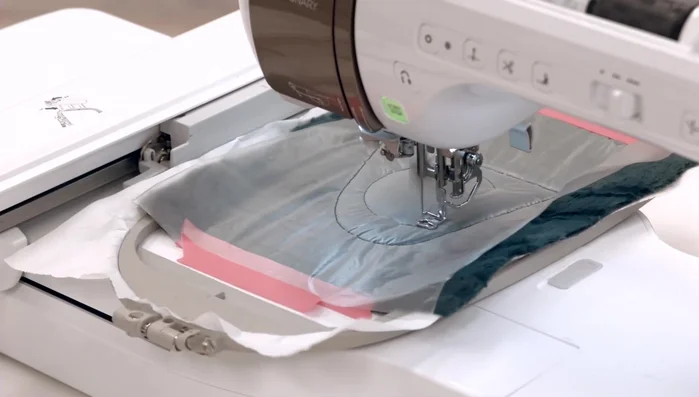
Prepare the Slipper Top - Minky fabric can be messy; use canned air or a trash can nearby.)
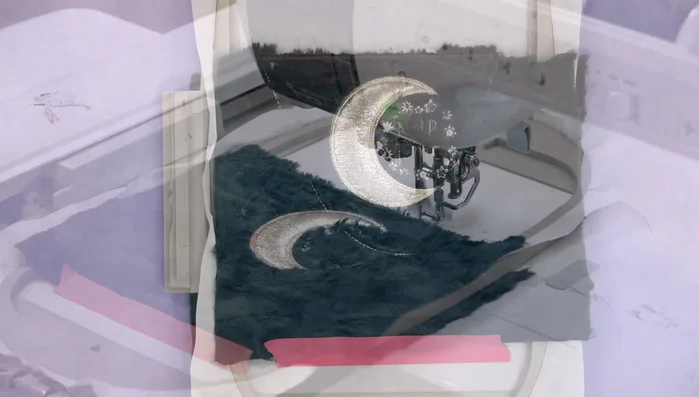
- Run the satin stitch.
- Remove from the hoop, leaving the seam allowance.
Prepare the Slipper Top Prepare the Slipper Sole
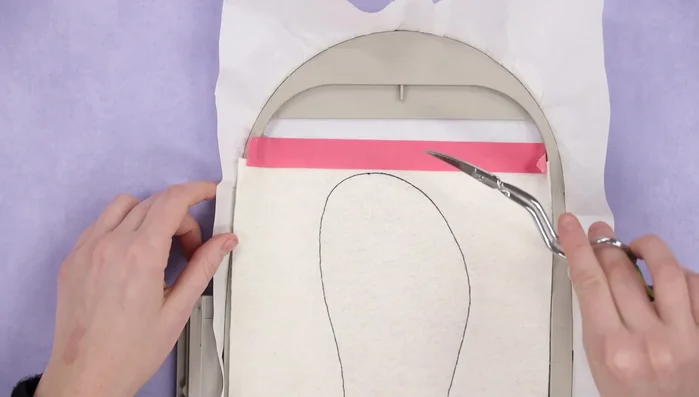
- Load the sole design. Run the placement stitch for the sole.
- Place the non-slip sole fabric over the design and tape it in place. Run the tacking stitch.
- Trim excess material close to the tacking stitch line.
- Run the placement stitch for the batting. Place the batting over the design, cover completely, and run the tacking stitch for the batting.
Prepare the Slipper Sole - Trim away excess batting close to the tacking stitch line.
- Place base fabric over the design, leaving seam allowance, and tape in place. Run the tacking stitch.
Prepare the Slipper Sole Assemble and Finish the Slipper
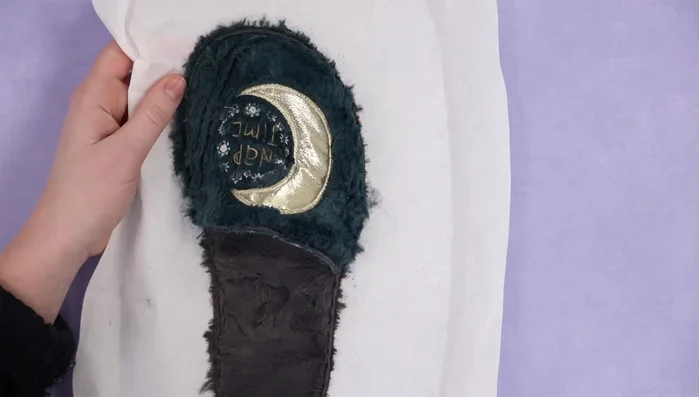
- Align notches on the slipper sole with the slipper cap. Align edges and pin in place. Run the tacking stitch.
- Trim excess fabric and remove pins.
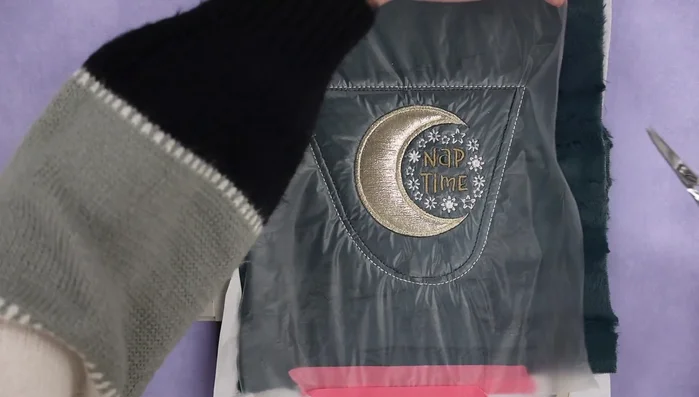
- Run the satin stitch for the slipper.
- Remove from the hoop and tear away stabilizer. Trim any fraying minky fabric, if desired.
Assemble and Finish the Slipper - Remove stabilizer from behind the slipper.
Assemble and Finish the Slipper


Read more: DIY Reversible Baby Slippers: Easy Sewing Tutorial
Tips
- Use canned air or keep a trash can nearby when trimming minky fabric to manage excess fluff.
- The motif can be placed on the front of the slipper in any direction.
- Consider adding a layer of puffy foam between the layers instead of batting for a less floppy slipper.