Accessorize your look with a touch of handmade charm using this delightful DIY project: a Darn Yarn Bow Headband! This adorable headband is surprisingly easy to create, perfect for adding a playful and stylish touch to any outfit, whether you're heading to a casual brunch or a fun-filled day out. Forget expensive store-bought accessories; with just a few simple materials and a little bit of patience, you can craft a unique and personalized headband that reflects your individual style. The soft, textured yarn creates a comforting and visually appealing accessory.
This step-by-step guide will walk you through each stage of the process, from gathering your supplies to securing the final bow, ensuring even beginner crafters can achieve a professional-looking result. Get ready to unleash your inner fashionista and discover the joy of crafting your own beautiful Darn Yarn Bow Headband!
Preparation and Safety Guidelines
- Loom
- Hook
- Needle
- Yarn (Purple, Pink, Coral, Yellow)
- Project Tote
- Adult supervision is required, especially for younger crafters. Scissors and needles can be sharp.
- Always use a knotting technique that secures the yarn firmly to prevent the bow from coming undone and potentially posing a choking hazard, especially for infants and toddlers.
- Be mindful of the headband's tightness. It should fit comfortably without being too loose or too tight to avoid discomfort or constriction.
Step-by-Step Instructions
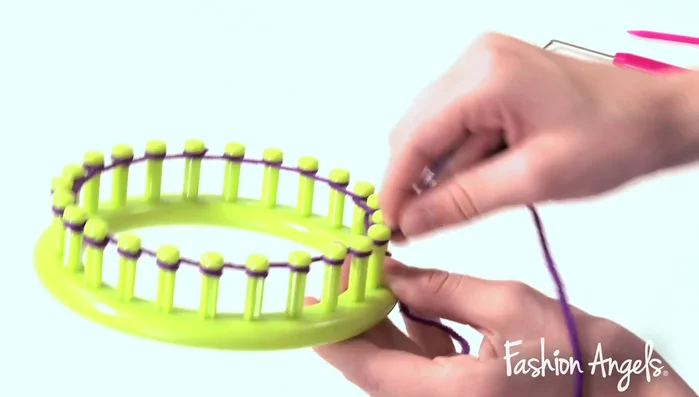
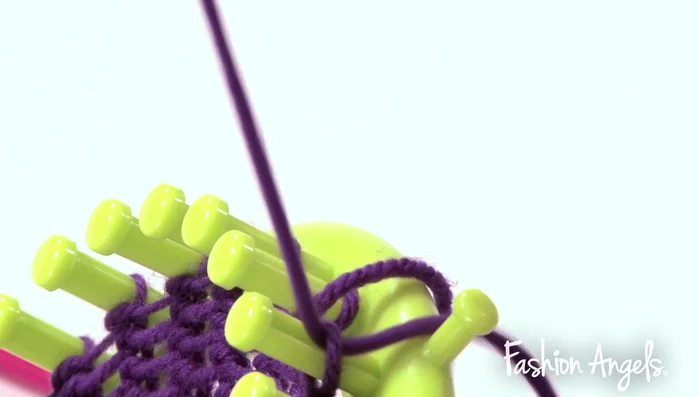
Prepare the Headband Loom
- Wrap purple yarn around the loom pegs, completing the first row.
- Continue wrapping purple yarn around the loom pegs, completing the second row.

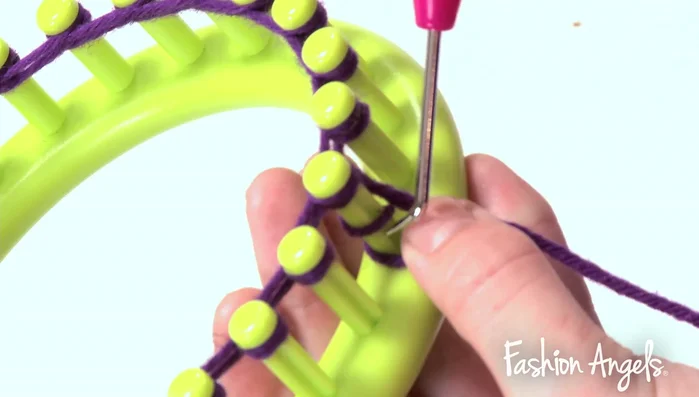
Prepare the Headband Loom Knit the Headband
- Use the hook to pull the first row of yarn over the second row, repeating around the entire loom.
- Repeat steps 1-3 until desired headband length is reached.
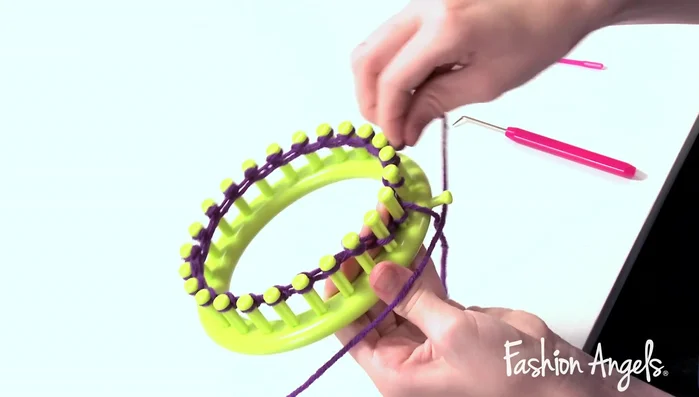
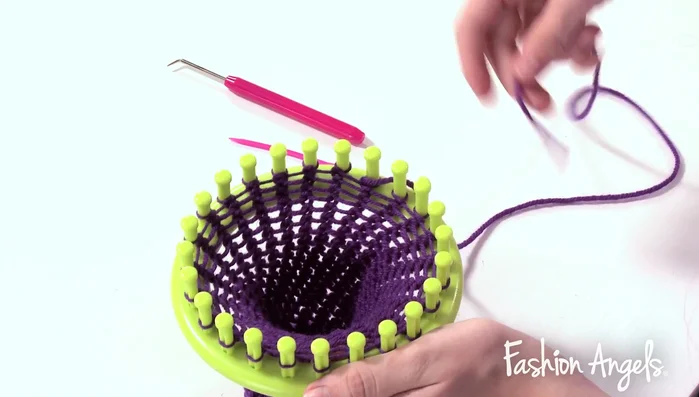
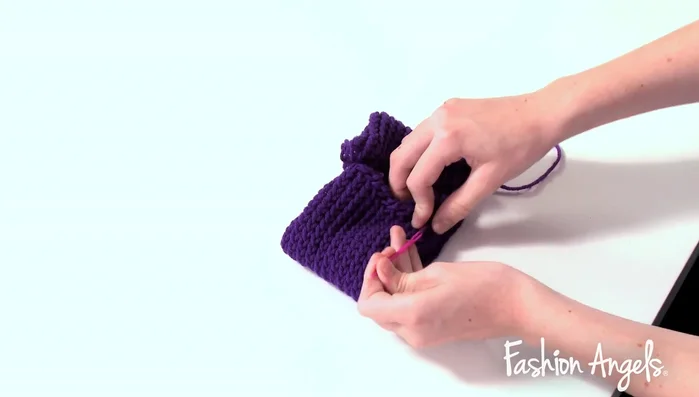
Knit the Headband Remove Headband from Loom
- Cut 25 extra inches of purple yarn. Thread it through the needle.
- Remove the headband from the loom by using the needle to pull loops off the pegs.
Remove Headband from Loom Sew Headband Ends
- Sew the ends of the headband together using the excess purple yarn and needle.
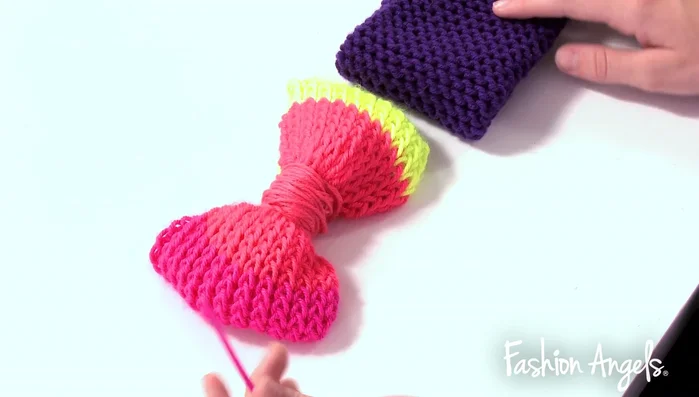
Sew Headband Ends Create the Bow
- Create the bow using the same loom technique with pink, coral, and yellow yarn (15 rows each color). Make a double knot when changing yarn colors.
Remove Bow from Loom and Sew Ends
- Remove the bow from the loom and sew the ends together.
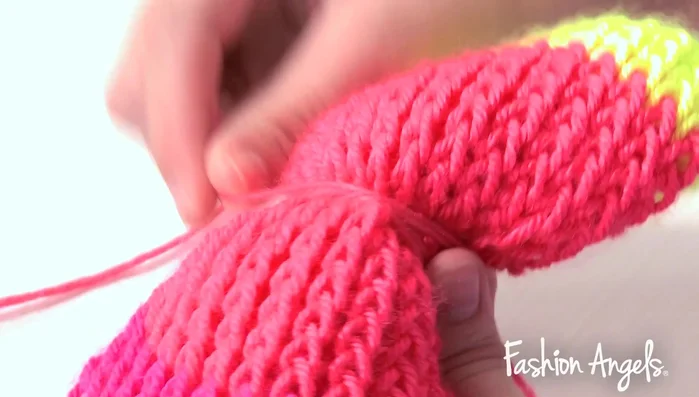
Finish the Bow
- Wrap excess coral yarn around the center of the bow and tie it securely.
Finish the Bow Attach Bow to Headband
- Attach the bow to the headband using the excess coral yarn and needle.
Attach Bow to Headband
Read more: DIY Stretchy Fingerless Gloves: Easy Sewing Tutorial
Tips
- Use a project tote to keep all your materials organized.
- Make sure to tie a double knot when switching colors for the bow to prevent unraveling.