Winter's chill calls for cozy accessories, and what's cozier than a snug, self-made shawl? This easy sewing tutorial guides complete beginners through crafting a delightful DIY winter sleeve shawl, perfect for adding a touch of warmth and style to your wardrobe. Forget expensive store-bought options; with just a few simple materials and a bit of patience, you can create a unique piece that reflects your personal style and keeps you toasty throughout the colder months. This versatile accessory can be dressed up or down, making it a practical and fashionable addition to your winter collection.
This project is surprisingly straightforward, requiring minimal sewing experience and readily available materials. We’ll walk you through each step, from choosing your fabric to adding the finishing touches, ensuring a successful outcome even for the most novice sewist. Ready to transform some fabric into a beautiful, wearable winter warmer? Let's dive into the step-by-step process!
Preparation and Safety Guidelines
- Old or new shawl or winter fabric
- Measuring tape
- Scissors
- Needle and thread
- Always use sharp sewing needles and pins to prevent accidental pricks. Handle them with care and keep them away from children.
- When using a sewing machine, ensure your fingers are kept clear of the needle and moving parts at all times. Use the machine's safety features.
- If working with fabric scissors, keep them closed when not in use and never leave them unattended. Always cut away from yourself and others.
Step-by-Step Instructions
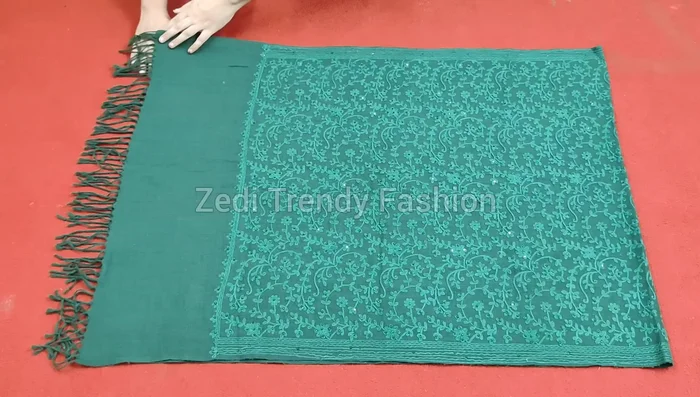
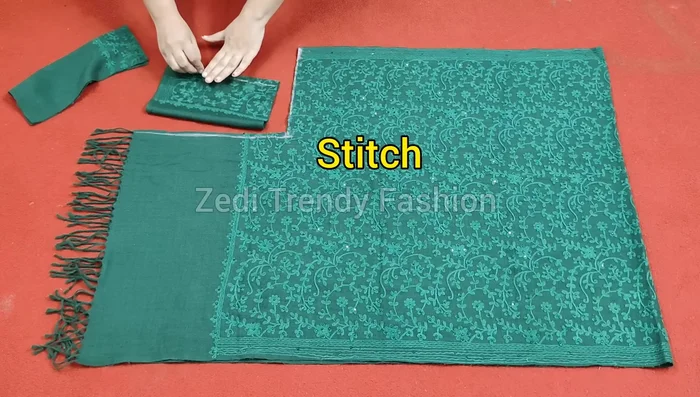
Prepare the Shawl
- Double the shawl with the right side facing outwards.

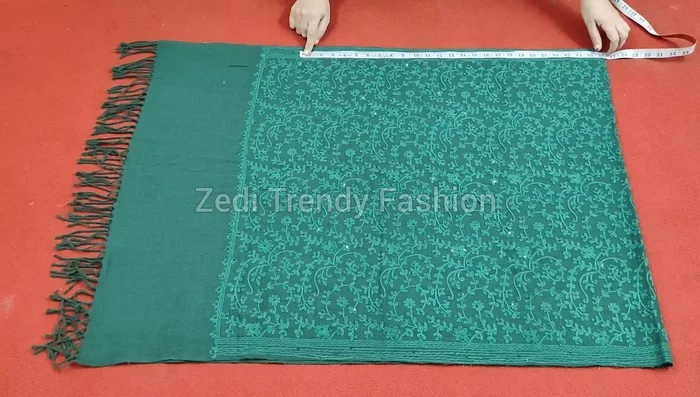
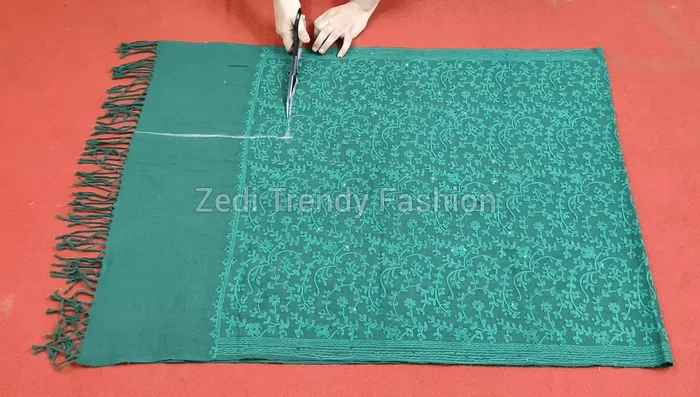
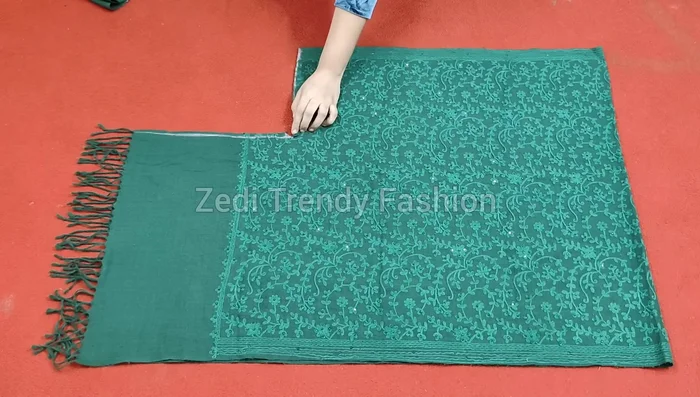
Prepare the Shawl Mark and Cut the Shawl
- 26 inches from the folded edge downwards, and 10 inches (wrist circumference + 2 inches) from the side edge.
- Cut the marked shape from the doubled shawl.
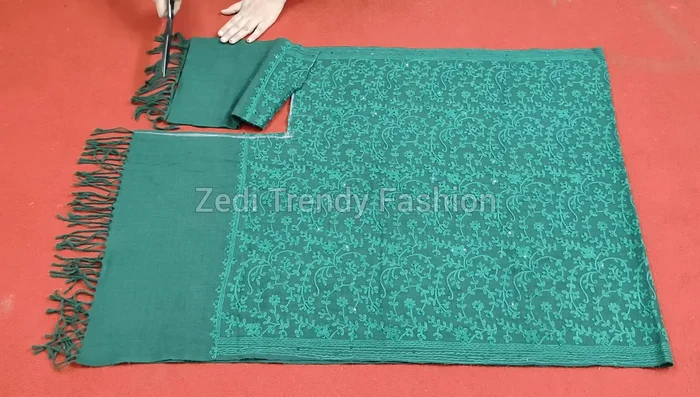
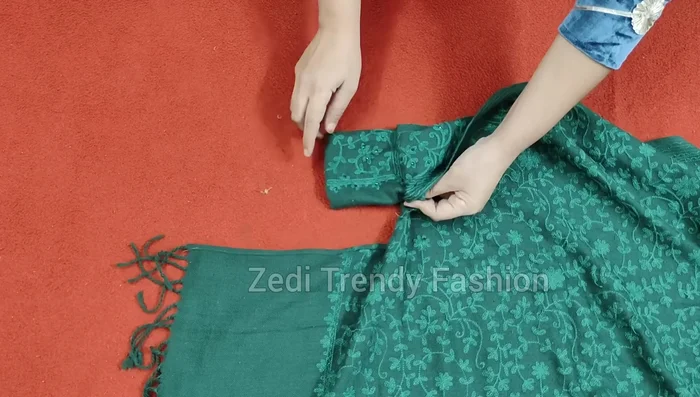
Mark and Cut the Shawl Prepare the Cuffs
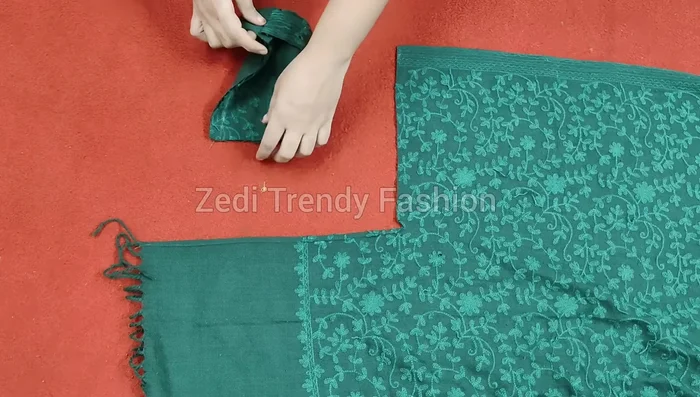
- Cut and remove excess fabric from the front edges of the cut pieces to create the sleeve cuffs.
- Fold and stitch the raw edges of the cuffs (3/4 inch seam allowance).
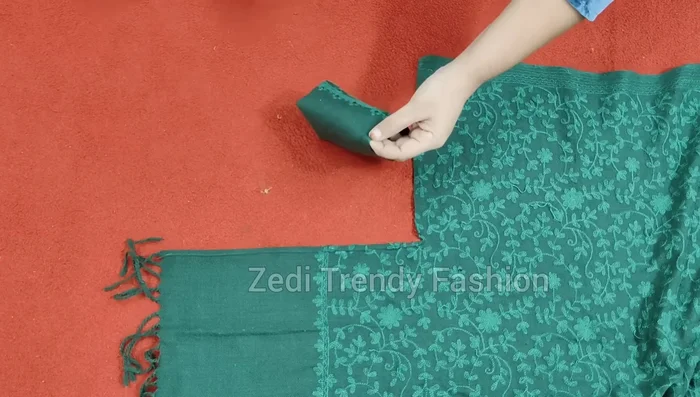
Prepare the Cuffs Finish Shawl Edges
- Make a small diagonal cut at the shawl's corner, fold and stitch the raw edges (1/4 inch seam allowance).
Finish Shawl Edges Close the Cuffs
- Fold the cuffs in half, aligning the stitched edges. Stitch the open side to close the cuffs.
Close the Cuffs Attach the Cuffs
- Mark the placement of the cuffs on the shawl's corners.
- Attach the cuffs to the shawl corners, stitching around the cuff's curve and securing any excess fabric.
Attach the Cuffs
Read more: DIY Stretchy Fingerless Gloves: Easy Sewing Tutorial
Tips
- Adjust the length and width of the cuffs to fit your wrist.
- Consider the shawl's width based on your size (small to large). A wider shawl might require adjustments.
- For larger sizes, increase the length of the bottom markings (up to 30 inches).
- Leave a 3/4 inch gap at the top of the sleeve cuff for ease of wear.