Tired of ill-fitting or boring waist belts? Ready to unleash your creativity and craft a truly personalized accessory? Then prepare to embark on a rewarding DIY project: creating a multi-eyelet waist belt! This comprehensive guide will walk you through every step, from choosing the perfect materials to achieving a professional-looking finish. You'll discover how to customize the length, width, and style to perfectly complement your wardrobe and personal taste, all while enjoying the satisfaction of making something beautiful with your own hands. Forget generic, mass-produced belts; you’ll be the proud owner of a unique and stylish piece.
This detailed guide will empower you to create a durable and versatile waist belt featuring multiple eyelets, offering adjustable sizing and the opportunity to experiment with different buckle styles. Learn the techniques for precise eyelet placement and secure fastening, ensuring your handmade belt is not only aesthetically pleasing but also built to last. Ready to get started? Let's dive into the step-by-step process!
Preparation and Safety Guidelines
- sewing machine
- iron
- scissors
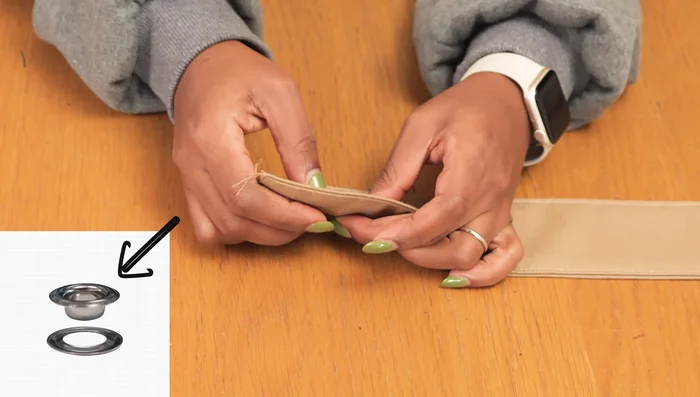
- eyelets
- grommet press
- buckle
- measuring tape
- pins
- Always use sharp, heavy-duty tools like a strong awl or hole punch designed for leather or thick fabric. Improper tools can lead to injury or uneven holes.
- Be mindful of your fingers and hands when punching holes or working with sharp tools. Use a work surface that protects your hands and prevents slippage.
- Ensure the belt material is strong enough to support the intended weight and usage. Using a weak material can result in belt failure and potential injury.
Step-by-Step Instructions
Prepare Patterns and Materials
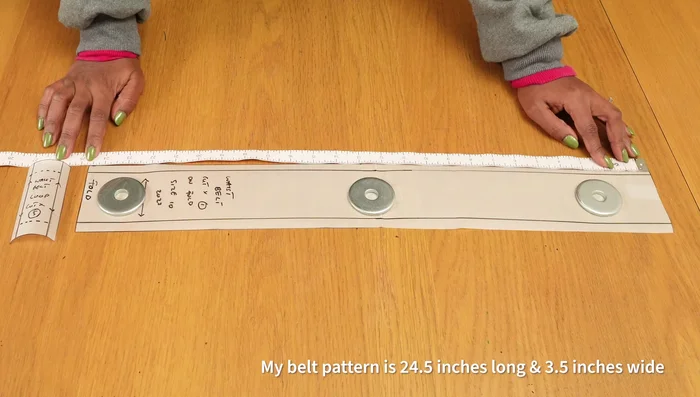
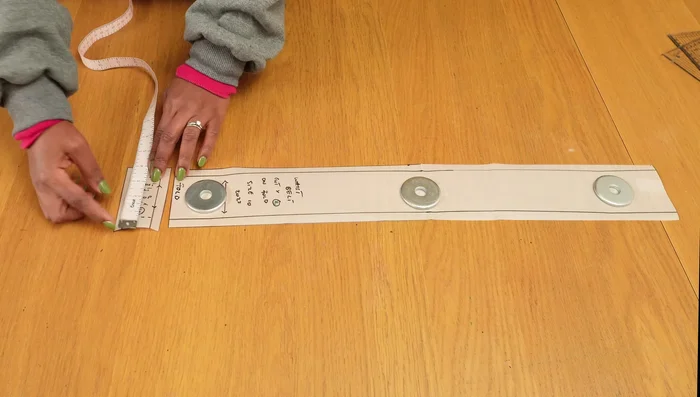
- Main belt (24.5 x 3.5 inches), belt loop (2 inches wide, 4 inches tall).
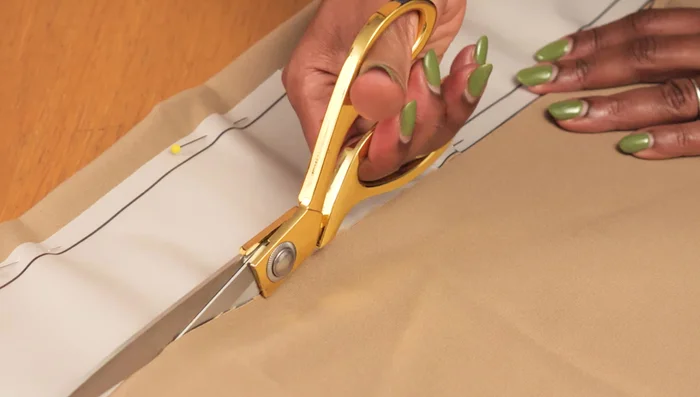
- Cut out two main belt pieces and five belt loop pieces.

Prepare Patterns and Materials Construct the Belt
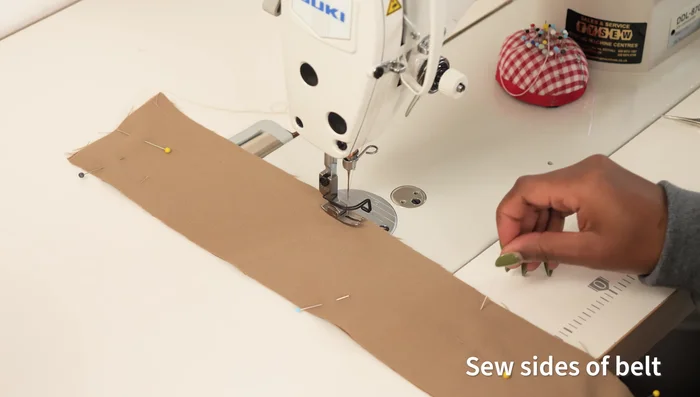
- Sew along the edges of the belt pattern, trim corners, and turn inside out. Press the belt to create a clean finish.
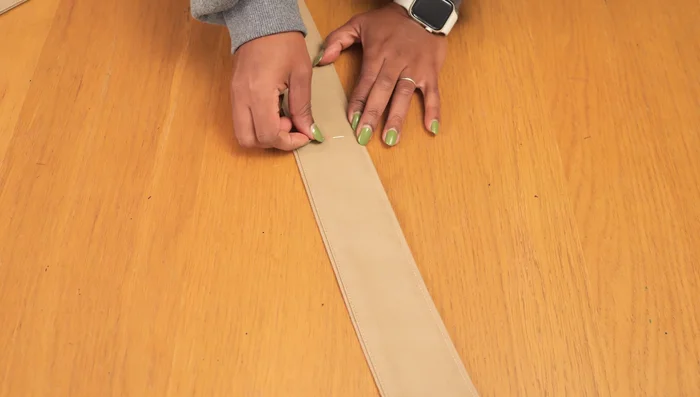
- Sew the two main belt pieces together with right sides facing, leaving one shorter edge open. Trim the seam allowance and turn right side out.
- Sew an edge stitch around the edges of the belt to keep it flat and create a professional look.
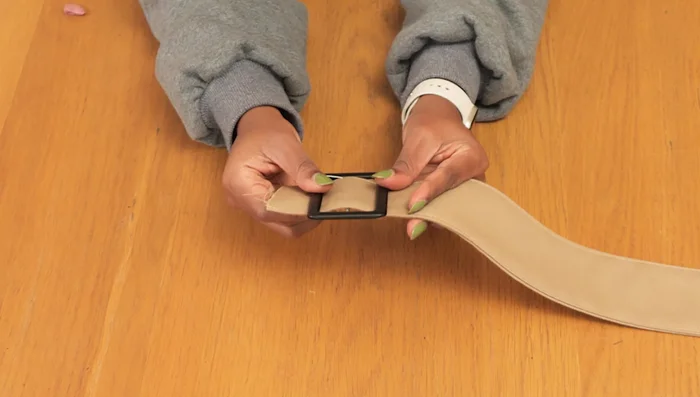
Construct the Belt Attach the Buckle
- Determine the placement of the first eyelet for the buckle and mark it on the belt.
- Cut a small opening for the eyelet, and using a grommet press, insert the eyelet into the fabric.
- Pass the belt through the buckle and secure it using the inserted eyelet.
- Fold the raw edge of the belt twice and stitch it close to the folded edge to secure the buckle.
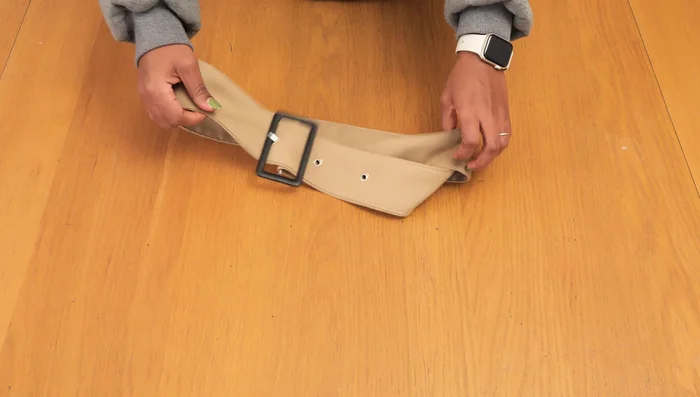
Attach the Buckle Add Adjustability
- Try the belt on and mark where you want additional eyelets for adjustability.
- Repeat the eyelet insertion process for the additional marked positions.
Add Adjustability Create and Attach Loops
- Fold each belt loop piece twice, hiding the raw edges, and stitch the folds in place on both sides.
- Attach the loops to the trench coat waistline.
Create and Attach Loops


Read more: DIY Stretchy Fingerless Gloves: Easy Sewing Tutorial
Tips
- Use interfacing for lighter fabrics to provide stability.
- Make the belt loops at least an inch wider to accommodate the folded edge and the belt.