The summer sun is calling, and what better way to protect yourself in style than with a handmade sun hat? Forget expensive boutiques and complicated patterns; this DIY sun hat sewing tutorial will guide you through creating your own stylish headwear using a simple straight stitch method. We'll be using readily available materials and techniques easily mastered even by beginner sewers, ensuring a fun and rewarding crafting experience. This project is perfect for anyone looking to add a personalized touch to their summer wardrobe or simply enjoy a relaxing afternoon of crafting.
This easy-to-follow tutorial eliminates the intimidation factor often associated with sewing projects. You'll learn how to cut, assemble, and finish your sun hat with minimal fuss, making it a perfect project for both experienced crafters and complete newcomers. Ready to get started on your own sun-safe style statement? Let's dive into the step-by-step instructions below!
Preparation and Safety Guidelines
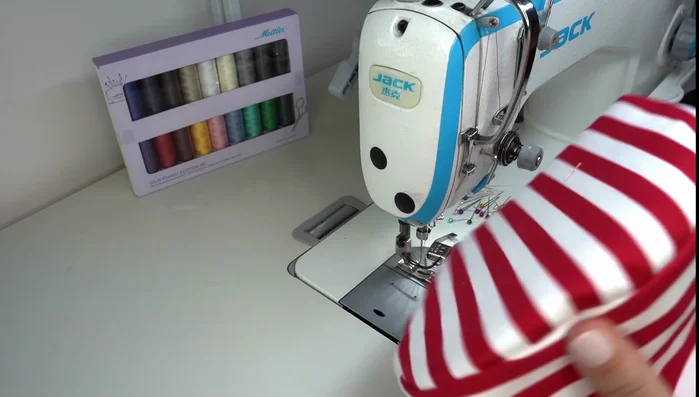
- sewing machine
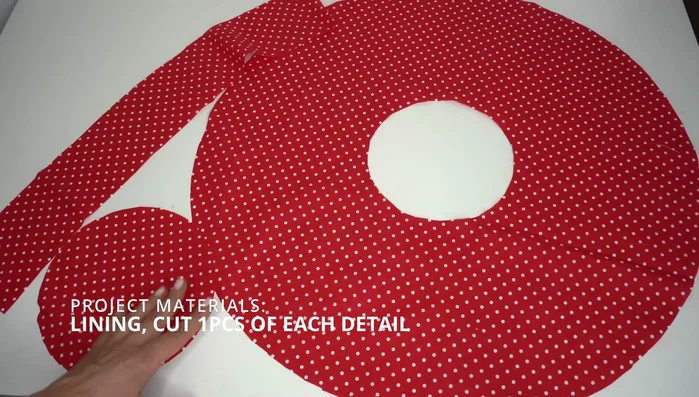
- fabric (main and lining)
- thick interfacing
- sewing thread (e.g., Mettler Silk Finish Cotton 50)
- boning (optional)
- scissors
- pins
- measuring tape
- iron
- Always use a sharp needle and appropriate thread weight for your fabric to prevent breakage and ensure clean stitches. Using dull needles can lead to skipped stitches and fabric damage.
- Be mindful of your fingers when using the sewing machine. Keep fingers away from the needle and presser foot while the machine is operating.
- Before cutting your fabric, double-check your measurements and pattern pieces. Incorrectly cut fabric can significantly impact the final product and result in wasted materials.
Step-by-Step Instructions
Cut and Prepare Fabric
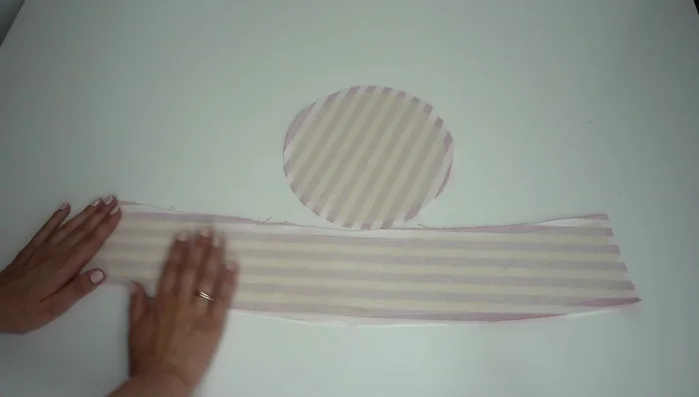
- Cut all pattern details accurately from main fabric and lining fabric. Cut interfacing pieces without seam allowance.
- Fuse interfacing to the wrong side of all main fabric pattern details.

Cut and Prepare Fabric Construct the Crown
- Fold and pin the crown pattern detail, sewing 1cm from the edge. Repeat with the lining detail. Press seams open and turn inside out.
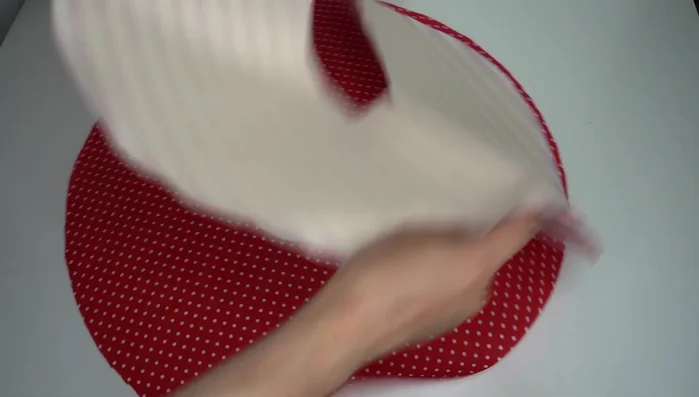
- Pin and sew the main crown fabric and lining together, 1cm from the edge. Clip curves.
- Turn the crown inside out and press.
Construct the Crown Construct the Brim
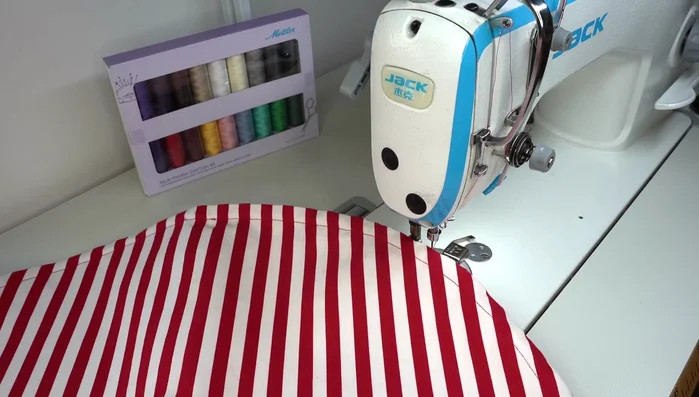
- Pin and sew the main brim fabric and lining together, 1cm from the edge. Clip curves.
- Turn brim inside out and press. Make a seam 1.5cm from the brim edge, leaving a small opening.
- Insert boning into the brim, working carefully. Trim excess boning and close the seam.
- Create additional seams around the brim, spaced 1.5cm apart.
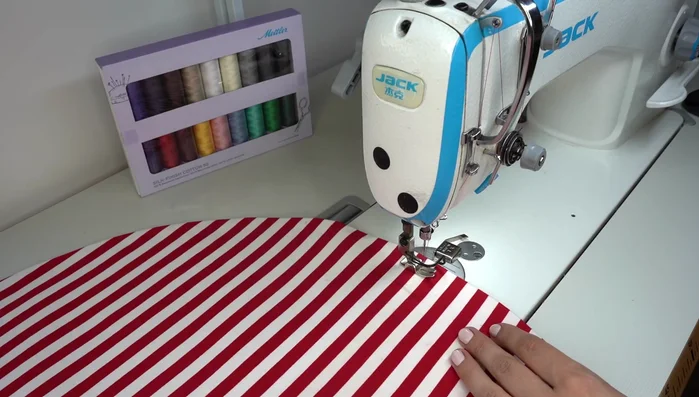
Construct the Brim - Top stitch around the brim.
Attach Crown to Brim
- Pin and sew the crown to the brim, right sides together.
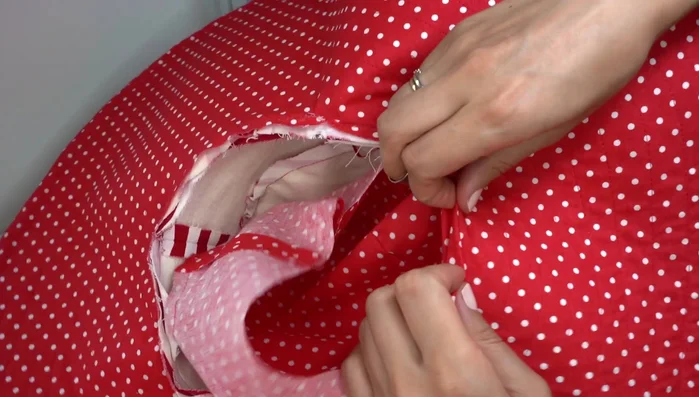
Finish and Press
- Fold the lining over the seam allowance and hand stitch to attach it to the seam. Repeat all around.
- Press the finished hat.
Finish and Press
Read more: DIY Stretchy Fingerless Gloves: Easy Sewing Tutorial
Tips
- Cut all pieces accurately, especially the circular parts.
- Using boning will give the brim structure and prevent floppiness.
- Use a magnet to help guide the seam allowance during sewing.