Are you tired of messy hair ruining your perfect outfit? Do you crave a stylish and comfortable accessory that keeps your locks in place without the headache? Then look no further! This easy-to-follow tutorial will guide you through creating your own personalized stretchy headband, perfect for everyday wear or special occasions. Forget expensive store-bought options; with just a few simple supplies and a bit of time, you can craft a beautiful and uniquely tailored headband that reflects your personal style. You’ll be amazed at how quickly and easily you can transform a small piece of fabric into a practical and fashionable accessory.
This DIY project is perfect for beginners, requiring minimal sewing experience. We'll be using a simple technique to achieve a wonderfully stretchy and comfortable fit. Get ready to discover the joy of crafting your own accessories and say goodbye to bad hair days! Ready to get started? Let's dive into the step-by-step instructions and create your own fabulous, custom-made stretchy headband.
Preparation and Safety Guidelines
- Fabric (Viscose recommended), Sewing Machine, Pins, Needle and Thread, Iron
- Always use sharp, well-maintained sewing scissors to prevent injury and ensure clean cuts. Dull scissors can lead to slips and accidents.
- If using a sewing machine, ensure your fingers are kept away from the needle at all times. Use a finger guard if necessary.
- Choose fabrics appropriate for headbands. Stretchy fabrics like jersey knit or spandex are best. Avoid stiff or abrasive fabrics that may be uncomfortable to wear.
Step-by-Step Instructions
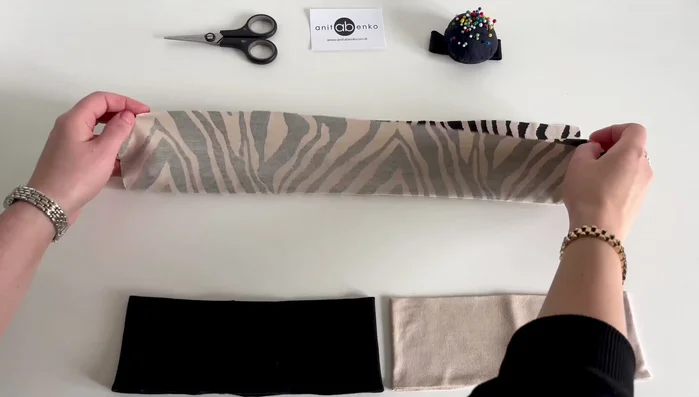
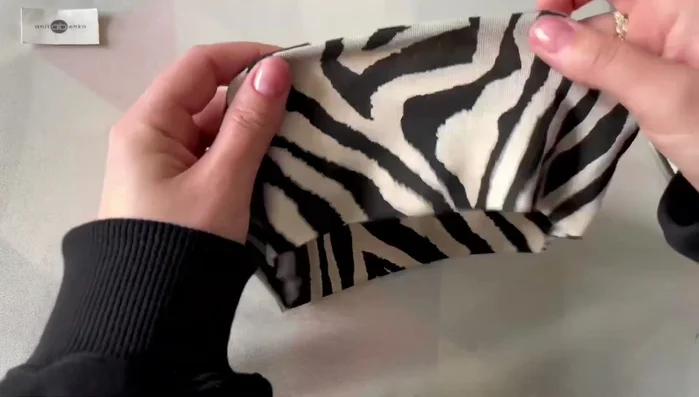
Prepare the Fabric
- Fold the fabric in half with right sides together, leaving one inch open on each short side. Pin the edges.

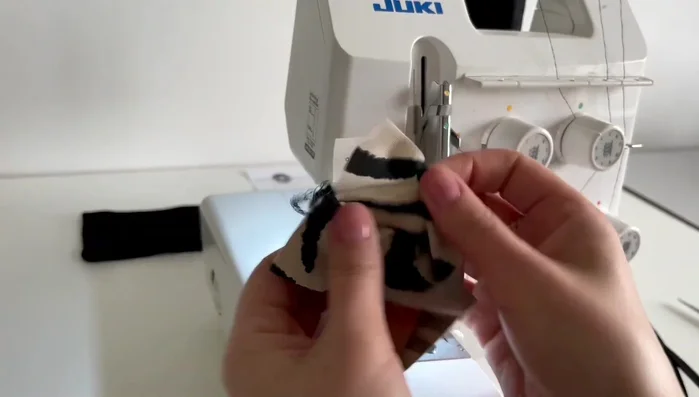
Prepare the Fabric Sew the Sides
- Sew the pinned edges together using an overlocking stitch.
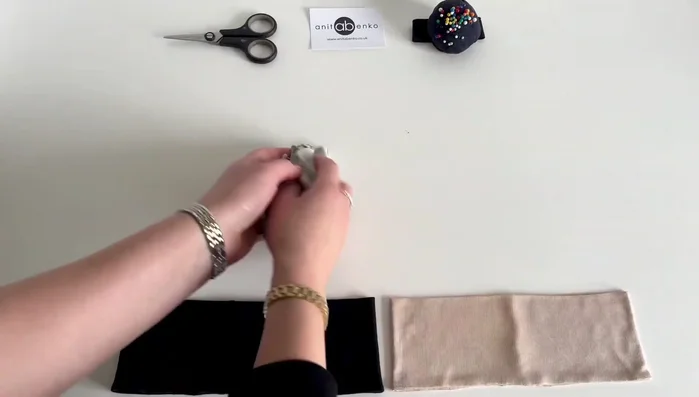
Sew the Sides Turn Right Side Out
- Turn the fabric right side out through the open edges.
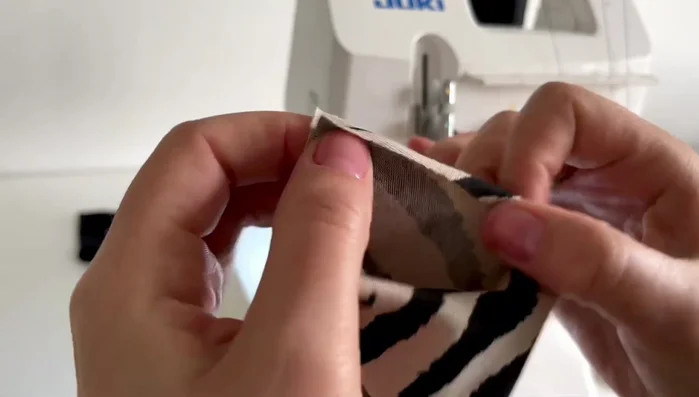
Turn Right Side Out Sew the Ends
- Place the two open ends together and sew them together using an overlocking stitch.
Sew the Ends Close the Opening
- Cut off excess thread and sew the remaining opening closed using an invisible stitch.
Close the Opening Finish and Iron
- Iron the headband flat, with the long seam on top.
Finish and Iron

Read more: DIY Stretchy Fingerless Gloves: Easy Sewing Tutorial
Tips
- Use a stretchy fabric like Viscose for optimal results.
- Ensure the seams are neatly finished for a professional look.
- Ironing the headband helps to create a crisp and smooth finish.