Headbands are a fantastic accessory, offering both practicality and style. Whether you're aiming for a polished look or simply want to keep your hair out of your face during a busy day, a stretchy headband is a versatile solution. But buying them can be expensive, and finding the perfect fit and style can be a frustrating search. Why not create your own? This guide introduces the absolute fastest and easiest method for sewing your own perfectly fitted, stylish headbands, requiring minimal sewing skills and even less time. You'll be amazed at how quickly you can transform scraps of fabric into a wardrobe staple.
Forget complicated patterns and fiddly techniques; this method utilizes a simple, straight stitch to create a comfortable and stretchy headband in minutes. We'll walk you through each step with clear instructions and helpful images, making this project accessible to even the most novice sewers. Ready to get started? Let's dive into the step-by-step process!
Preparation and Safety Guidelines
- Fabric
- Sewing machine (serger recommended but not required)
- Scissors
- Pins (optional)
- Iron (optional)
- Fabric spray starch (optional)
- Always use sharp, appropriate sewing needles and pins to avoid injury. Handle them with care and keep them out of reach of children.
- Ensure your fabric is pre-washed to prevent shrinkage after the headband is made. This will affect the fit.
- Be mindful of the elastic's stretchiness. Overstretching it during sewing can weaken it and shorten the headband's lifespan.
Step-by-Step Instructions
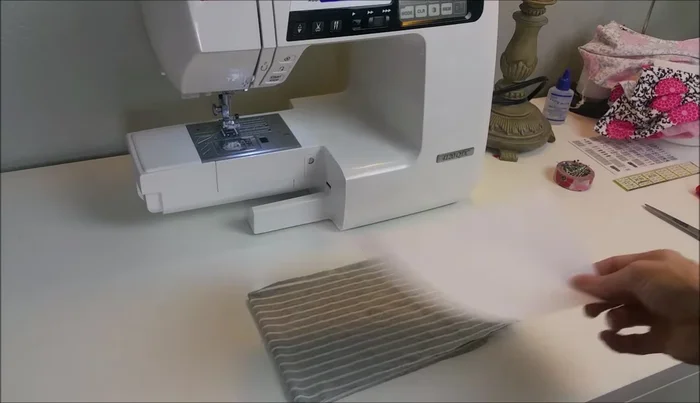
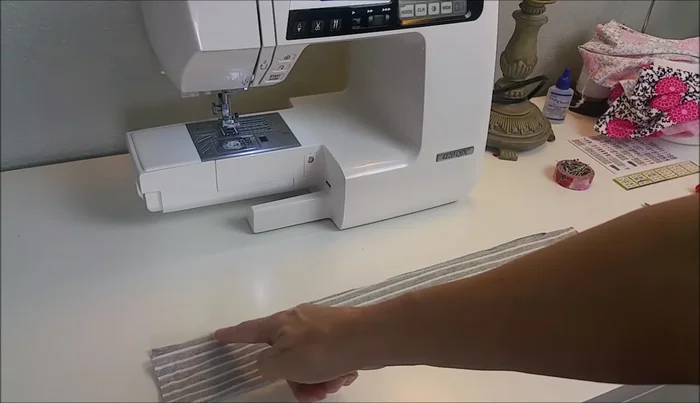
Prepare Fabric
- Cut out fabric using a template. Fold fabric in half with stretch going side to side, place template on fold and cut.

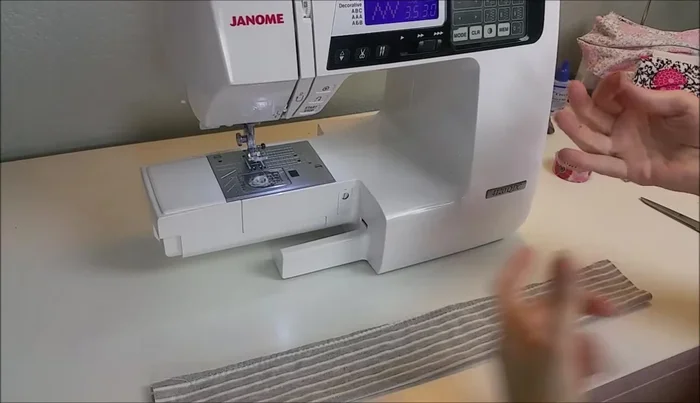
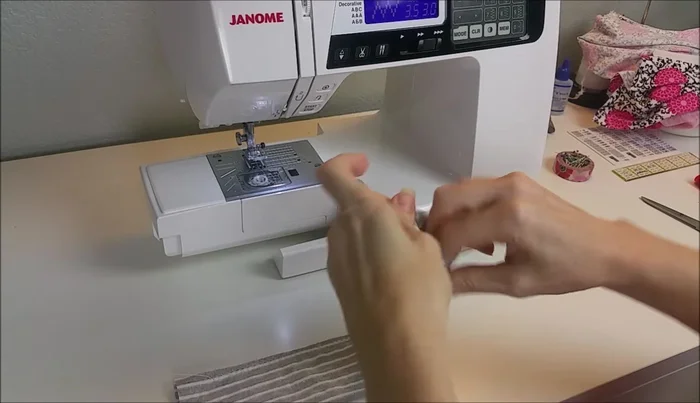
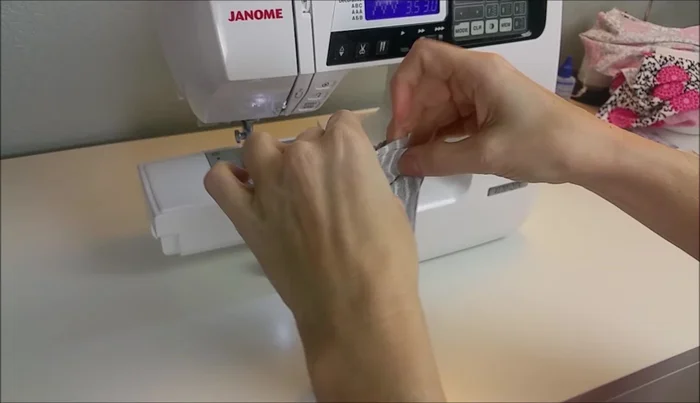
Prepare Fabric Sew Side Seam
- Sew the short edges together. Sew from about 1 inch from one end to about 2 inches from the other end. Use a serger for best results, or a long wide zigzag stitch (length 3, width 3.5). Sew with a ¼ inch seam allowance.
- Trim excess fabric from the seam to reduce bulk. Trim approximately ⅛ inch.
Sew Side Seam Turn and Shape
- Turn the fabric tube right side out.
Turn and Shape Sew End Seam
- Sew the long edges together using a straight stitch with a ¼ inch seam allowance. Increase stitch length to 3.
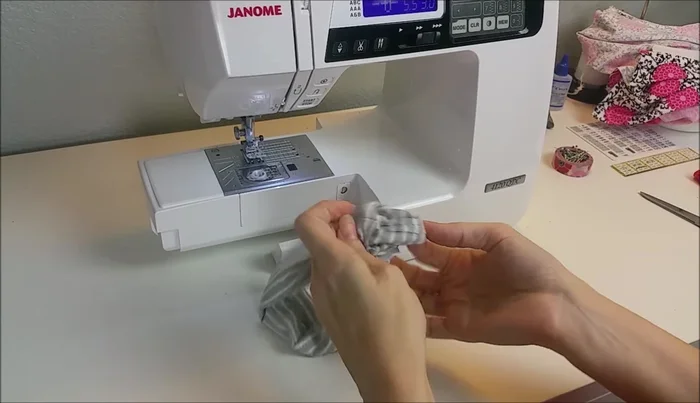
Sew End Seam Close Opening
- Close the small remaining opening. Tuck the raw edges under and sew closed with a straight stitch. This step can be done by machine or hand.
Close Opening Finish
- Trim threads, and optionally add fabric spray starch and press with an iron.
Finish

Read more: DIY Stretchy Fingerless Gloves: Easy Sewing Tutorial
Tips
- Using a serger provides the best stretch for the headband.
- If you don't have a serger, use a long, wide zigzag stitch. Experiment with stitch length to find what works best with your fabric.
- When using a straight stitch on knit fabric, increase the stitch length (to 3).
- To minimize bulk, trim seam allowances slightly after sewing the short ends together.
- Move the presser foot over to the edge of the fabric to easily sew the final seam.