Are you looking for a quick and stylish accessory to elevate your everyday look or complete a special outfit? Then look no further! This DIY spiral twisted headband is the perfect project for even the busiest crafters. Forget complicated instructions and hours of tedious work; this method prioritizes speed and simplicity, delivering a chic and trendy headband in minutes. Using readily available materials, you'll be amazed at how easily you can create a beautiful, personalized accessory that perfectly complements your wardrobe. This surprisingly simple technique allows for endless customization, whether you prefer a delicate look or a bolder statement piece.
Forget those frustrating tutorials that leave you more confused than inspired. This guide provides a crystal-clear, step-by-step process for making your own stunning spiral twisted headband, ensuring success even for complete beginners. Ready to learn the fastest and easiest way to craft this stylish accessory? Let's get started!
Preparation and Safety Guidelines
- 3/4 inch headband
- 28x4.5 inch satin or silk fabric (or any fabric)
- erasable marking pen
- fabric clips
- sewing machine (or needle and thread)
- loop turner
- hot glue gun (or fabric glue)
- Always use sharp scissors to avoid accidents and ensure clean cuts in the fabric. Dull scissors can lead to fraying and uneven edges.
- Be mindful of the tightness of the headband when twisting. Too tight can cause discomfort and headaches. Adjust the fabric as you twist to find a comfortable fit.
- If using hot glue, work in a well-ventilated area and be cautious to avoid burns. Keep glue away from children and pets.
Step-by-Step Instructions
Prepare Fabric and Mark
- Trim the edges for a nice finish. Fold the fabric in half (right sides together). Measure and mark 3 inches from the edge. Place the headband and mark its position on the fabric to ensure a proper fit.

Prepare Fabric and Mark Cut and Prepare Edges
- Draw a straight line, mirroring the process on the other side. Cut the fabric. Fold down and backward the raw edges on both sides to hide them.
Sew the Fabric Tube
- Sew along the marked line. Ensure the headband fits inside the fabric after sewing.
Sew the Fabric Tube Turn Right Side Out
- Use a loop turner to easily flip the fabric right side out.
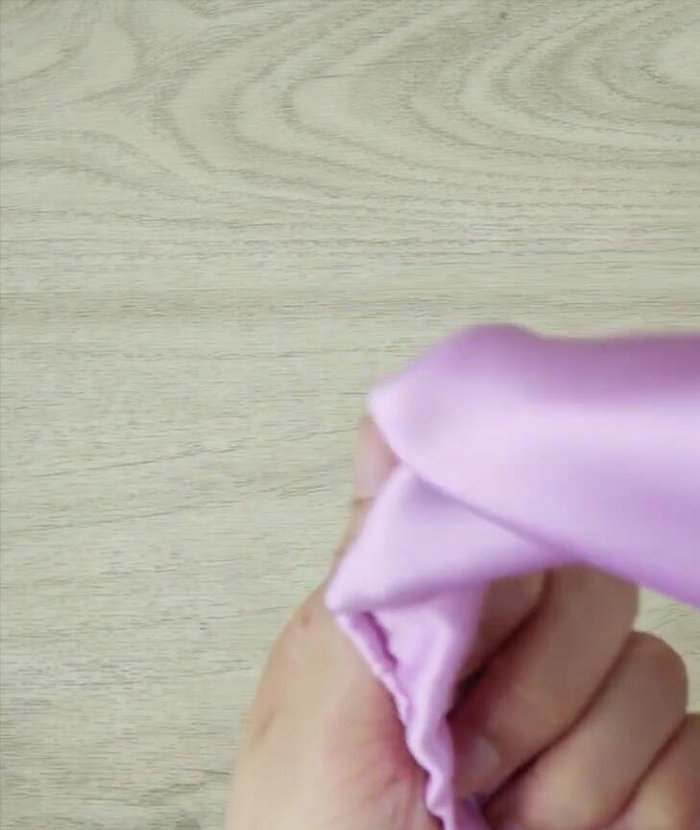
Insert and Secure Headband
- Insert the headband, ensuring the seams are on the side. Secure the fabric to the headband using a hot glue gun or fabric glue.
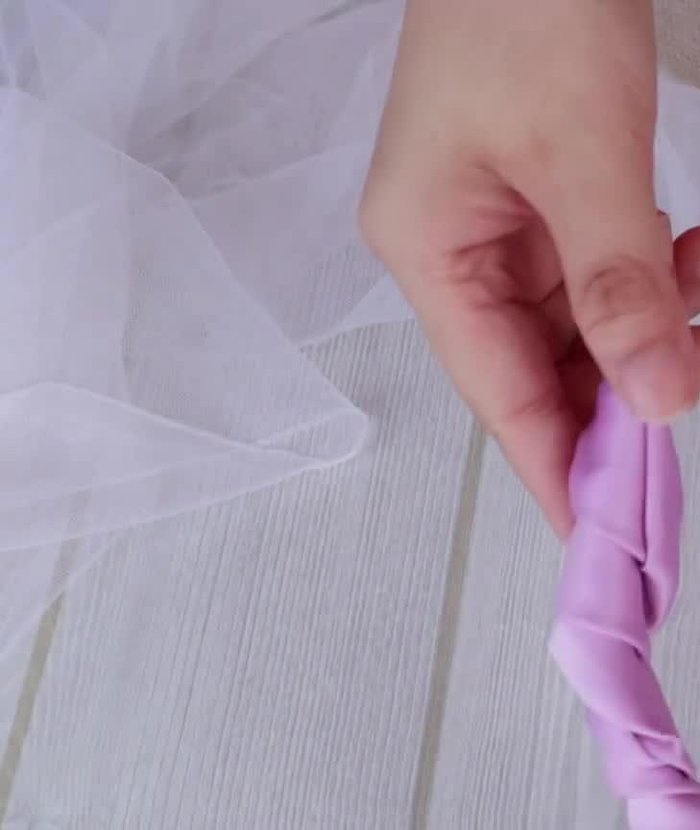
Insert and Secure Headband Twist and Shape Headband
- Twist the headband to your desired tightness, hiding the seam as you go.
Twist and Shape Headband Secure the End
- Secure the end of the headband with hot glue.
Read more: DIY Stretchy Fingerless Gloves: Easy Sewing Tutorial
Tips
- Use satin or silk fabric for a luxurious look, but any fabric works.
- A loop turner makes turning the fabric much easier.
- Fabric glue is a better option than hot glue if available.
- Hand-stitching is possible but requires more time and patience.