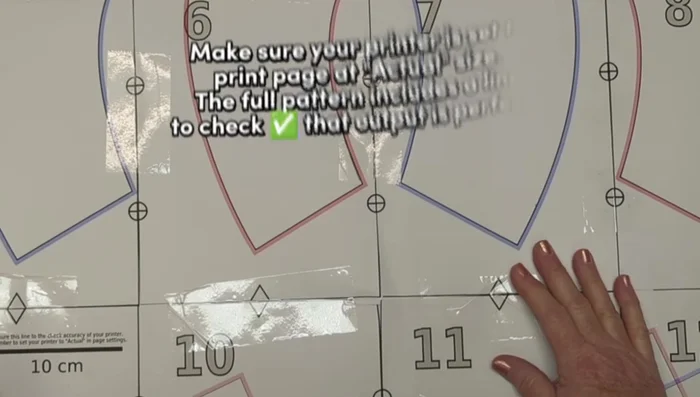
Summer's radiant glow calls for stylish sun protection, and what better way to embrace the season than with a chic, reversible sun hat? This comprehensive guide will walk you through creating your own DIY reversible big brim sun hat, complete with a stylish tie and convenient toggle for a perfect fit. Forget expensive store-bought options – you'll be surprised how easy it is to craft a high-quality, personalized hat that's both fashionable and functional. Imagine the versatility: switch between two different fabrics to perfectly match your outfit, or create a reversible design for a truly unique statement piece.
This project is perfect for crafters of all levels, from beginners seeking a satisfying project to experienced sewers looking for a fun, new challenge. We'll cover everything from choosing the right materials to mastering the essential sewing techniques, guiding you step-by-step through each phase of construction. Ready to get started on your own bespoke summer accessory? Let’s dive into the detailed, illustrated instructions below!
Preparation and Safety Guidelines
- sewing machine
- magnetic seam guide
- scissors
- serger (optional)
- iron
- fusible interfacing (medium and heavyweight)
- cord (polyester or ribbon)
- cord locks (toggles)
- pins
- measuring tape
- Mad Cap Hats label
- Use sharp scissors and needles carefully to avoid pricking yourself. Always point sharp objects away from your body.
- When working with fabric glue or other adhesives, ensure adequate ventilation and follow the manufacturer's instructions carefully. Avoid contact with skin and eyes.
- If using a sewing machine, ensure your fingers are clear of the needle at all times. Familiarize yourself with the machine's safety features before starting.
Step-by-Step Instructions
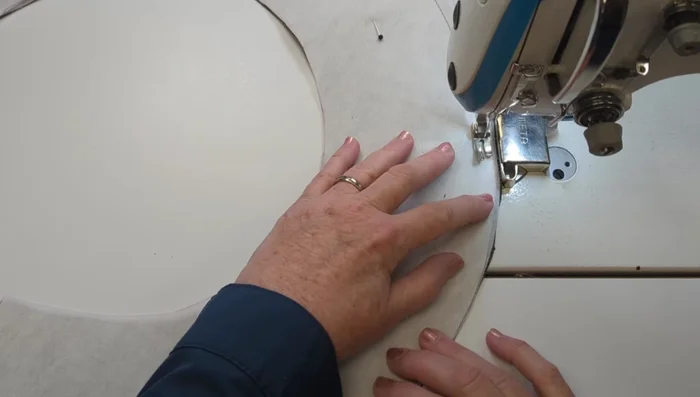
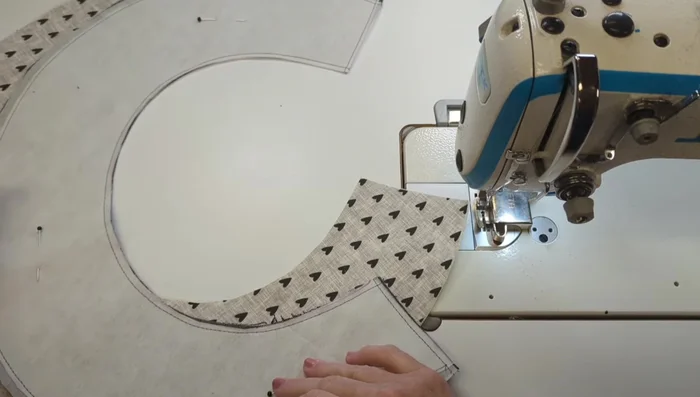
Prepare the Brim
- Fuse interfacing to brim pieces.
- Sew heavyweight stabilizer to solid color brim piece.
- Trim excess interfacing.
- Sew heavyweight stabilizer to remaining brim edges.

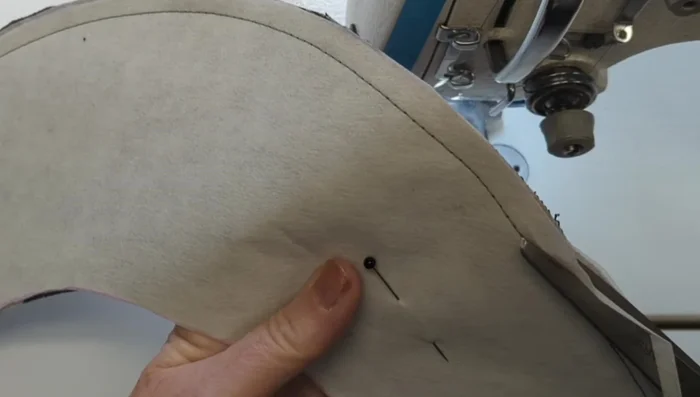
Prepare the Brim - Join brim pieces right sides together, leaving ends open.
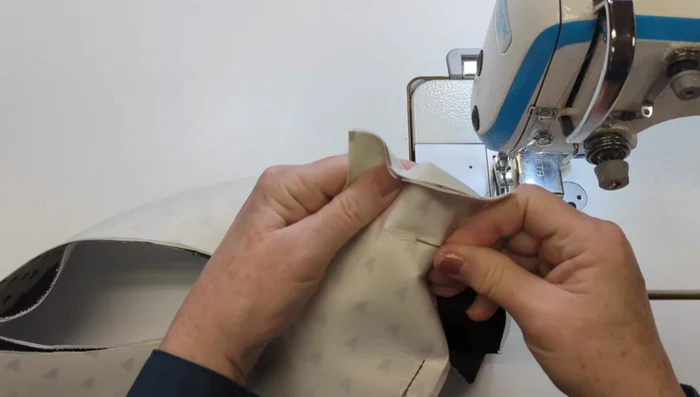
- Close back seams of brim.
- Sew remaining brim edges together.
- Finish and topstitch brim edges.
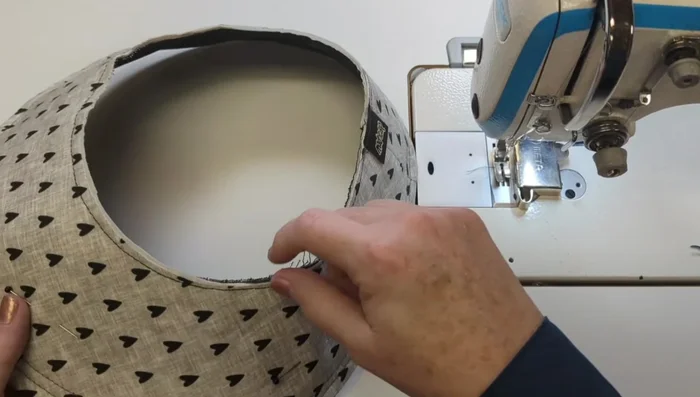
Prepare the Brim - Close inside brim edge; add label.
Prepare the Brim Prepare the Crown
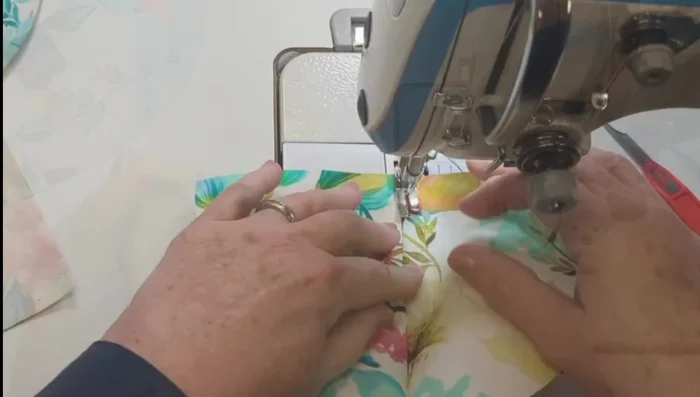
- Sew side seams of top panels together and topstitch.
- Combine top panels into two three-piece panels and topstitch seams.
- Sew two three-piece panels together.
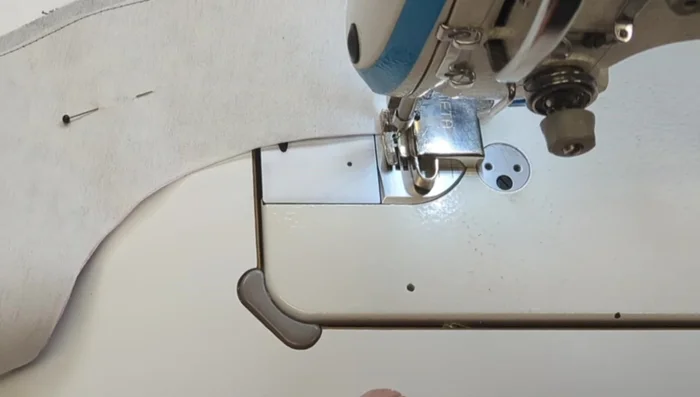
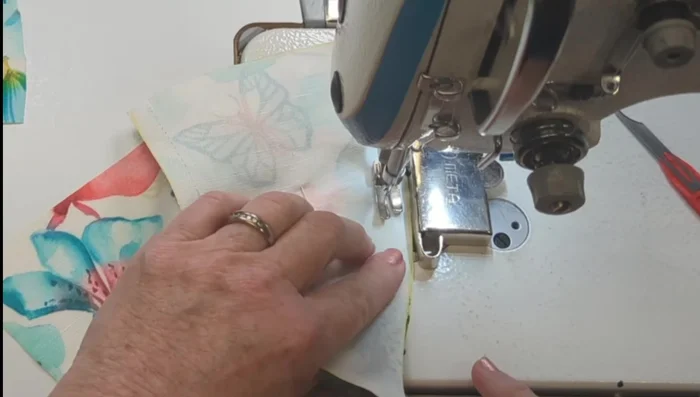
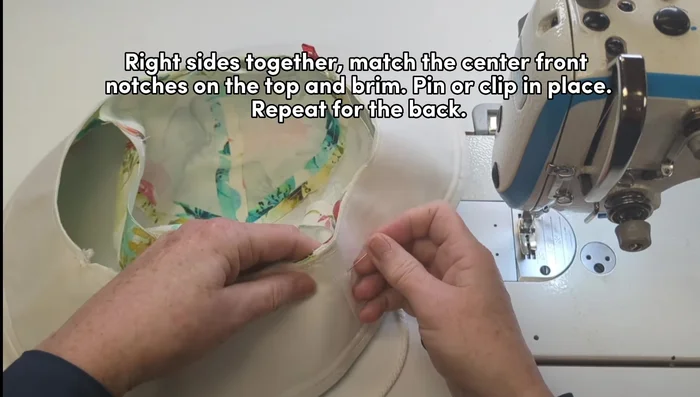
Prepare the Crown Attach Crown to Brim
- Attach top panels to brim, matching notches.
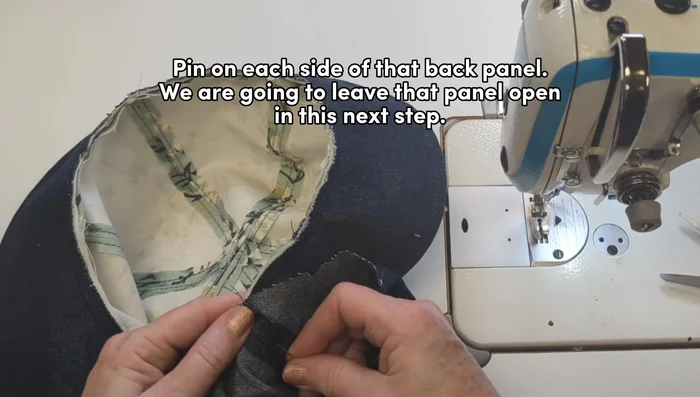
- Sew remaining top panels to brim, leaving one panel open for turning.
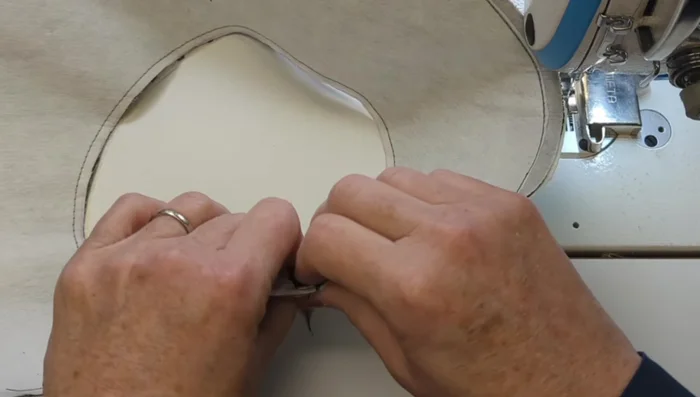
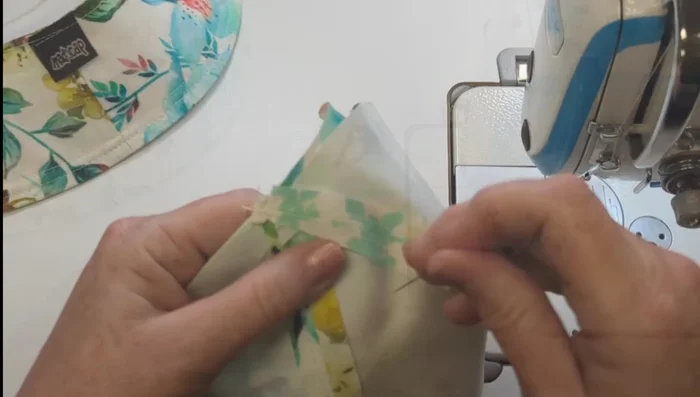
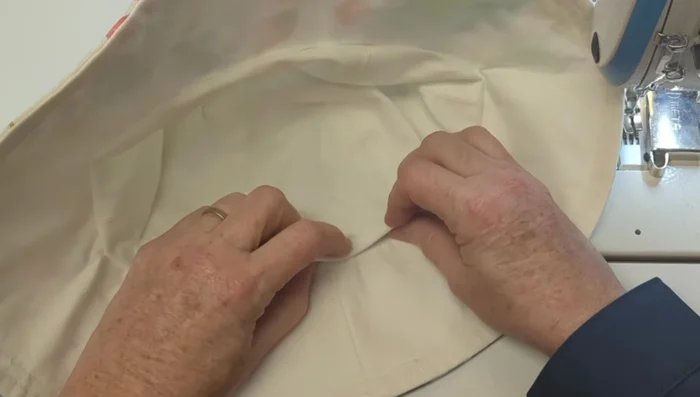
Attach Crown to Brim Finish the Hat
- Turn hat right side out; close opening.
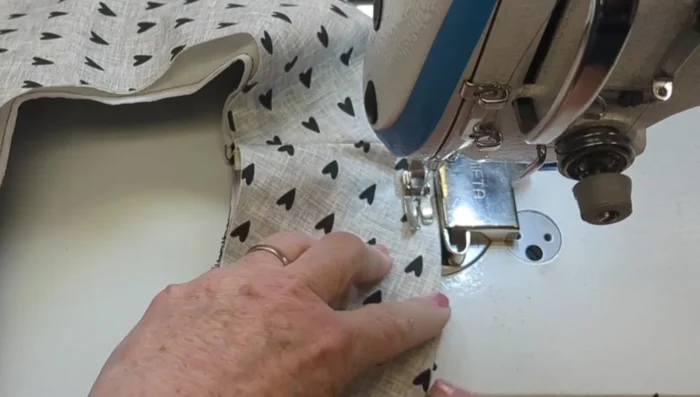
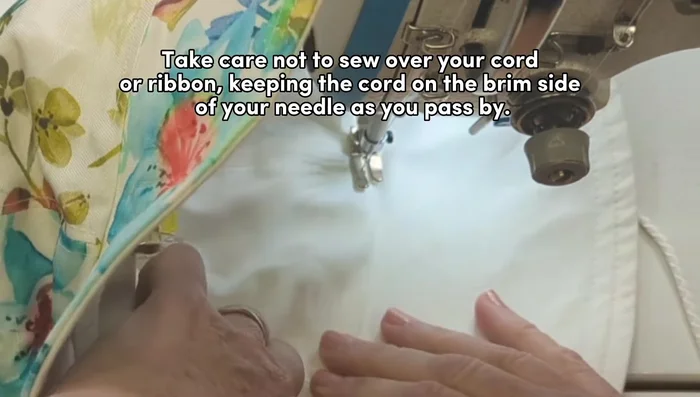
- Topstitch around the hat.
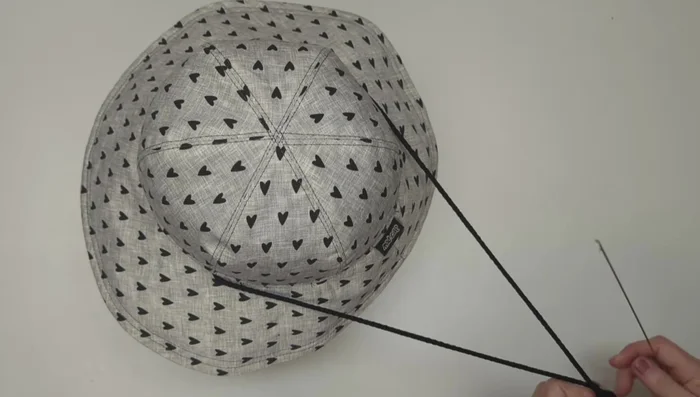
- Add toggles to cords; tie and adjust.
Finish the Hat
Read more: DIY Stretchy Fingerless Gloves: Easy Sewing Tutorial
Tips
- Pin through each pair of top panels before cutting.
- Arrange printed fabric to best show design features.
- Use magnetic seam guide for accurate topstitching.
- Clip or use serger to clean up seam edges for a smooth finish.
- Add extra stabilizer for a crisp, wrinkle-free brim edge.