Rainy days shouldn't mean soggy socks and a grumpy disposition! Keep those muddy wellies contained and your car interior spick and span with a quick and easy DIY rain boot bag. Tired of wrestling with wet boots and struggling to find a suitable storage solution? This simple tutorial will show you how to create a practical and stylish boot bag in minutes, using readily available materials and minimal sewing skills. Forget expensive, pre-made options; you'll be amazed at how effortless it is to craft your own personalized boot carrier.
Say goodbye to muddy messes and hello to organized storage! This tutorial focuses on the fastest and easiest method for creating a durable rain boot bag, perfect for everyone from busy parents to outdoor enthusiasts. Ready to get started and transform your old towels or fabric scraps into a functional and attractive solution? Let's dive into the step-by-step instructions below!
Preparation and Safety Guidelines
- Medium weight cutaway stabilizer
- Sewing machine
- Zipper (7 inches)
- Fabric (for bag and lining)
- Interfacing
- Tape
- Vinyl
- Lobster claw(s)
- D-rings (optional)
- 5/8 inch cross-grain ribbon (2 pieces for top attach, 1 for side)
- 1 inch wide x 2 inch long ribbon (2 pieces)
- Appliqué cutting scissors
- Pinking shears
- Needle and thread
- Pins
- Always use sharp scissors or a rotary cutter when cutting fabric to avoid injury. Handle with care.
- Ensure your sewing machine needle is appropriate for the fabric you are using to prevent breakage or damage to the fabric.
- If using a drawstring, make sure it's securely tied to avoid accidental strangulation, especially if children will be using the bag.
Step-by-Step Instructions
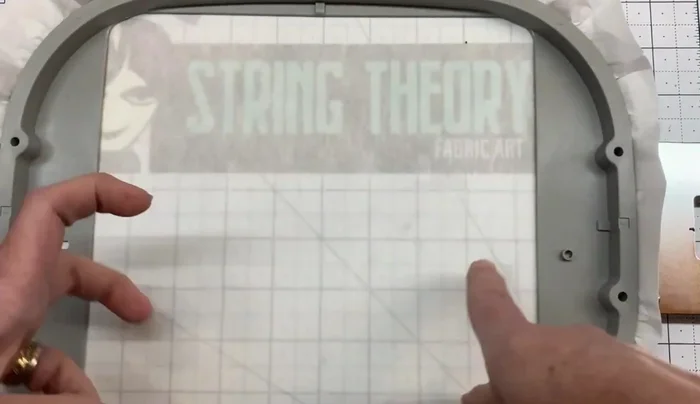
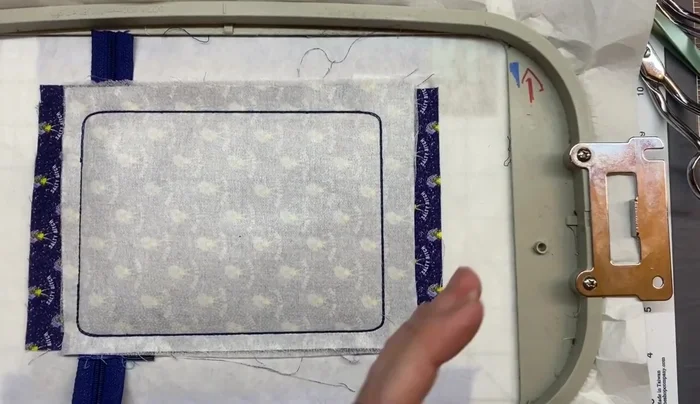
Prepare the Stabilizer
- Hoop up medium weight cutaway stabilizer and run color stop 1.

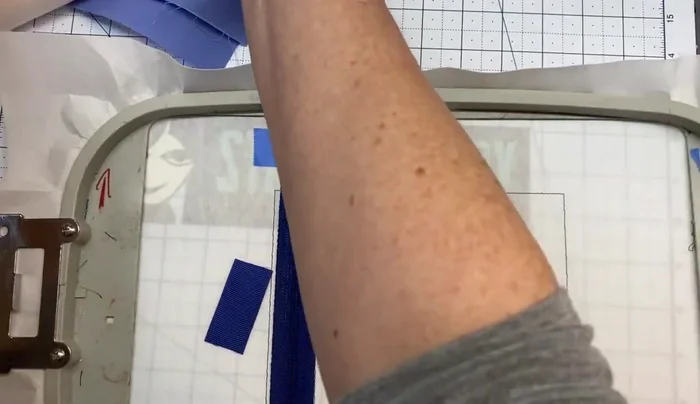
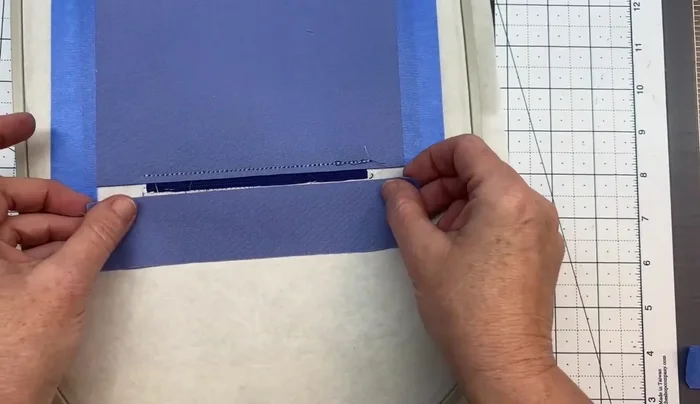
Prepare the Stabilizer Prepare the Zipper
- Tape the zipper, ensuring the tape barely covers the stitch lines. Tape the zipper head to the left.
- Run color stop 2.
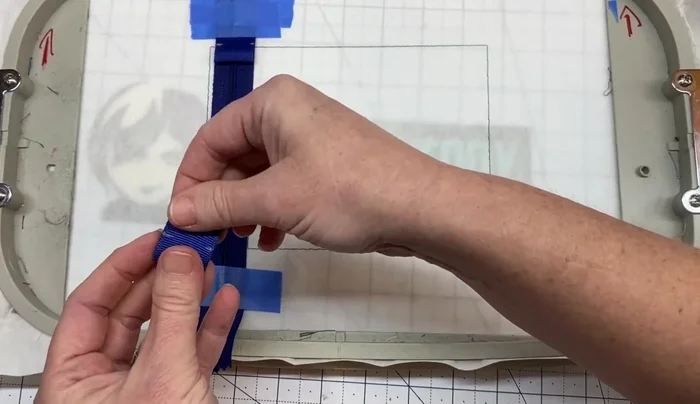
Prepare the Zipper Attach Ribbon Handles
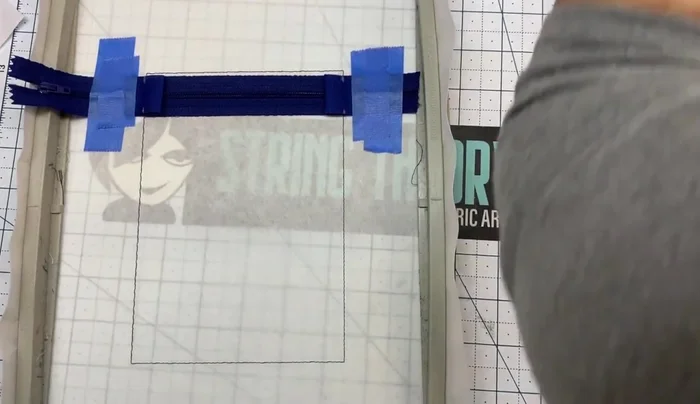
- Fold two 1-inch ribbon pieces in half, mark ½ inch from the fold, and attach them to the zipper tape, centered on the dye line. Repeat for the other side.
- Tape the ribbon pieces in place.
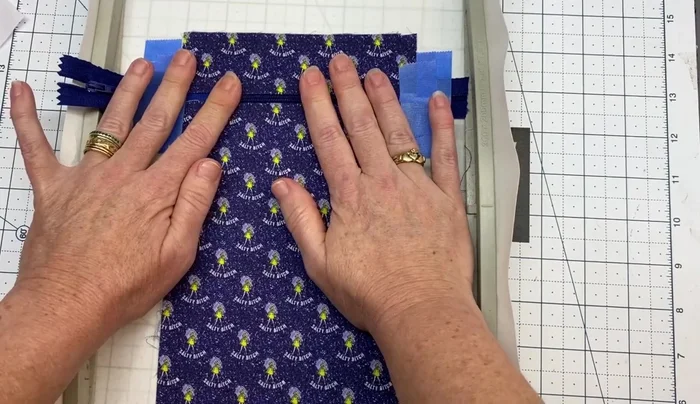
Attach Ribbon Handles Attach Front Fabric
- Attach the front fabric pieces to the zipper, ensuring dye lines are aligned. Tape in place.
- Run color stops 3 and 4.
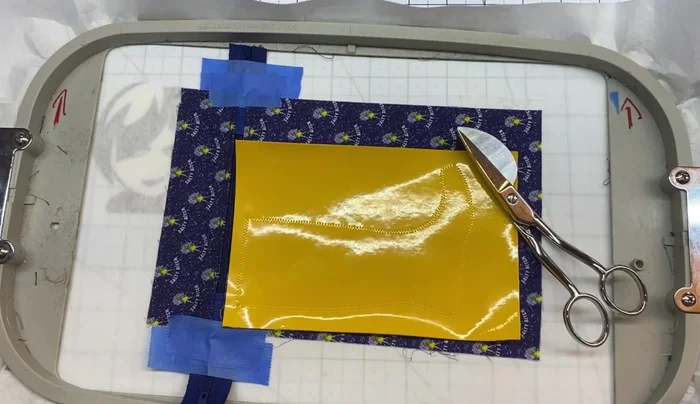
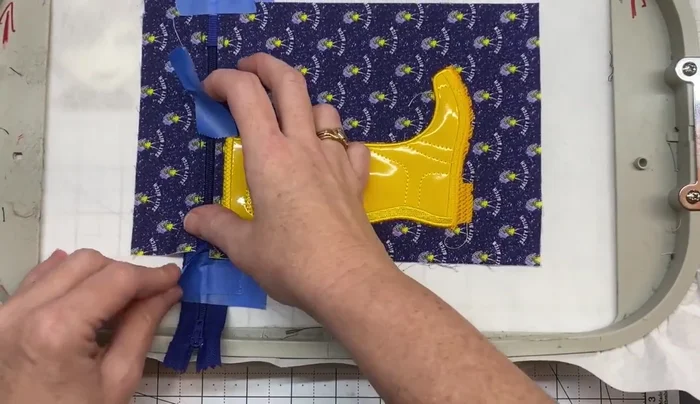
Attach Front Fabric Apply Main Vinyl Design
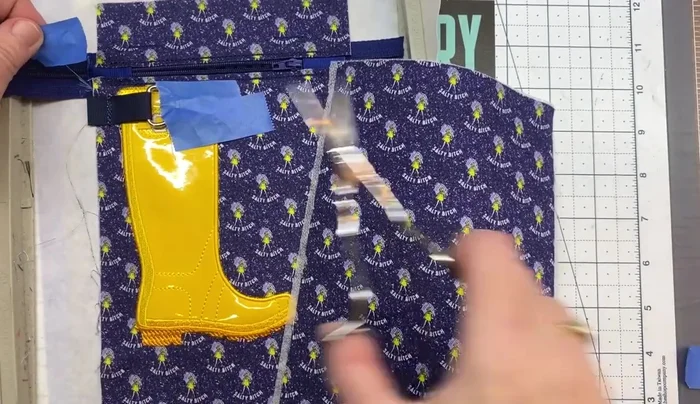
- Attach vinyl to create the rain boot design, ensuring equal distance from the dye line. Tape in place.
- Run color stop 5.
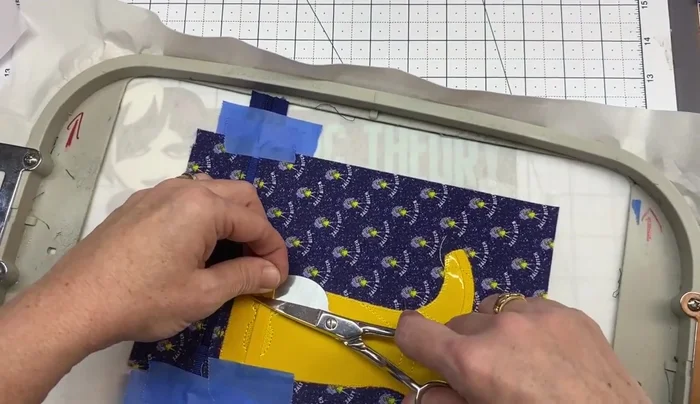
- Trim the excess vinyl close to the stitching using appliqué cutting scissors.
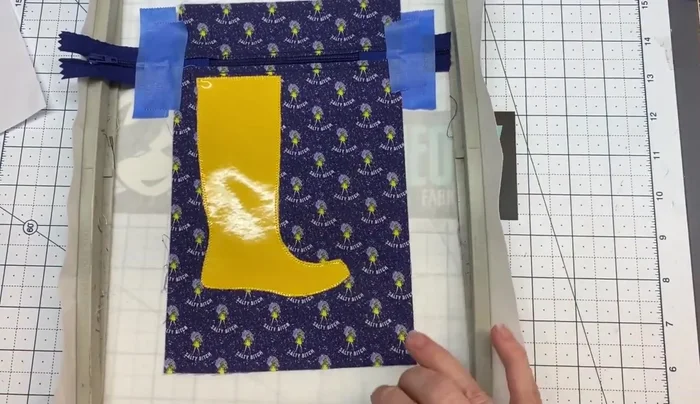
Apply Main Vinyl Design Complete Boot Detail
- Run color stops 6, 7, and 8.
- Attach a small piece of vinyl to complete the boot detail. Tape and run color stop 9.
- Trim excess vinyl from step 12.
- Run color stops 10, 11, and 12.
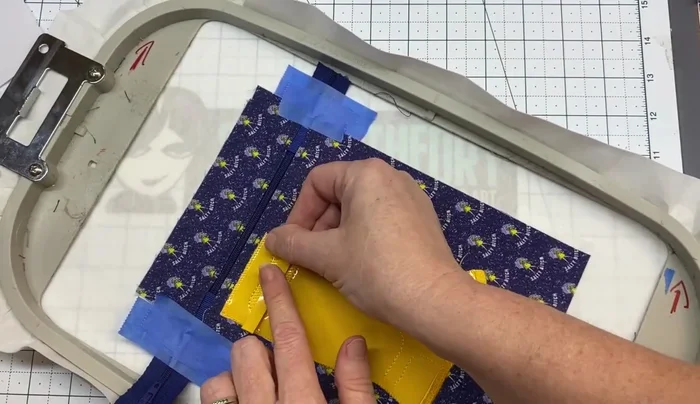
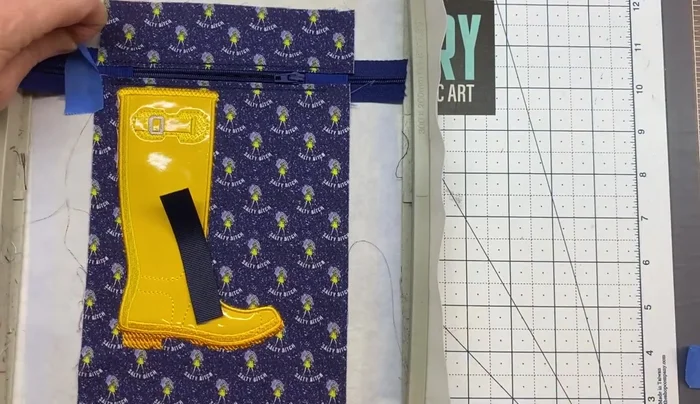
Complete Boot Detail Add Buckle Detail
- Attach a small piece of vinyl for the buckle detail. Tape and run color stop 13.
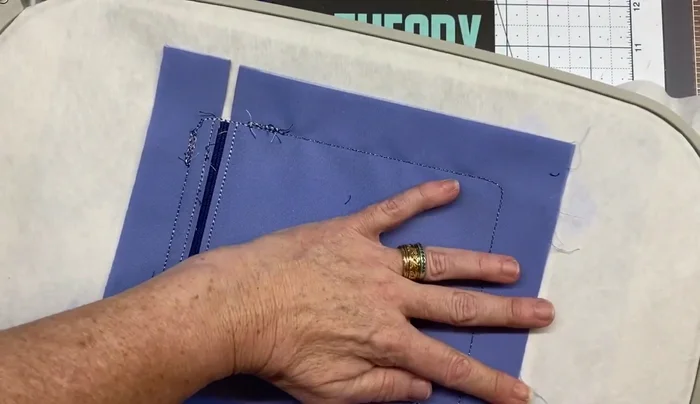
Add Buckle Detail Attach Back Lining
- Attach the back lining to the bag. Tape and run color stop 14.
Attach Back Lining Attach Top Lining
- Attach the top lining piece and tape. Run color stop 15.
Attach Top Lining Prepare for Hardware Attachment
- Open the zipper and re-tape. Run color stop 16.
Prepare for Hardware Attachment Attach Hardware
- Attach the lobster claw or D-rings and ribbon assembly. Tape and run color stop 17.
Attach Hardware Attach Back Fabric
- Attach the back fabric, tape, and run color stop 18.
Attach Back Fabric Finish the Lining
- Flip the hoop, tape the lining piece, and run color stop 19.
Finish the Lining Finishing Touches
- Trim excess fabric and zipper. Turn the bag right side out.
- Hand-stitch the opening closed.
Finishing Touches


Read more: DIY Reversible Baby Slippers: Easy Sewing Tutorial
Tips
- Always refer to your PDF file for precise measurements and cutting instructions.
- Use tape generously, especially with a multi-needle machine to prevent fabric from shifting.
- Use appliqué cutting scissors for precise vinyl trimming.
- For a cleaner finish, consider using a blind stitch to close the opening.