Elevate your everyday style with a touch of effortless elegance using this DIY pleated headband tutorial! Forget expensive boutique accessories; creating your own stunning headband is easier than you think. With just a few simple materials and a bit of patience, you can craft a beautiful pleated headband that perfectly complements any outfit, from casual daytime wear to a sophisticated evening look. This versatile accessory adds a touch of sophistication without overwhelming your style, making it the perfect addition to your wardrobe. Imagine the compliments you'll receive while knowing you crafted this beautiful piece yourself!
This comprehensive guide will walk you through each step of creating your own custom pleated headband, from choosing the right fabric to achieving that perfect, crisp pleat. So gather your supplies, and let's get started on transforming a simple piece of fabric into a chic and stylish accessory that will become a staple in your hair accessory collection. Prepare to be amazed by how simple yet elegant the final result will be!
Preparation and Safety Guidelines
- Lace
- Ribbon
- Velvet
- Glue (hot glue recommended)
- Scissors
- Measuring tape
- Gem or Pearl
- Always use sharp scissors to ensure clean cuts and prevent fraying of the fabric. Dull scissors can cause uneven cuts and make it harder to create neat pleats.
- Be mindful of the fabric type. Some fabrics (like silk or delicate lace) are more prone to snagging or stretching. Handle them gently and consider using a lightweight interfacing for added support.
- Securely fasten any pins or clips before using a sewing machine to avoid accidents. Never leave the machine unattended while operating.
Step-by-Step Instructions
Prepare Materials
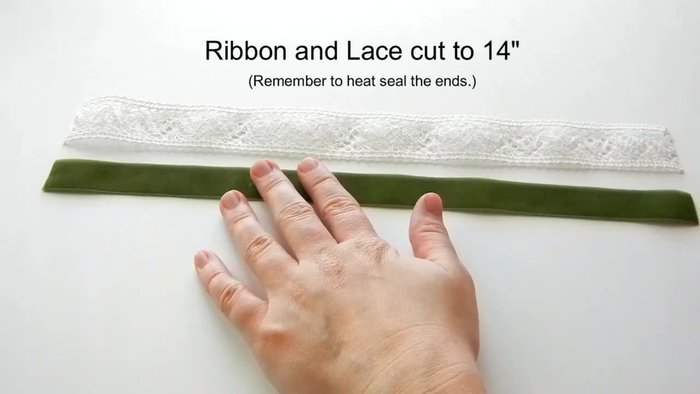
- Cut lace and ribbon to 14 inches. You can adjust measurements based on preference.

Prepare Materials Glue Lace and Velvet
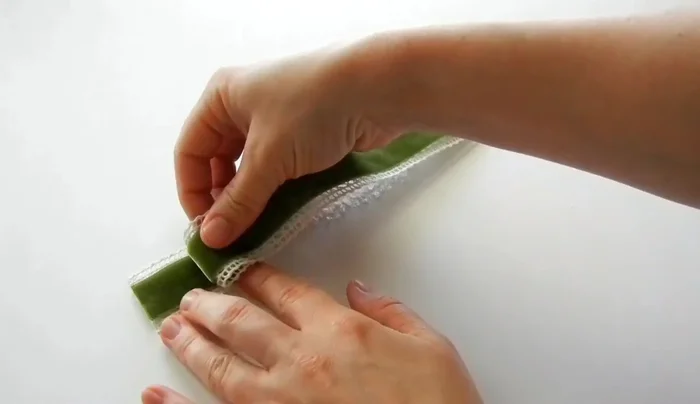
- Glue the lace and velvet together. Ensure you work on a surface that can withstand glue seepage.
Glue Lace and Velvet Create First Pleat
- Fold the combined lace and velvet to about one inch, creating the first pleat. Secure with hot glue.
Create First Pleat Create Remaining Pleats
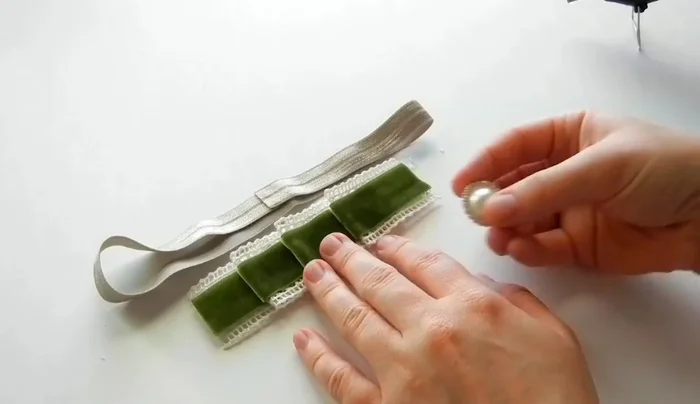
- Repeat step 3, creating additional pleats of approximately one inch each. Remember to leave a slightly rounded edge.
Create Remaining Pleats Trim Excess Material
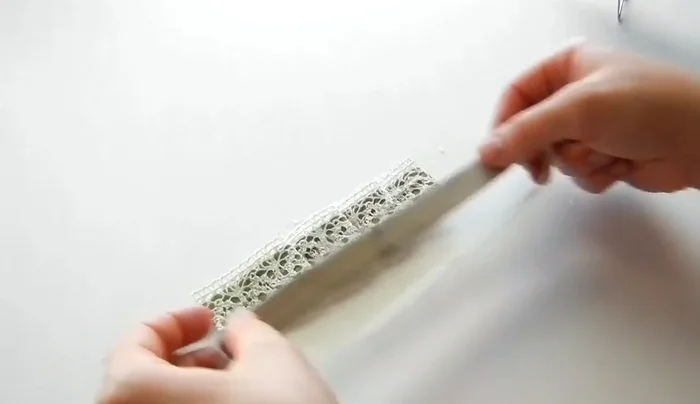
- Trim any excess material.
Attach Gem/Pearl
- Attach the gem or pearl to the end of the velvet ribbon using hot glue.
Attach Gem/Pearl Attach Headband
- Apply hot glue along the center of the pleats and attach the headband. Optionally, line the back with felt.
Attach Headband


Read more: DIY Stretchy Fingerless Gloves: Easy Sewing Tutorial
Tips
- Heat may cause the velvet to curl slightly; this is normal.
- Apply glue in small amounts, allowing for even distribution.
- Avoid pressing too hard on the edges to maintain a rounded look.