Platform sandals are enjoying a major comeback, offering a stylish and comfortable boost to any outfit. But why settle for mass-produced options when you can create your own unique pair? This DIY project empowers you to design and craft personalized platform sandals, tailored to your exact style and preferences, all while potentially saving a significant amount of money compared to retail prices. You'll be surprised at how accessible and rewarding this craft can be, even for complete beginners. Forget generic footwear – let's unleash your creativity.
This guide provides a comprehensive, step-by-step approach to making your own stunning platform sandals. From selecting the right materials to the final touches, we'll walk you through each stage of the process, ensuring you create a pair of sandals you'll be proud to wear. So gather your supplies and prepare to transform your design ideas into a wearable masterpiece.
Preparation and Safety Guidelines
- Leather (wet loose first leather and black soft leather)
- Contact Adhesive
- Edge Coat
- Scissors
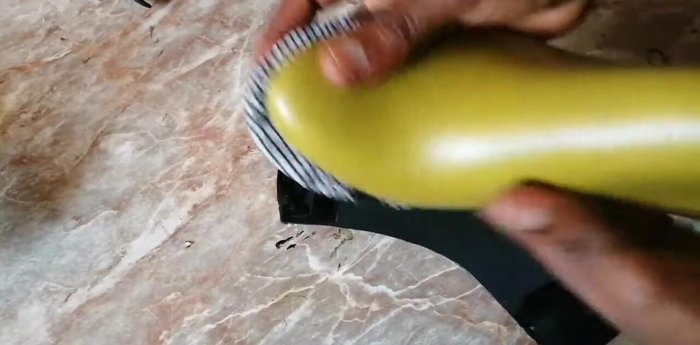
- Sandpaper
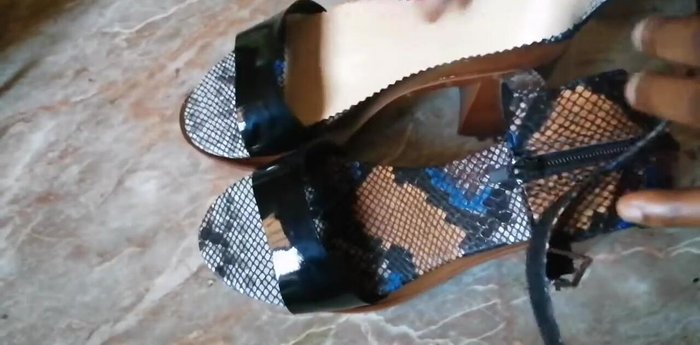
- Zipper
- Always use appropriate safety glasses to protect your eyes from flying debris during cutting and sanding.
- Sharp tools like knives and saws should be handled with extreme caution. Cut away from yourself and use a cutting mat to protect your work surface.
- Ensure the wood is properly secured before cutting or drilling to prevent injury and ensure clean cuts.
Step-by-Step Instructions
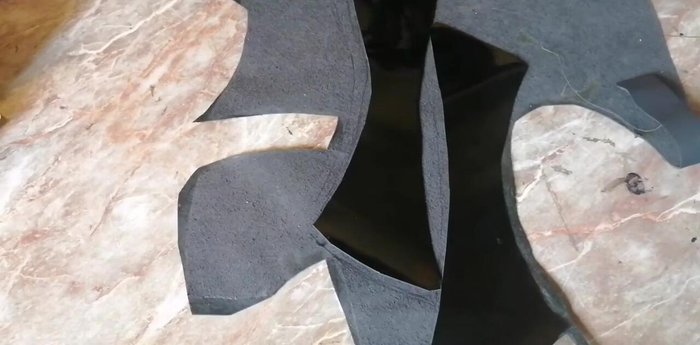
Prepare the Front Pattern
- Cut out the front pattern. This video references other tutorials on cutting patterns.
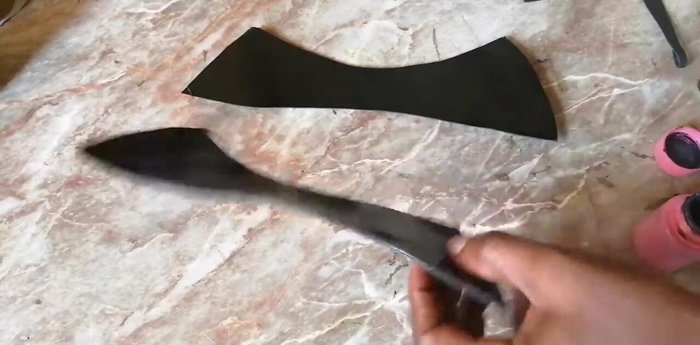
- Line the front pattern with the lining leather. Apply contact adhesive to both the upper and lining leathers.

Prepare the Front Pattern Trim and Finish the Upper
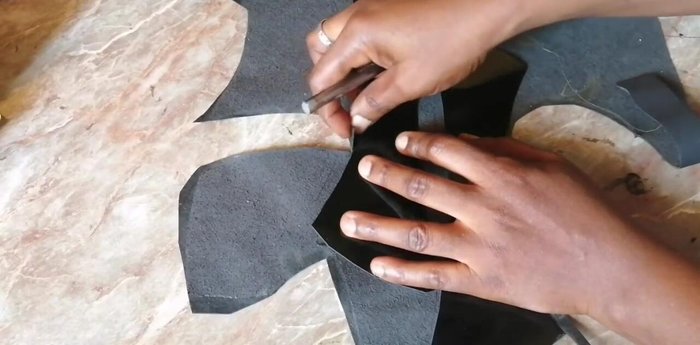
- Carefully trim excess leather after applying the adhesive.
- Coat the edges of the combined upper and lining leather.
Trim and Finish the Upper Attach the Upper to the Sole
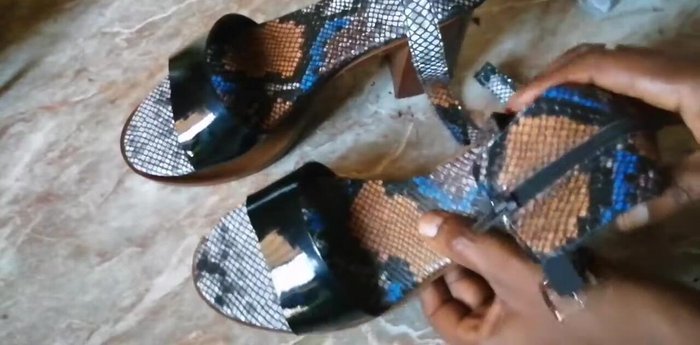
- Attach the front piece to the base/sole using fingers to ensure correct placement and alignment. (Specific finger placement technique is shown.)
Attach the Upper to the Sole Complete the Sandal
- Bottom the sandal. Attach the bottom sole.
- Add sock lining or other cushioning material (optional).
Complete the Sandal
Read more: DIY Reversible Baby Slippers: Easy Sewing Tutorial
Tips
- For a clean finish, don't apply adhesive to both the upper and lining if you plan to stitch. The presenter prefers to conserve adhesive this way.
- When positioning the upper on the sole, align the 'C' curve of the sandal with the center line of the sole.
- Adjust the placement of the upper to accommodate different shoe sizes. Push forward for larger sizes, backward for smaller sizes.
- Ensure that the sides of the sandal are properly aligned before and during the lasting process, keeping them from opening up.