Denim, a fabric synonymous with durability and style, takes on a whole new personality when transformed into a vibrant patchwork bucket hat. This classic headwear, beloved for its effortless cool and sun-shielding practicality, becomes even more unique and personal when crafted from repurposed denim scraps. Forget fast fashion and embrace the rewarding experience of creating something truly one-of-a-kind. The satisfying process of piecing together different washes and textures allows for endless creative expression, resulting in a hat as individual as you are. Think of the possibilities: a patchwork of faded blues, crisp whites, and even contrasting textures for added visual interest.
This step-by-step guide will walk you through the entire process of creating your own DIY patchwork denim bucket hat, from selecting your materials to the final stitching. Get ready to unleash your inner designer and learn how to upcycle your old jeans into a stylish and sustainable accessory that will turn heads wherever you go. Let's dive into the details and start creating!
Preparation and Safety Guidelines
- Jeans (various shades)
- Fabric scissors
- Rotary cutter (optional)
- Ruler
- Sewing machine
- Thread
- Pins
- Always use sharp scissors or rotary cutter for precise cuts to avoid injury. Dull blades require more force and increase the risk of accidents.
- When using a sewing machine, ensure your fingers are clear of the needle at all times. Use a seam ripper carefully to avoid pricking yourself.
- If using pins, be mindful of where you place them to avoid accidental needle pricks. Consider using magnetic pin holders to keep your workspace organized and safe.
Step-by-Step Instructions
Gather Supplies
- Various shades of denim jeans, sewing machine, thread, pins, scissors, ruler, and rotary cutter (optional).
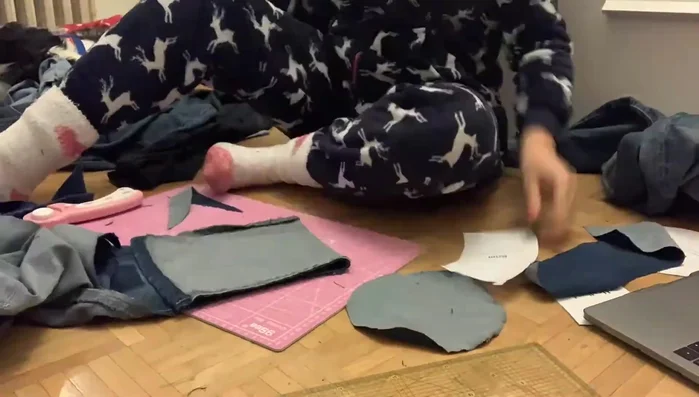
Cut Fabric Pieces
- Using a pattern (linked in the video description), cut out the necessary pieces for the crown and brim of the hat. Note the seam allowance instructions on the pattern and cut accordingly for both the inside (single denim color) and outside (alternating denim colors) of the hat.

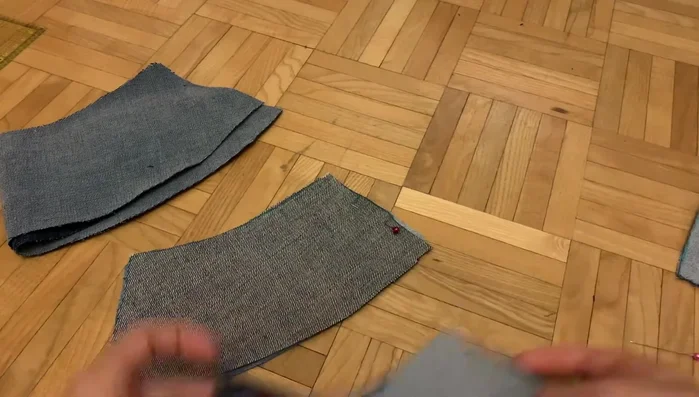
Cut Fabric Pieces Sew the Hat Crown
- Sew the crown pieces together, alternating the denim colors as desired, using a 1/4 inch seam allowance. The video demonstrates a technique to alternate colors using a modified cut that avoids cutting on the fold.
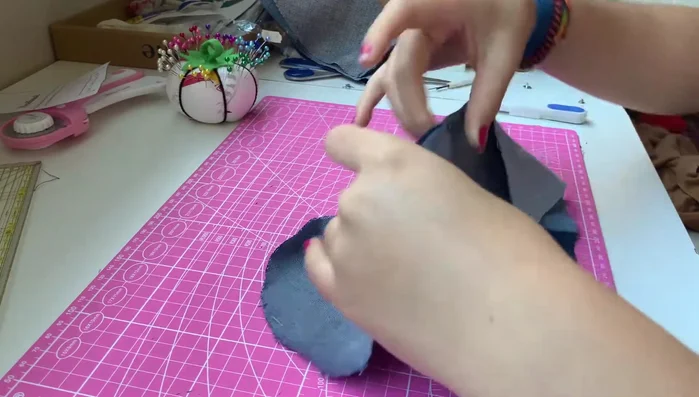
Sew the Hat Crown Sew the Hat Brim
- Sew the brim pieces together, keeping the right sides facing inwards.
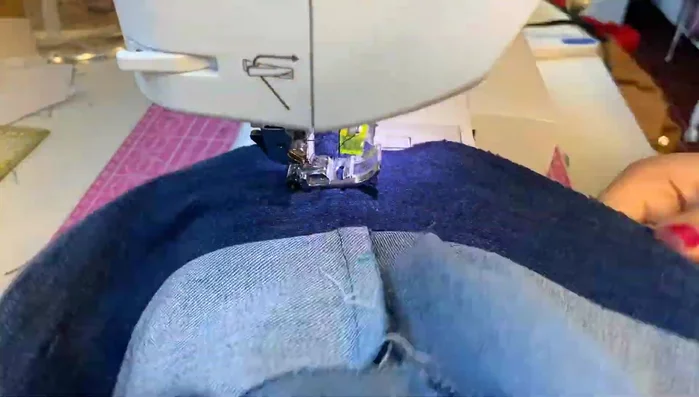
Sew the Hat Brim Attach Brim to Crown
- Pin the brim and crown pieces together, ensuring that the raw edges align. Sew the brim to the crown using a quarter-inch seam allowance.
Attach Brim to Crown Finish the Edges
- Sew a seam around the bottom edge of the brim, leaving a small opening to turn right side out. Turn the hat right side out. Sew up the opening.
Trim Brim (Optional)
- If the brim is too long, trim the excess fabric using a rotary cutter or sharp scissors. The video suggests cutting around 2.5 centimeters for a cleaner look.
Add Decorative Stitching (Optional)
- Create decorative stitching along the brim for a finished look (optional).
Add Decorative Stitching (Optional)

Read more: DIY Stretchy Fingerless Gloves: Easy Sewing Tutorial
Tips
- Use a rotary cutter for more precise cutting, especially when dealing with multiple layers of denim.
- Pay attention to seam allowances as indicated by the pattern.
- Use plenty of pins to keep fabric in place, especially when sewing curved seams.
- For a more professional finish, fray the edges of the denim before stitching around the bottom of the hat.