Are you tired of uncomfortable headbands that pinch, slip, or leave unsightly marks? Do you crave the luxurious comfort of a perfectly padded headband without the hefty price tag? Then look no further! This tutorial will guide you through the simple process of creating your own custom-made, exquisitely padded headband, tailored to your exact preferences in style and comfort. Imagine the blissful feeling of soft fabric gently cradling your hair, keeping it securely in place without the usual discomfort. Forget about those frustrating, ill-fitting headbands that cause more headaches than they solve.
This DIY padded headband is surprisingly easy to make, requiring only a few basic materials and minimal sewing skills. From choosing your favourite fabrics to adding your personal touch, the possibilities are endless. Ready to embark on this satisfying crafting journey? Let's dive into the step-by-step process and create the luxurious, comfortable headband you've always dreamed of.
Preparation and Safety Guidelines
- Scrap fabric (3 inches wide x 18 inches long)
- Batting (1-inch or tapered strips)
- Scissors
- Sewing pins
- Stapler
- Tape
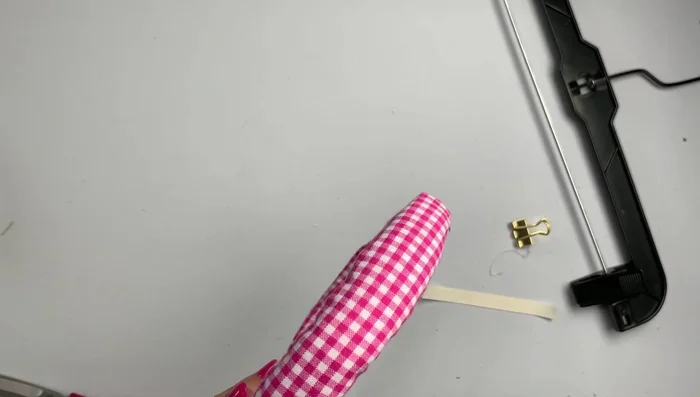
- Grosgrain ribbon/twill tape
- Strong pliers
- Temporary adhesive/spray adhesive
- Glue gun
- Office clips/pant hangers
- Plastic freezer bag (optional)
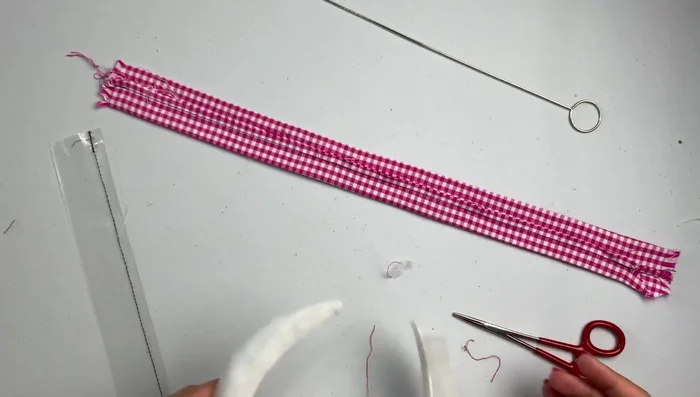
- Tube Turner (optional)
- Always use sharp scissors and handle them with care to prevent accidental cuts.
- Ensure the fabric you choose is soft and breathable against your skin to avoid irritation.
- Do not overtighten the headband when sewing, as this can cause discomfort or headaches. Leave enough room for comfortable wear.
Step-by-Step Instructions
Prepare the Fabric and Headband
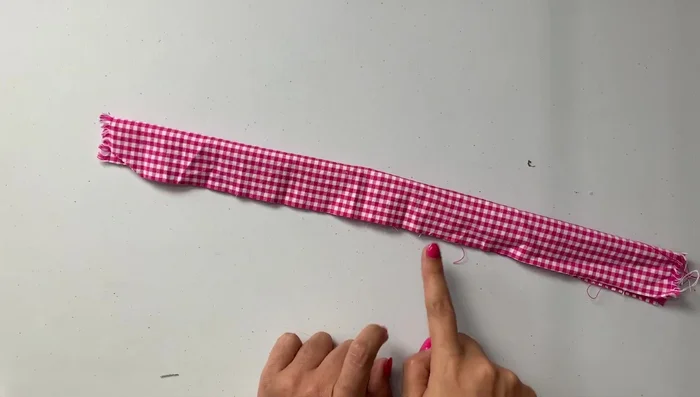
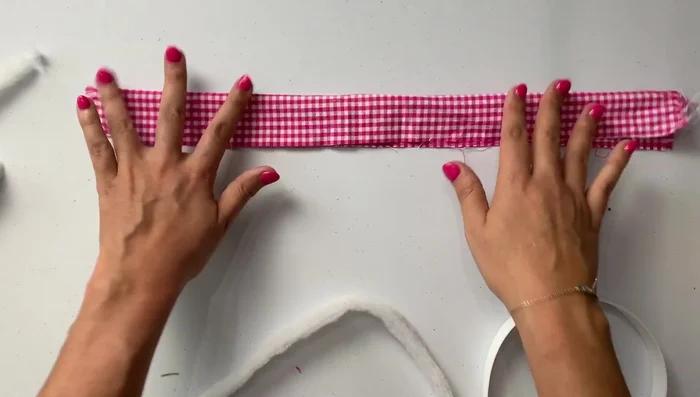
- Fold fabric right sides together and sew a quarter-inch seam along the long edge.
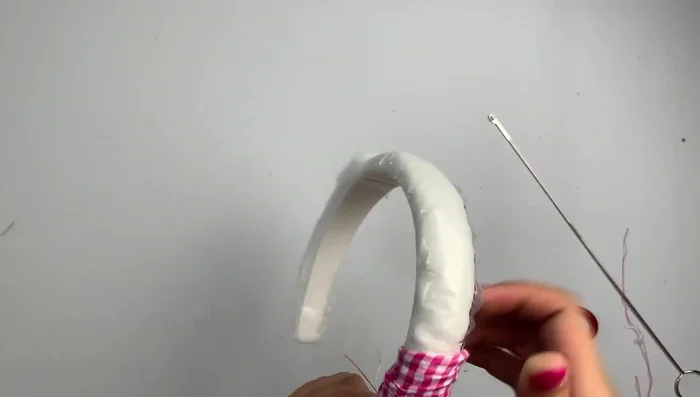
- Spray adhesive onto batting strips and apply them to the headband, working from the center out.
- Trim excess batting flush with the headband edges.

Prepare the Fabric and Headband Cover the Headband with Fabric
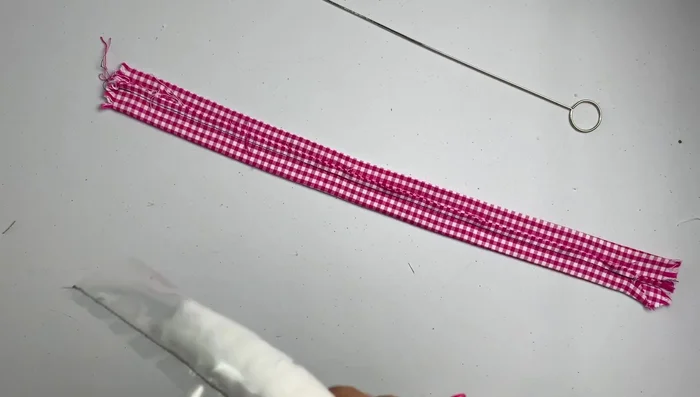
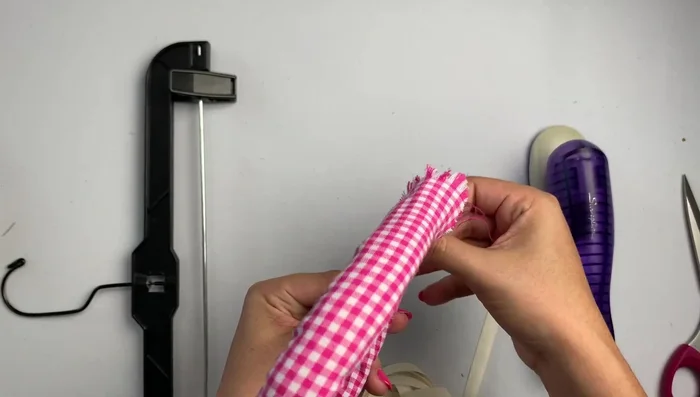
- Using a plastic tube (optional) or your fingers, carefully pull the sewn fabric over the padded headband.
- Use pliers to help position the fabric and batting evenly around the headband.
- Once the fabric is fully covering the headband, remove the plastic tube (if used).
Cover the Headband with Fabric Secure and Finish the Ends
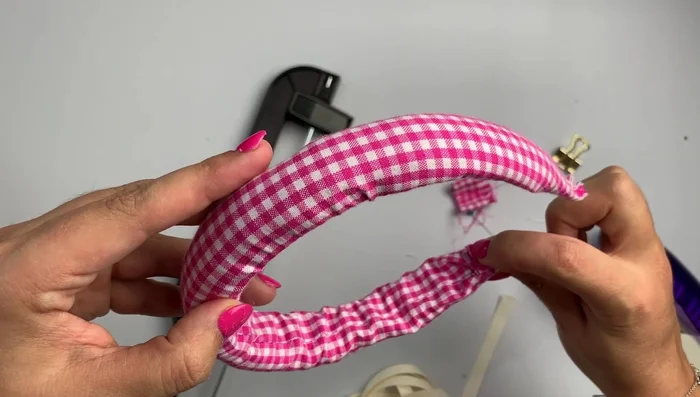
- Fold the raw edges of the fabric inward, secure with pins, and reinforce with staples.
- Apply hot glue to the raw edges and fold them neatly. Use clips to hold in place while the glue dries.
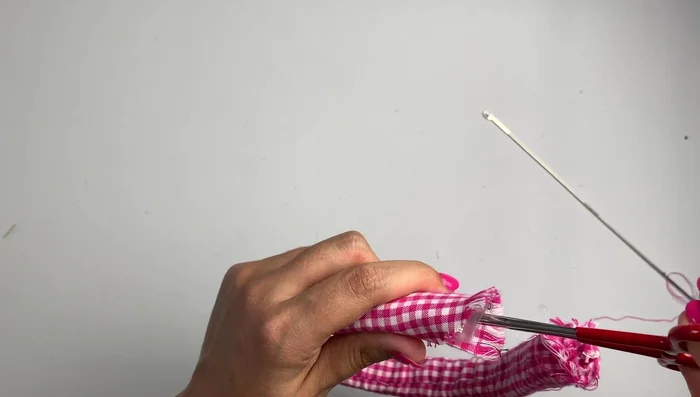
- Wrap twill tape (or similar) around the ends to conceal raw edges, securing with hot glue and clips.
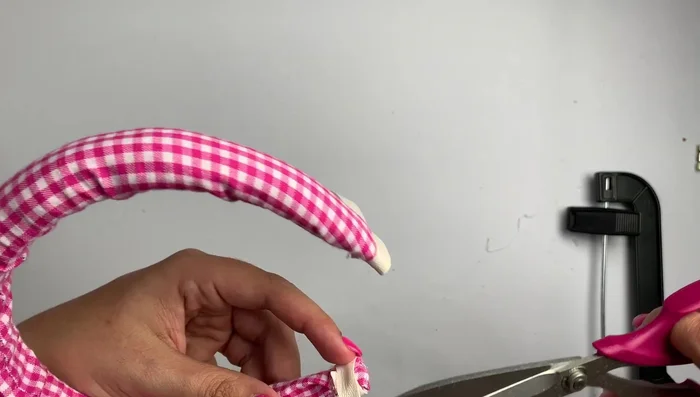
- Remove clips and trim excess twill tape.
Secure and Finish the Ends
Read more: DIY Stretchy Fingerless Gloves: Easy Sewing Tutorial
Tips
- Use dry shampoo to give your hair some grit for better clip-in extension grip.
- The optional plastic tube helps in smoothly pulling the fabric over the headband.
- Take extra care to ensure the hook of the Tube Turner (if used) is firmly attached to prevent unraveling.
- Use pliers to help push the batting into place while shaping the fabric around the headband.