Summer is sandal season, and what better way to embrace the warm weather than with a pair of stylish, comfortable, and uniquely crafted sandals? Forget expensive store-bought options and embrace the world of DIY! This guide will walk you through creating three effortlessly chic no-sew slide sandals, perfect for beginners and seasoned crafters alike. You'll be amazed at how simple it is to transform ordinary materials into personalized footwear that reflects your individual style. Whether you’re aiming for minimalist elegance or a bold statement piece, these designs offer a versatile canvas for your creativity.
This tutorial provides clear, step-by-step instructions and accompanying images for each of the three unique patterns. From choosing the perfect materials to securing the final touches, we'll guide you every step of the way in crafting your own comfortable and stylish no-sew slide sandals. Get ready to unleash your inner designer and create the perfect summer footwear!
Preparation and Safety Guidelines
- pencil
- ruler
- measuring tape
- plain sheet of paper
- Always supervise children during crafting and while wearing the sandals. Small parts pose a choking hazard.
- Ensure the adhesive used is strong enough to hold securely and appropriate for the materials chosen. Test a small area before applying fully.
- Inspect the sandals regularly for any signs of wear or tear, particularly the adhesive bond. Replace or discard immediately if any damage is detected to prevent injury.
Step-by-Step Instructions
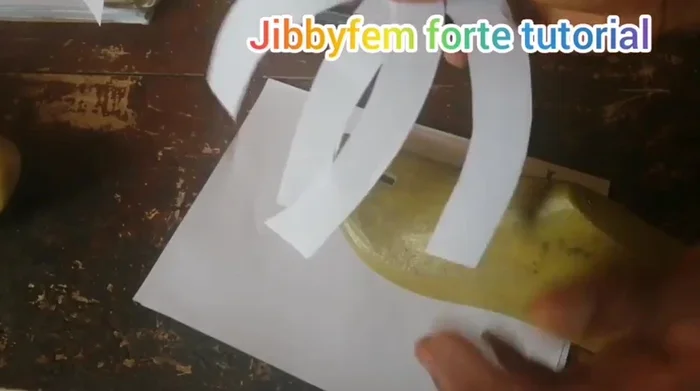
Prepare the Cuffs
- Create the basic cuff shape. (Link to tutorial in description)
- Create two identical cuff shapes.

Prepare the Cuffs Design 1: Basic Interlocking Cuffs
- Interlock the two cuff shapes to create the first slide design. Adjust width as desired.
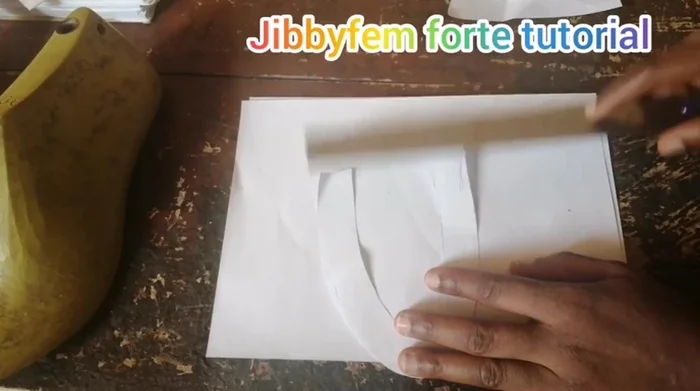
Design 1: Basic Interlocking Cuffs Design 2: 'A' Shape Slide
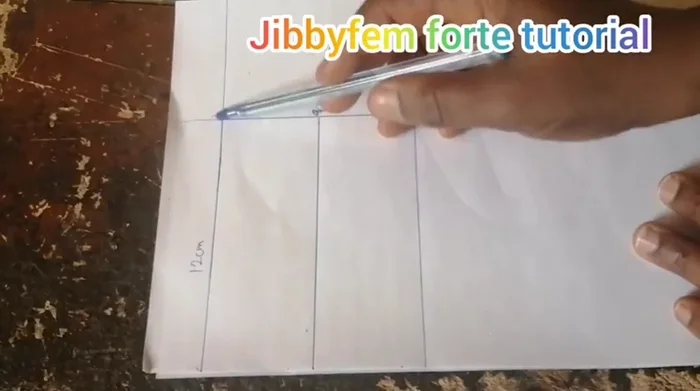
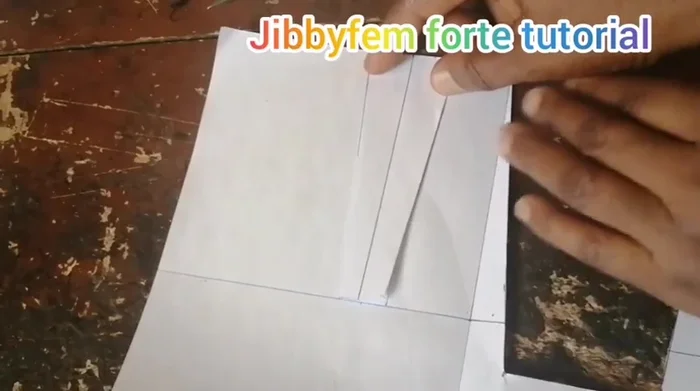
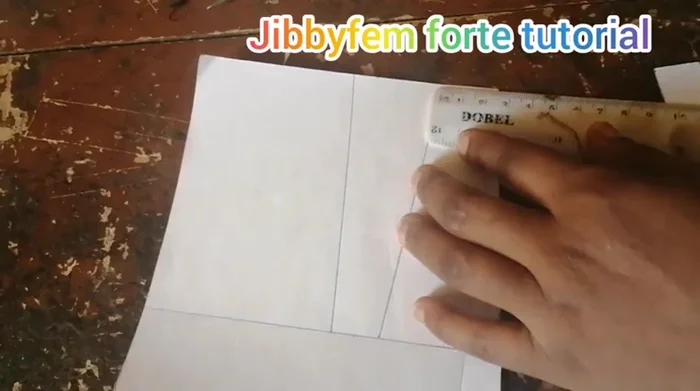
- Measure the desired width (e.g., 8cm) and length (e.g., 12cm) for the rectangle pattern.
- Draw the rectangle and extend lines to create the 'A' shape with an opening.
- Cut out the pattern and use glue to assemble the slide.
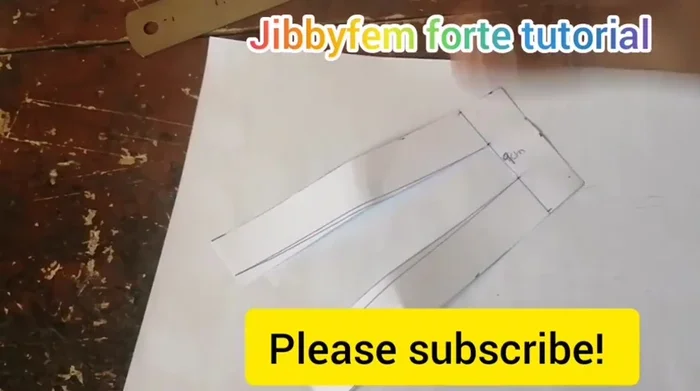
Design 2: 'A' Shape Slide Design 3: Modified 'A' Shape Slide
- Create the third design using the second design as a base. Adjust the width of the opening.
- Extend lines around the pattern, varying the width of the extensions to create a unique shape.
- Cut out the pattern and interlock the two pieces. Apply glue to assemble.
Design 3: Modified 'A' Shape Slide


Read more: DIY Reversible Baby Slippers: Easy Sewing Tutorial
Tips
- Use a ruler and measuring tape for accurate measurements.
- Adjust the width and length of the patterns to your preference.
- Use glue to assemble the slides for a clean, no-sew finish.
- Experiment with different widths and shapes to create unique designs.