Leather gloves offer a timeless blend of style, durability, and protection, but the cost of high-quality pairs can be surprisingly steep. Why not take matters into your own hands and craft your own bespoke leather gloves? This comprehensive sewing tutorial will guide you through the process of creating a stunning pair of leather gloves, from selecting the perfect leather hide to the final stitching. Learn to master techniques that will transform a simple piece of leather into a practical and stylish accessory you'll be proud to wear. We'll cover everything from pattern making and cutting to handling the nuances of working with leather.
Forget expensive store-bought options! This detailed tutorial empowers you to create custom-fit gloves tailored to your exact preferences and needs. Whether you’re a seasoned sewer or a complete beginner, we’ve designed this guide to be accessible and easy to follow, with clear instructions and helpful visuals at every step. Let's dive into the step-by-step process and bring your handcrafted leather glove vision to life.
Preparation and Safety Guidelines
- Measuring tape
- Fabric pencil
- Fine liner
- Leather glove needles
- Thimbles
- Leather thread
- Normal thread
- Scissors
- Beeswax
- Always use sharp needles and shears to prevent injury and ensure clean cuts. Dull tools require more force, increasing the risk of accidents.
- Leather can be stiff and difficult to sew. Use a heavy-duty needle and appropriate thread (like waxed nylon) designed for leather to avoid breakage and ensure strong seams.
- When using cutting tools, keep fingers clear of the blade path. Use a cutting mat to protect your work surface and prevent accidental cuts.
Step-by-Step Instructions
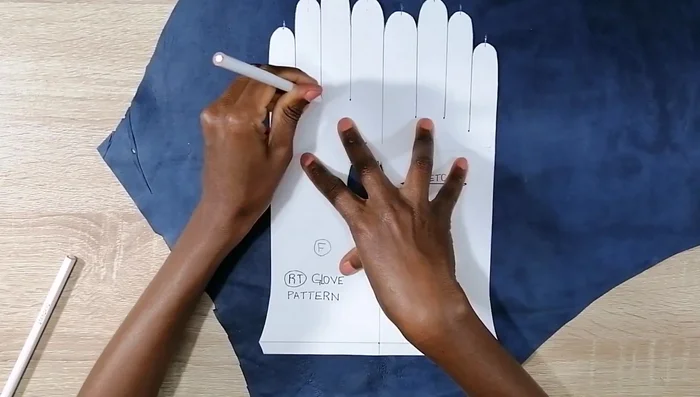
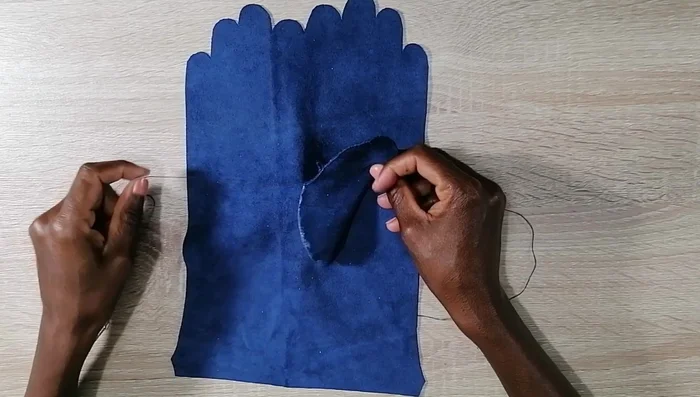
Prepare the Leather
- Trace the glove pattern onto the leather, ensuring the leather's stretch runs horizontally across the pattern.
- two trunk pieces, two thumb pieces, six right faucet pieces, and six left faucet pieces.

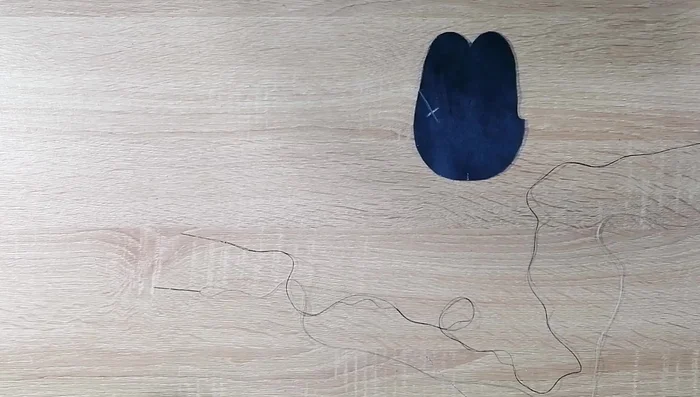
Prepare the Leather Sew the Thumb
- Fold in half (right sides together), secure with a holding stitch, and sew using a whip stitch with a 0.25cm seam allowance.
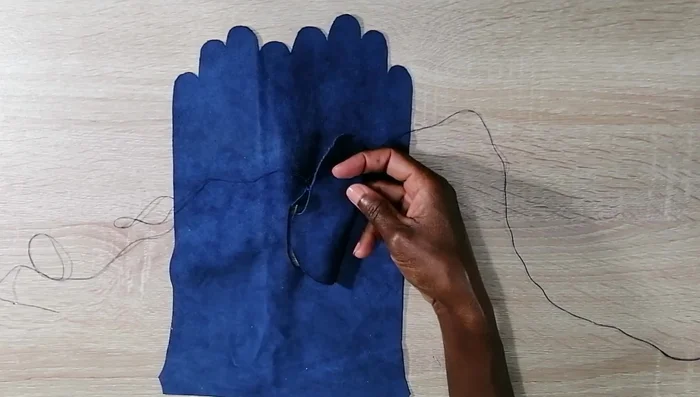
- Align point B to C on the thumb piece with point B to C on the trunk piece. Secure with holding stitches, then sew together using the thread left hanging at point B, continuing to point C, then from C to D.
- Sew the sides of the trunk piece together, leaving the thumb opening.
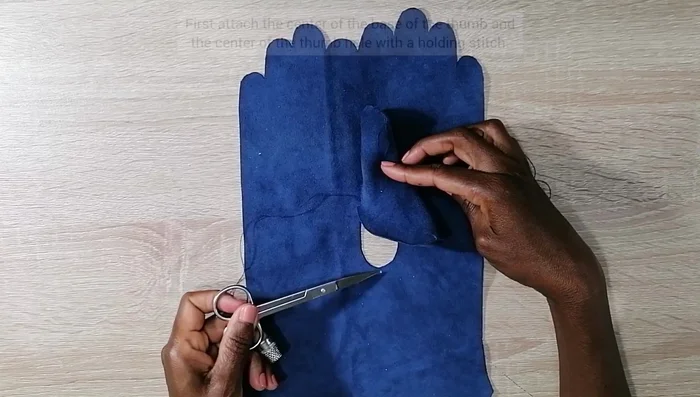
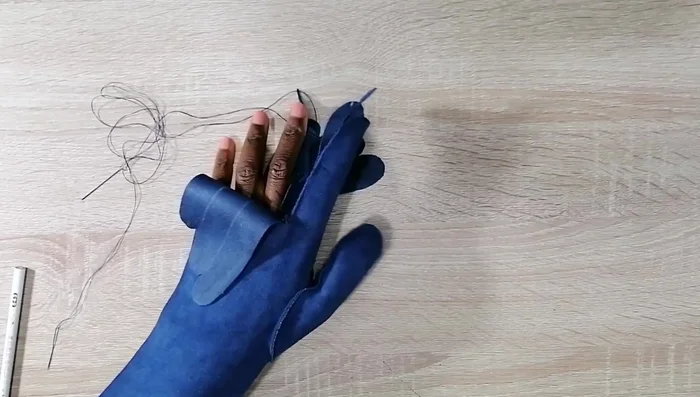
Sew the Thumb Attach and Adjust the Thumb
- Try on the glove to ensure the thumb base fits the thumb hole; trim any excess material that overlaps.
- Sew the thumb base onto the thumb hole.
Attach and Adjust the Thumb Sew the Finger Faucets
- Cut through the marked lines between fingers. Sew together the corresponding faucet pieces (one right and one left) at the bottom. Attach the faucets to the glove, starting from the back and working towards the front.
Sew the Finger Faucets Adjust Finger Lengths
- Check the glove fit for each finger, trim excess material on the front pieces to match the back, and re-sew.
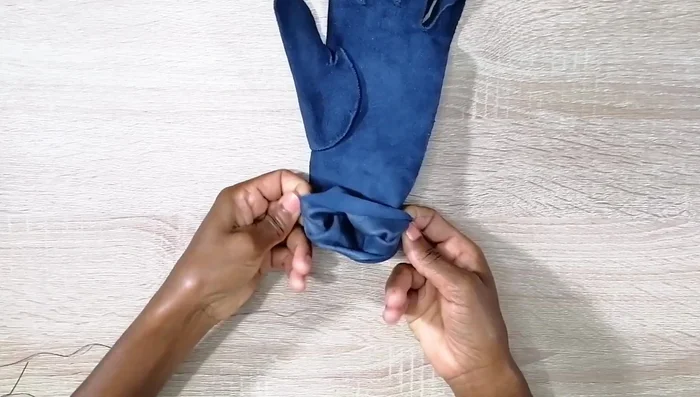
Adjust Finger Lengths Hem the Glove
- Fold the hem allowance (1cm), and sew using a back stitch.
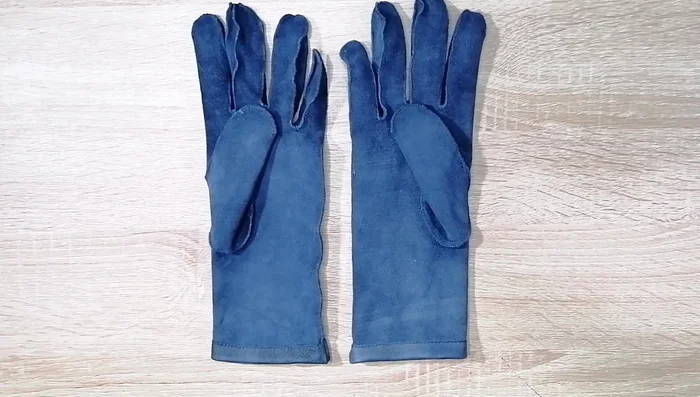
Hem the Glove Finish the Gloves
- Use a smooth-surfaced hammer to flatten the seams and knotted areas for a professional finish.
Finish the Gloves


Read more: DIY Stretchy Fingerless Gloves: Easy Sewing Tutorial
Tips
- Wax your threads before sewing to improve their durability and prevent fraying.
- Use holding stitches to temporarily secure pieces before sewing for accurate alignment.
- Ensure consistent seam allowances (0.25cm in this tutorial) for a neat and professional finish.
- Secure knots effectively by stitching through the fuzz of the leather to prevent them from popping through.
- Always try the glove on during construction to check fit and adjust as needed, especially finger lengths.