Tired of ill-fitting belts that pinch or constantly need adjusting? Embark on a rewarding crafting journey and create a perfectly customized leather belt, tailored precisely to your measurements and style preferences. This beginner-friendly guide will walk you through the process of making your own leather belt, from selecting the right materials to the final touches that will make it truly unique. Forget generic, mass-produced belts; you'll learn to craft a durable, stylish accessory that reflects your personality.
Learning to make a leather belt is surprisingly straightforward and a fantastic way to personalize your wardrobe while developing a valuable new skill. This DIY project is more accessible than you might think, requiring only a few basic tools and readily available materials. Ready to get started and create a belt you'll be proud to wear? Let's dive into the step-by-step instructions below.
Preparation and Safety Guidelines
- Mallet
- Pre-cut belt strap or leather to cut
- Leather punches
- Belt buckle set
- Chicago screws
- Sharp utility knife
- Screwdriver
- Ruler
- Awl (optional, but helpful)
- Granite or stone surface (recommended)
- Sharp tools are used in leather crafting. Always handle knives, punches, and cutting tools with extreme caution, using a cutting mat and keeping fingers clear.
- Leather dust can be irritating. Work in a well-ventilated area or wear a dust mask, especially when sanding or using power tools.
- When using adhesives, follow the manufacturer's instructions carefully. Ensure proper ventilation and avoid contact with skin or eyes.
Step-by-Step Instructions
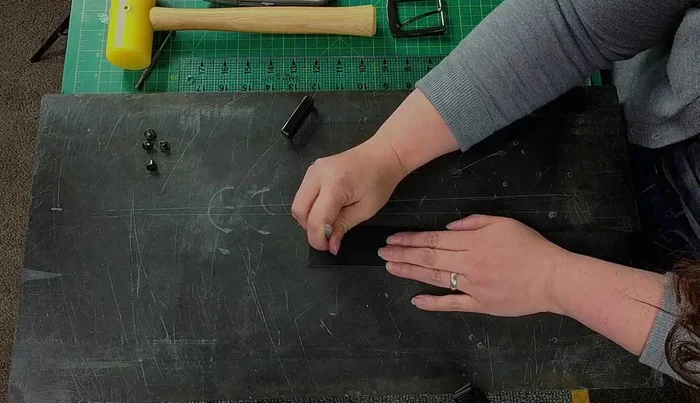
Measure and Mark
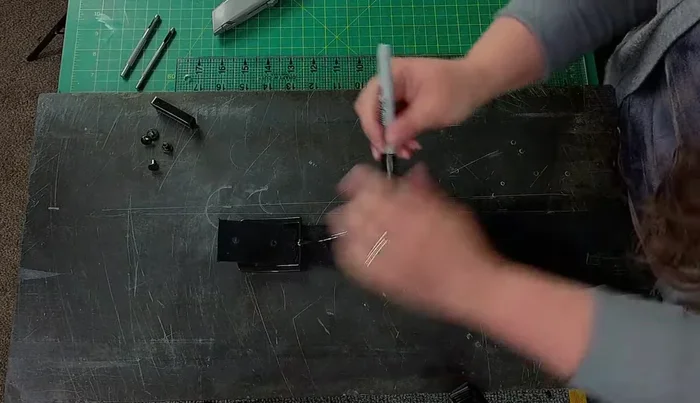
- Determine belt length and mark the placement for Chicago screws using the buckle and belt loop as a guide.
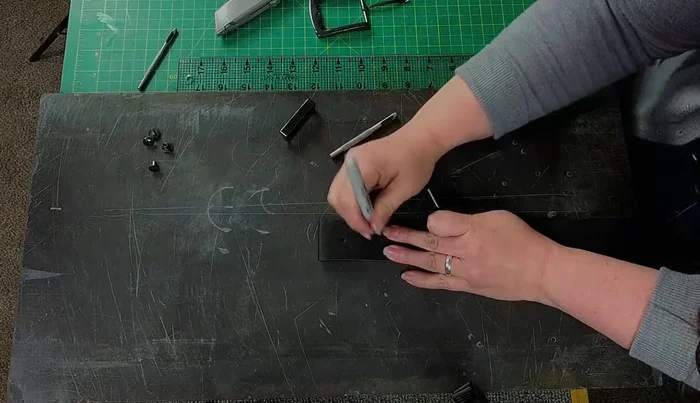
- Use an awl to mark the exact position where you'll punch holes for the Chicago screws.
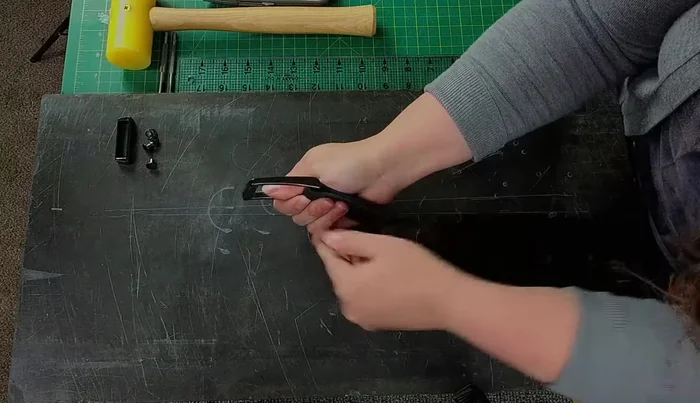
- Create a space for the belt buckle's post by marking, punching two holes on either end of the space needed and cutting between these holes. Avoid using an oblong punch if you don't have one; this method is equally effective.
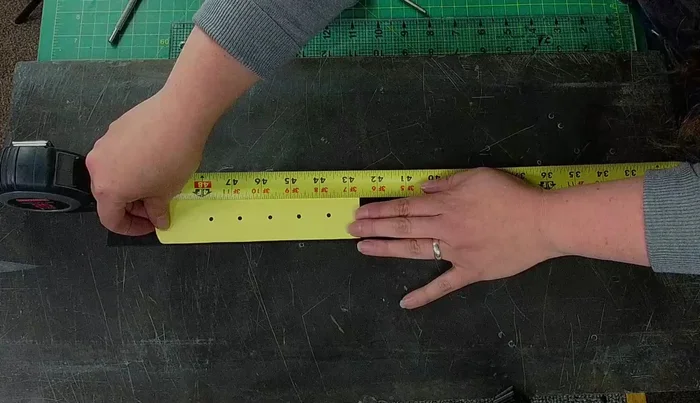
- Add additional holes along the belt for adjustability. Use a template for consistent spacing or measure directly onto the user’s existing belt.

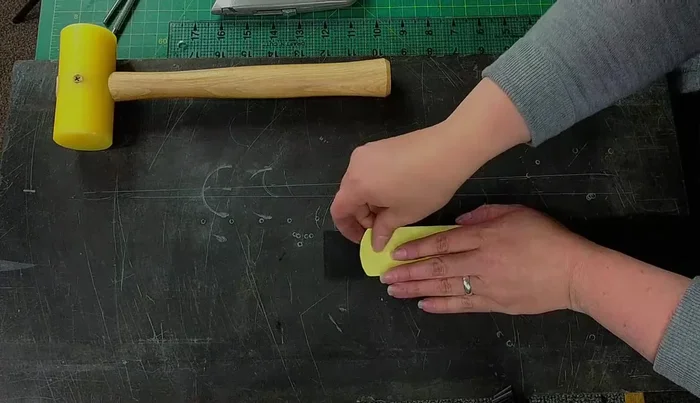
Measure and Mark Punch Holes
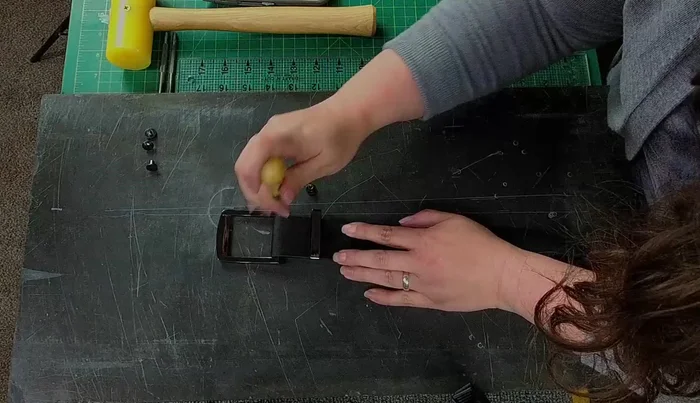
- Punch holes using the appropriate sized leather punch. Use a sturdy surface for stability.
- Mark and punch matching holes on the backside of the belt to ensure perfect alignment of Chicago screws.
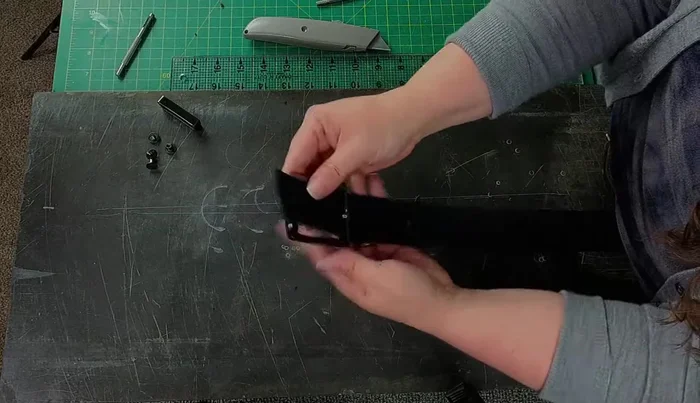
Punch Holes Install Buckle
- Install the belt buckle, ensuring the post fits smoothly through the opening. Use a mallet to neatly set the buckle.
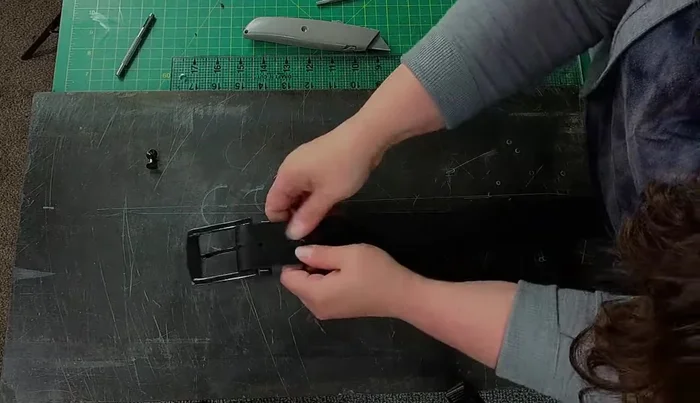
Install Buckle Install Chicago Screws
- Install the Chicago screws using a mallet to secure the leather around the posts and a screwdriver to tighten them.
Install Chicago Screws Finish (Optional)
- stitching).
Finish (Optional)
Read more: DIY Stretchy Fingerless Gloves: Easy Sewing Tutorial
Tips
- Using a granite or stone top minimizes bounce and aids in clean cuts.
- Chicago screws allow for belt buckle changes and offer repair flexibility.
- For accurate sizing, directly measure the intended wearer or use their existing belt as a template.
- Create a paper template for consistent hole placement.