Transform your bedroom from ordinary to extraordinary with this easy DIY booby bed tutorial! Forget expensive, store-bought headboards – we’re showing you how to create a stunning, customized leather wrap headboard that will elevate your sleep sanctuary. This project is perfect for those looking to add a touch of sophisticated, modern style without breaking the bank. The rich texture of leather adds instant luxury, and the satisfying process of creating it yourself is incredibly rewarding. You’ll be amazed at how easily you can achieve a professional-looking result.
This stylish leather wrap booby bed design is surprisingly simple to execute, even for beginners. No specialized tools or extensive crafting experience are required! Ready to dive in and create the headboard of your dreams? Let's get started with our step-by-step guide, detailing each process from material selection to final installation.
Preparation and Safety Guidelines
- Leather fabric
- Interfacing
- Sewing machine
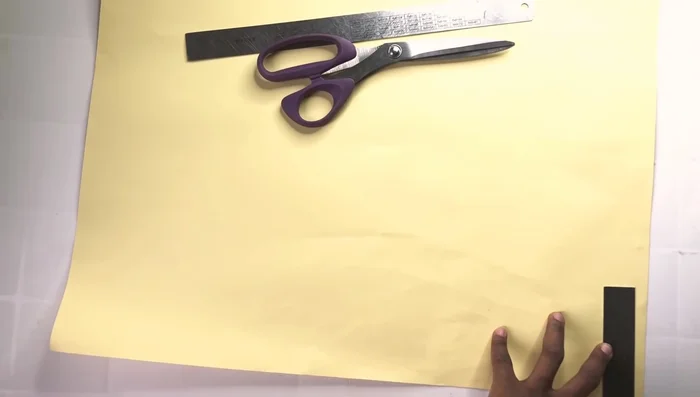
- Scissors
- Iron
- Measuring tape
- Never use actual booby traps or anything that could cause serious injury. This project refers to a decorative bed wrap inspired by the term 'booby trap', not a functional one.
- Ensure all materials are securely fastened to prevent any loose components from posing a choking or tripping hazard, especially for children and pets.
- Always supervise children around the bed and its surroundings, even after completing the DIY project.
Step-by-Step Instructions
Create the Pattern
- Measure 4 inches width by 20 inches length. Adjust measurements based on your waist size (deduct 6 inches from your waist measurement).
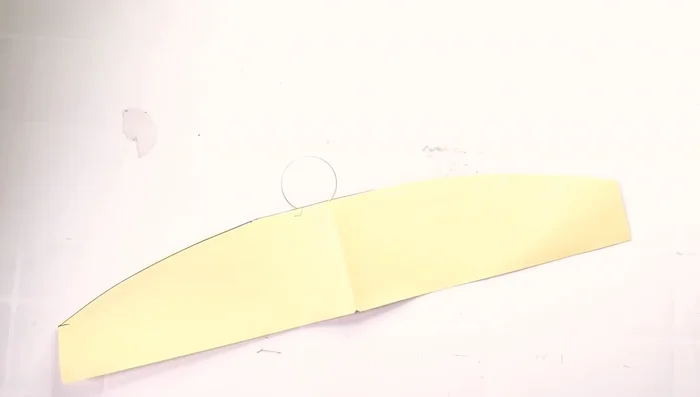
- Fold the pattern in half, mark 2.5 inches at one edge and 3 inches at the other edge from the center point, then slant and cut out the pattern.

Create the Pattern Cut Fabric Pieces
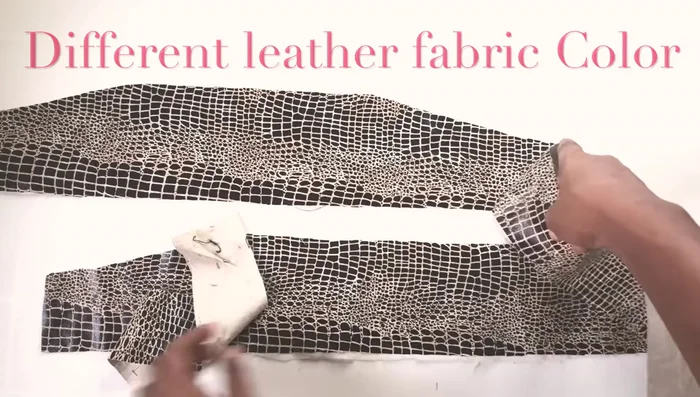
- Cut out two pieces of leather fabric using the pattern. Use interfacing on the wrong side of the fabric.
Cut Fabric Pieces Sew and Turn the Strap
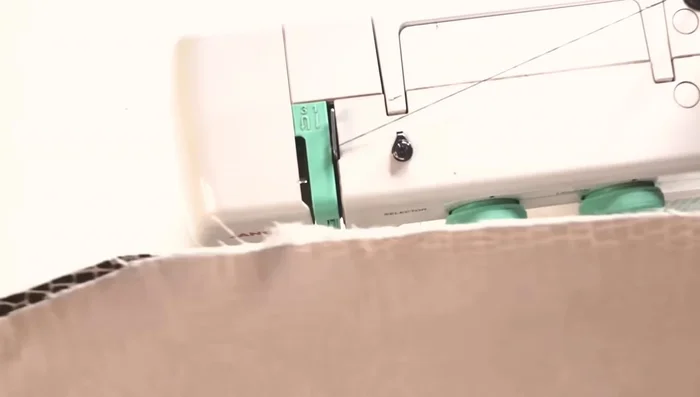
- Cut a 50-inch strip of fabric and divide it into two equal pieces. Sew the two pieces together on each side, leaving a small opening in the center to turn the fabric right-side out.
Sew and Turn the Strap Assemble and Finish
- Sew the lining and main fabric pieces together, leaving the small opening. Trim the excess fabric and turn the booby bed right side out through the opening.
- Top stitch all around (optional). Press the booby bed using a pressing cloth to prevent scorching.
Assemble and Finish Tie the Booby Bed
- Use the small opening to tie the booby bed.
Read more: DIY Stretchy Fingerless Gloves: Easy Sewing Tutorial
Tips
- Adjust pattern size based on your body measurements for a comfortable fit.
- Use any fabric you prefer, but leather is suggested in the video.
- Create a decorative edge (triangle or curve) to add a stylish touch.
- Always use a pressing cloth when ironing leather to protect the fabric.