Tired of the same old shoes? Yearning for a touch of effortless glam without breaking the bank? Then get ready to unleash your inner designer with this incredibly simple DIY project! Transforming your plain pumps, sandals, or even sneakers into stunning lace-up beauties is easier than you think, requiring only a few readily available materials and a bit of patience. This project offers a fantastic way to personalize your footwear, breathe new life into old favorites, and add a unique, on-trend touch to your wardrobe. Imagine the possibilities: delicate laces on classic heels, vibrant ribbons on summer sandals, or bold cords on your everyday sneakers.
Forget expensive boutique finds; with this guide, you can create bespoke, head-turning footwear in just a few hours. Ready to elevate your shoe game and add a touch of personalized flair? Let's dive into the step-by-step process that will have you creating gorgeous, lace-up shoes in no time!
Preparation and Safety Guidelines
- Clean workspace
- Scissors
- Matching fabric (suede recommended)
- E6000 glue
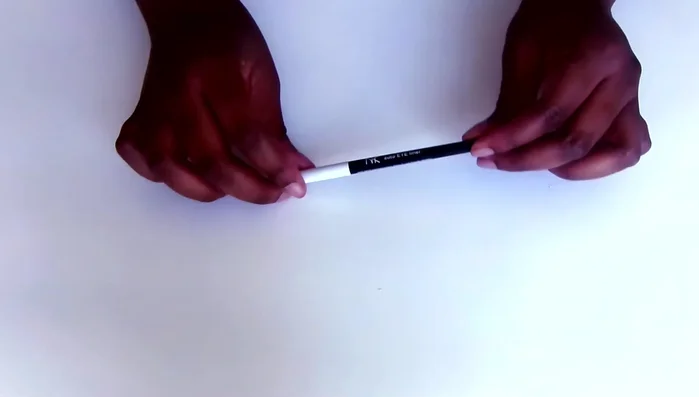
- Suede cord (or rope/lace)
- Craft wire
- Jump rings
- Chalk/eyeliner
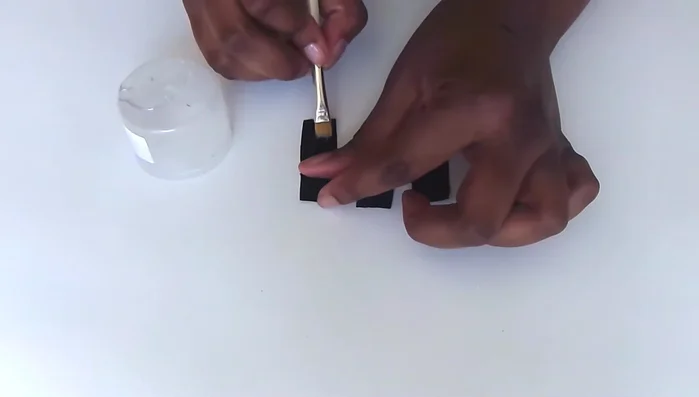
- Brush (paintbrush or Q-tip)
- Craft gloss (black and pink used in example)
- Always use sharp scissors or a rotary cutter for clean cuts on your lace material to avoid fraying and ensure a neat finish. Blunt tools can damage the fabric.
- Before permanently attaching any laces or embellishments, test your placement on the shoes. This allows for adjustments and ensures you're happy with the design before committing.
- If using strong adhesives, work in a well-ventilated area and follow the manufacturer's instructions carefully. Protect your work surface and wear gloves if recommended.
Step-by-Step Instructions
Prepare the Shoes
- Use eyeliner or chalk to mark eight dots on each shoe (three on each side, one on top, one in the back) to indicate where the fabric flaps will be glued.

Prepare the Shoes Prepare the Fabric Flaps
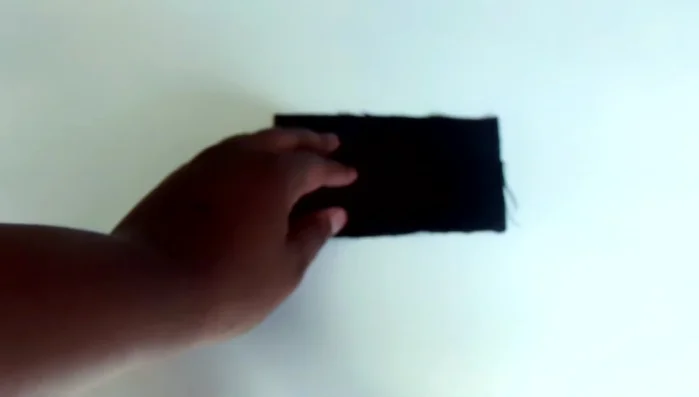
- Cut eight fabric flaps (two inches long, half an inch wide) for each shoe.
Prepare the Fabric Flaps Attach Fabric Flaps to Shoes
- Glue only the bottom half of each flap, leaving the top open for lacing. Fold each flap in half and glue to the inside of the shoe at each marked dot.
Attach Fabric Flaps to Shoes Create Tassels
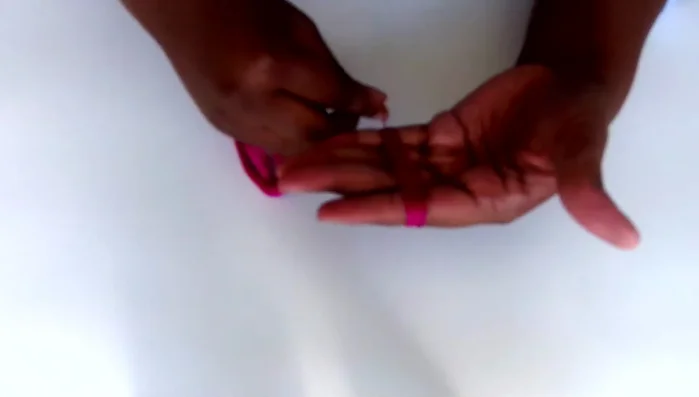
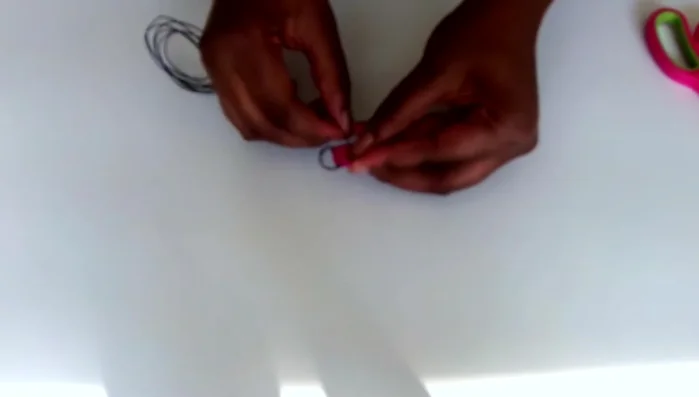
- Wrap craft floss tightly around four fingers, creating a thick bundle. Cut off excess and attach a jump ring to the top.
- Wrap craft wire around the top third of the floss bundle, creating a tassel shape. Cut excess wire and trim the floss ends evenly.
Create Tassels Lace and Finish
- Cut long pieces of cord/rope/lace. Thread the cords through the fabric flaps, creating the lace-up effect. Tie a double knot at the end of each cord, securing the tassels.
Lace and Finish

Read more: DIY Reversible Baby Slippers: Easy Sewing Tutorial
Tips
- Use a thicker floss bundle for a more dramatic tassel.
- Glue the fabric flaps to the *inside* of the shoe for a clean finish.
- Tie a double knot to the laces to easily add or remove tassels later.