Winter's chill calls for cozy comfort, and what better way to embrace the season than with a handcrafted scarf? This tutorial guides you through creating a uniquely warm and stylish accessory, combining the soft texture of flannel with the rustic charm of knit fabric. Imagine draping yourself in a luxurious, homemade scarf, perfect for warding off the cold while adding a touch of personal flair to your winter wardrobe. The blend of textures creates a delightful contrast, resulting in a scarf that's both visually appealing and incredibly comfortable.
Forget overpriced store-bought scarves; this DIY project is surprisingly easy and allows for complete customization. You'll learn how to expertly combine knit and flannel fabrics to create a truly unique piece. Whether you're a seasoned crafter or a complete beginner, this step-by-step guide will walk you through each stage of the process, ensuring you create a cozy and stylish scarf you'll cherish for years to come. Let's get started!
Preparation and Safety Guidelines
- Knitting machine
- Flannel fabric
- Sewing machine
- Iron
- Pins
- Always use sharp scissors when cutting fabric and yarn to prevent injury. Keep your fingers clear of the blades.
- If using a sewing machine, ensure you know how to operate it safely and keep your fingers away from the needle. Use a seam ripper for careful seam removal.
- Be mindful of loose ends of yarn or fabric which could present a tripping hazard. Tidy up your work area regularly.
Step-by-Step Instructions
Knit the Scarf Base
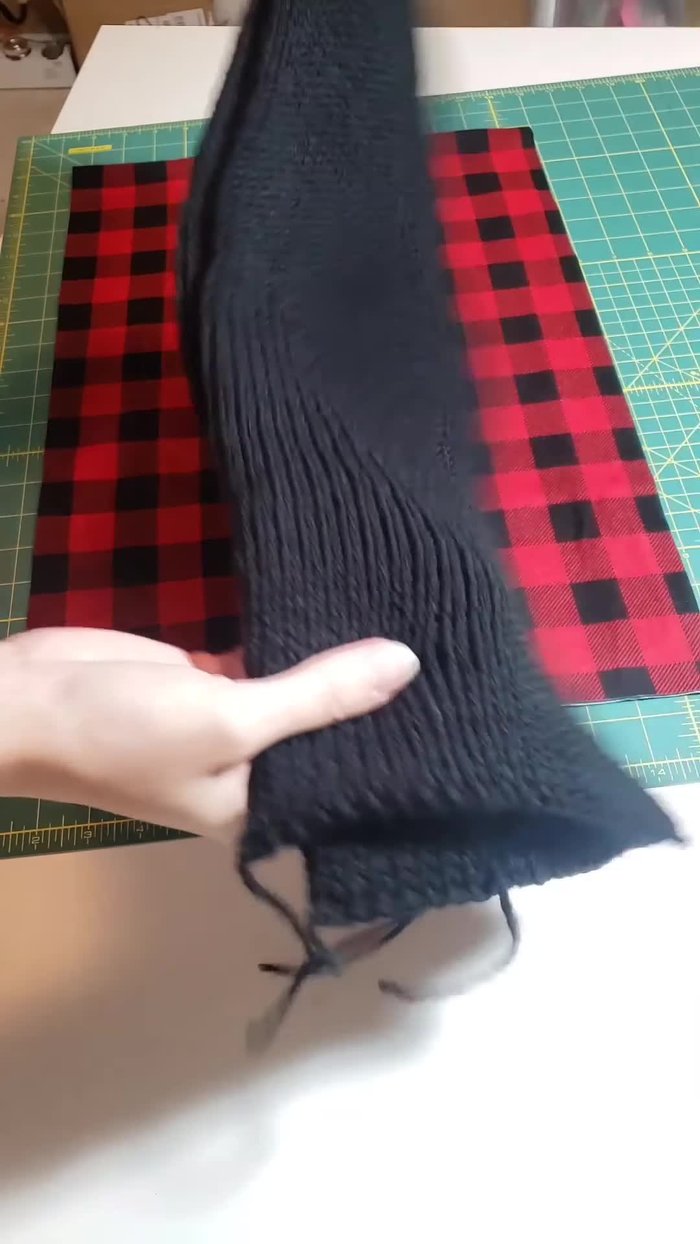
- Knit a giant tube using a knitting machine. Aim for approximately 7 inches wide.
- Slip stitch the knitted rings together to create a neat finished end on both sides. Hide any loose strings.

Knit the Scarf Base Prepare the Flannel Fabric
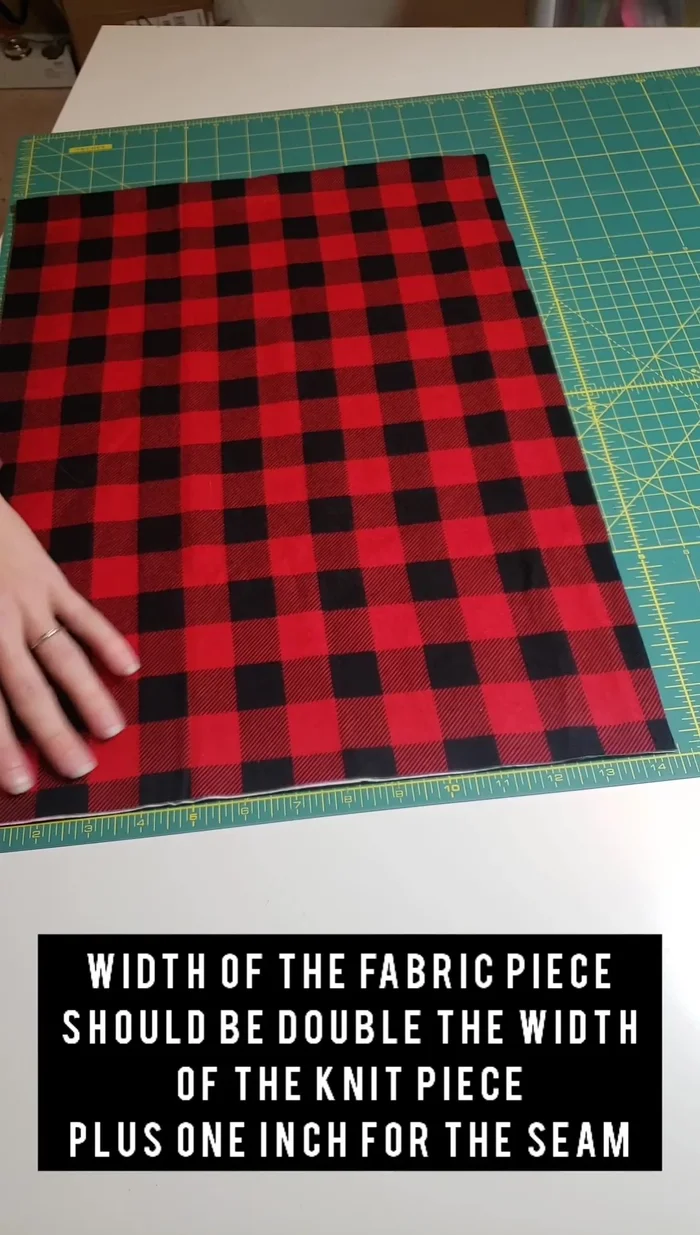
- Cut your flannel fabric. For a 7-inch wide knit tube, cut the fabric 14 inches wide (plus ½ inch seam allowance) and 41 inches long (plus 1 inch seam allowance).
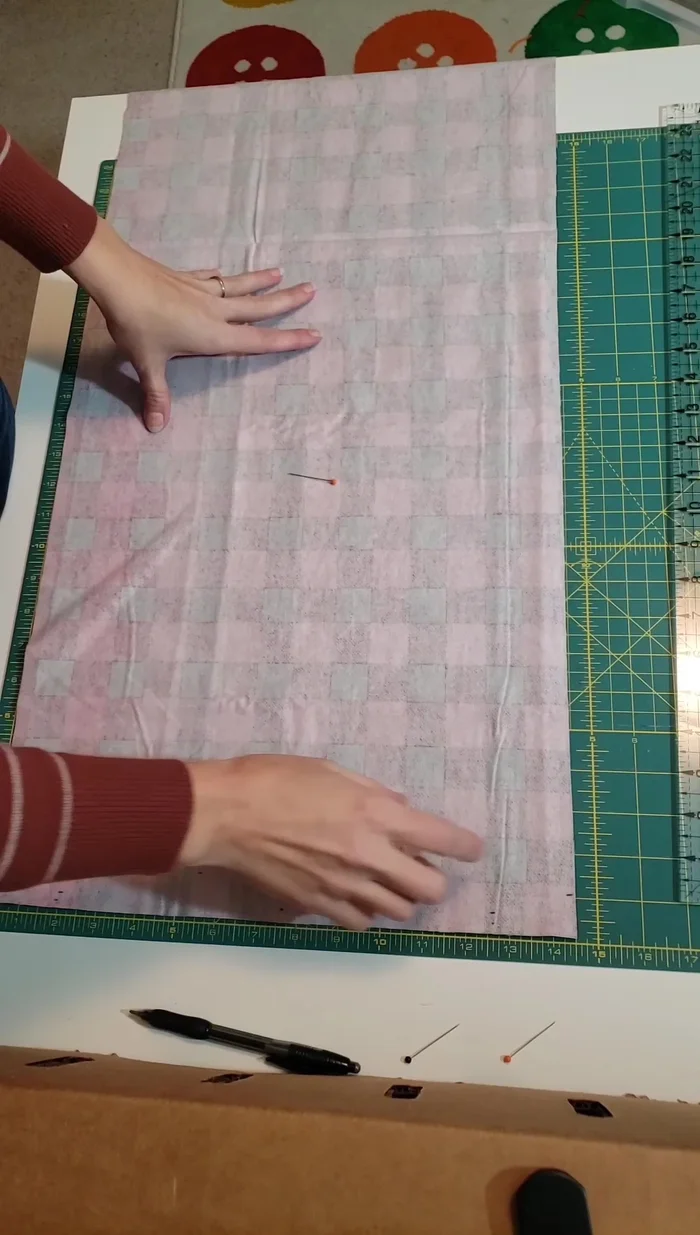
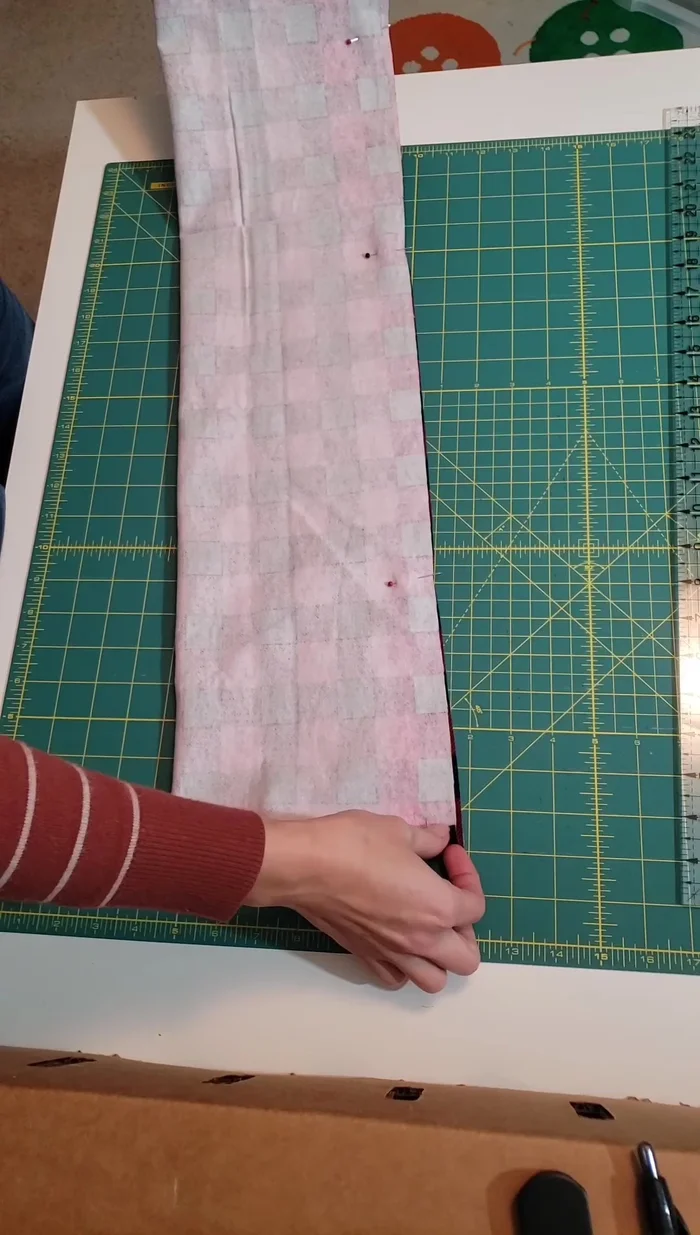
- Fold one short end of the flannel fabric over ½ inch and iron it flat. Pin in place to secure.
- Repeat step 4 on the other short end of the flannel fabric.
- Fold the flannel fabric in half lengthwise (hot dog style), matching the raw edges. Pin to hold.
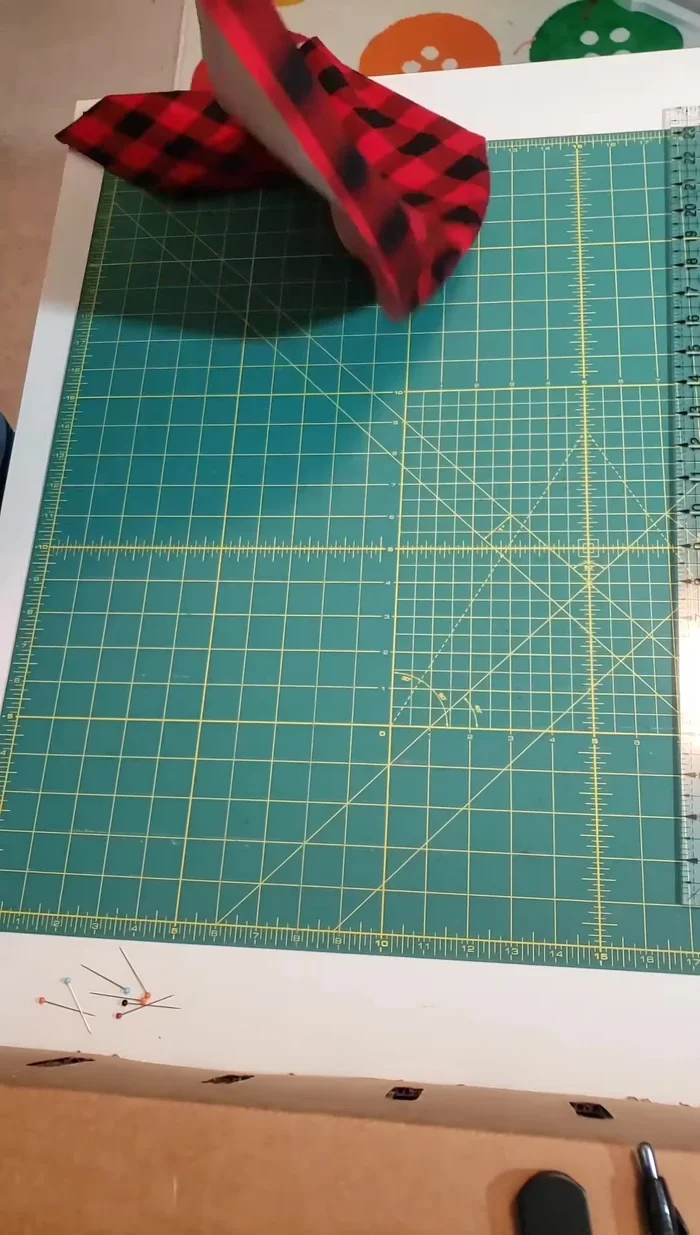
Prepare the Flannel Fabric - Sew along one long edge of the folded flannel, leaving a ½-inch seam allowance.
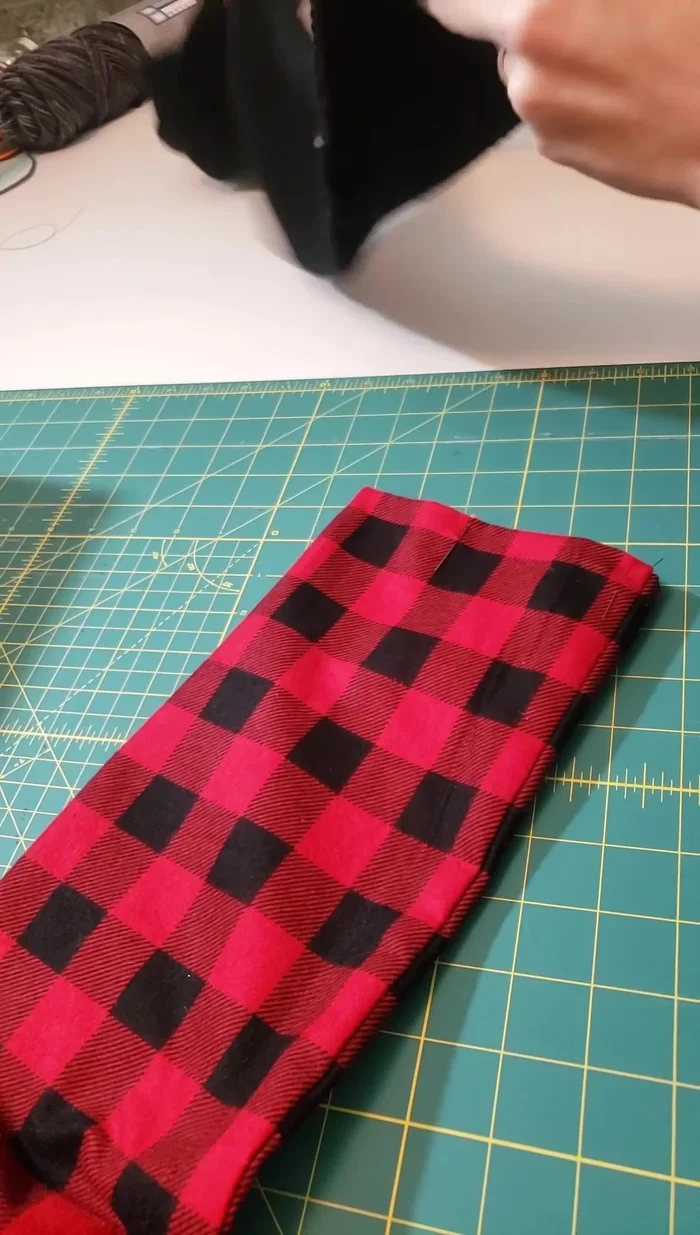
- Turn the flannel tube inside out, carefully removing pins. Press the seam gently with an iron.
Prepare the Flannel Fabric Assemble the Scarf
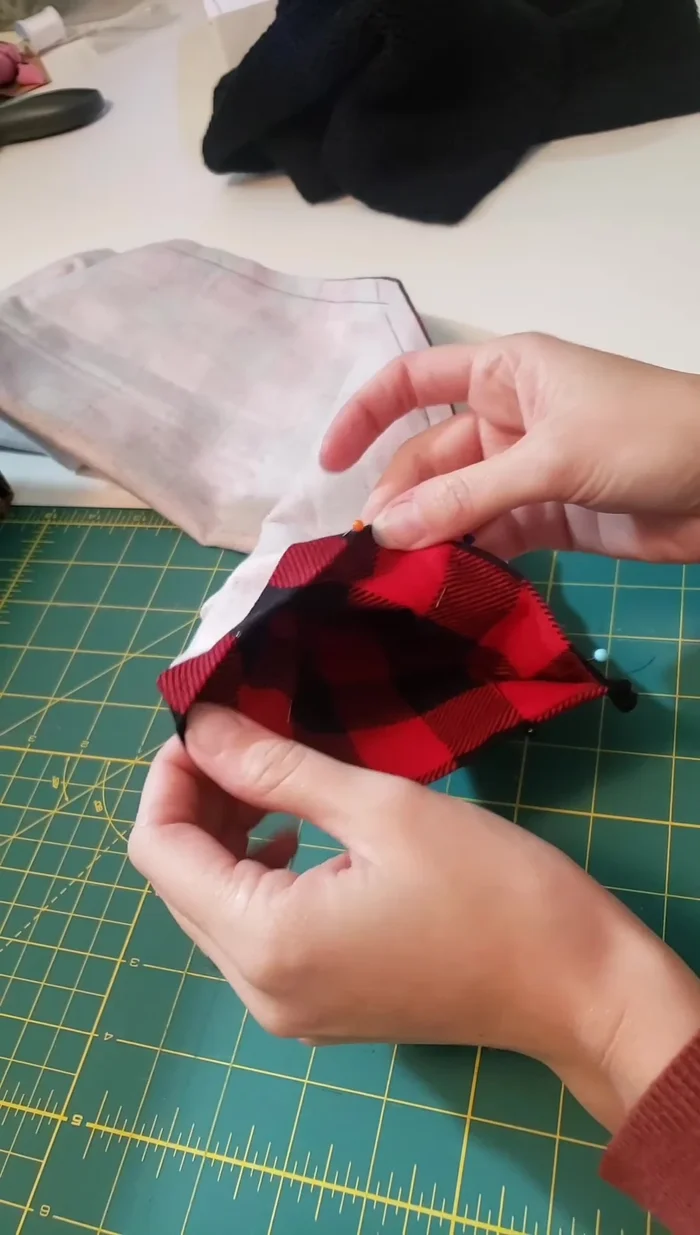
- Insert one end of the knitted tube into one open end of the flannel tube. Ensure about a half-inch overlap. Sew across to secure.
- Repeat Step 9 on the other end, ensuring the knit tube is untwisted and lies flat before sewing.
Assemble the Scarf


Read more: DIY Stretchy Fingerless Gloves: Easy Sewing Tutorial
Tips
- Use an iron to press the seams for a neat finish.
- Flannel’s self-adhesive nature helps to keep it in place while sewing.
- Only sew a half inch seam to secure the knit and flannel fabric together, ensuring you stitch through the previously created seam on the flannel to keep everything aligned.