Tired of searching endlessly for the perfect hat, only to find that it’s either the wrong size, the wrong style, or the wrong color? Why settle for less when you can create a unique, custom-fit hat that reflects your personal style? Embark on a rewarding crafting journey and unleash your inner milliner with this comprehensive guide to DIY hat making. Forget expensive boutiques and mass-produced designs; you’ll learn to craft a stylish hat that perfectly complements your wardrobe and fits like a dream, all from the comfort of your own home.
This guide provides a detailed, step-by-step process that will walk you through each stage of hat creation, from selecting the right materials to finishing those elegant final touches. Whether you're a seasoned crafter or a complete beginner, you'll find clear instructions and helpful tips to ensure your hat-making experience is both enjoyable and successful. Let's get started and transform your crafting dreams into a stunning reality!
Preparation and Safety Guidelines
- Measuring tape
- Fabric
- Fusible interfacing
- Sewing machine
- Scissors
- Iron
- Hammer (optional)
- Cotton flannel (optional)
- Ribbon
- Button (optional)
- Wire (optional)
- Always use sharp scissors and needles with caution. Keep fingers clear of blades and needles to avoid injury.
- If using a sewing machine, ensure it's properly oiled and adjusted. Keep hands and fingers away from moving parts.
- When working with hot glue or other adhesives, ensure adequate ventilation and follow manufacturer's safety instructions. Protect work surfaces with a heat-resistant mat.
Step-by-Step Instructions
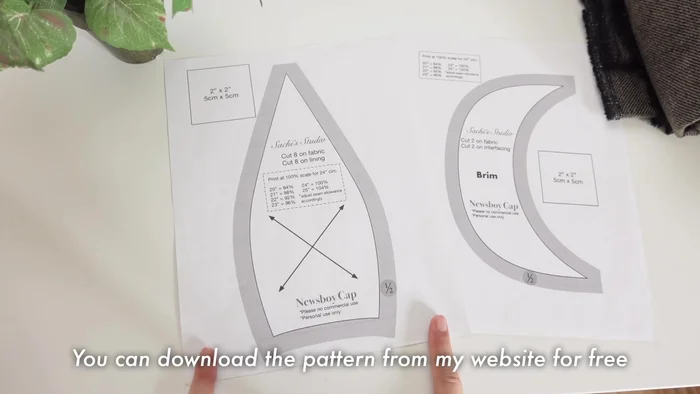
Measure and Prepare Pattern
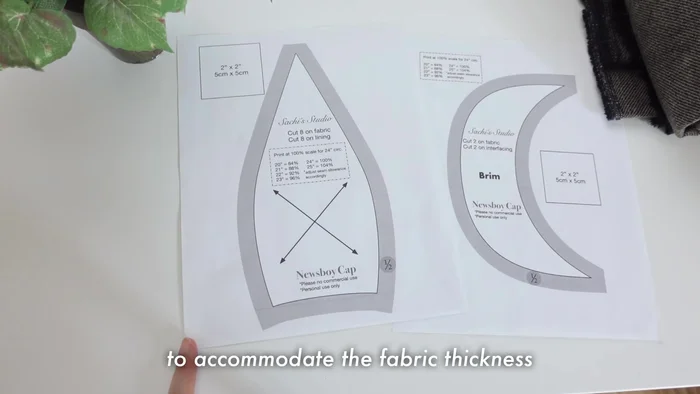
- Measure your head, tilting the measuring tape to match your desired hat placement.
- Add at least half an inch to your measurement to account for fabric thickness.
- Download and print the pattern (adjust scaling as needed).

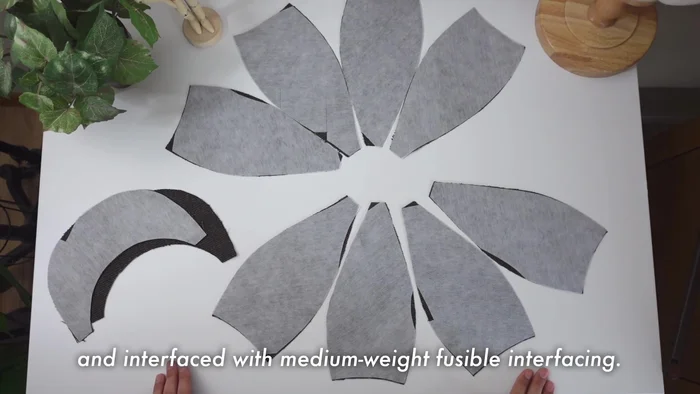
Measure and Prepare Pattern Cut and Interface Fabric
- Cut and interface the hat pieces with medium-weight fusible interfacing.
Cut and Interface Fabric Construct the Crown and Brim
- Sew the four crown pieces together, then sew the two brim pieces together with a half-inch seam allowance.
- Open the brim seam and stitch both sides close to the seam to prevent gaps.
- Trim seam allowances close to the stitching.
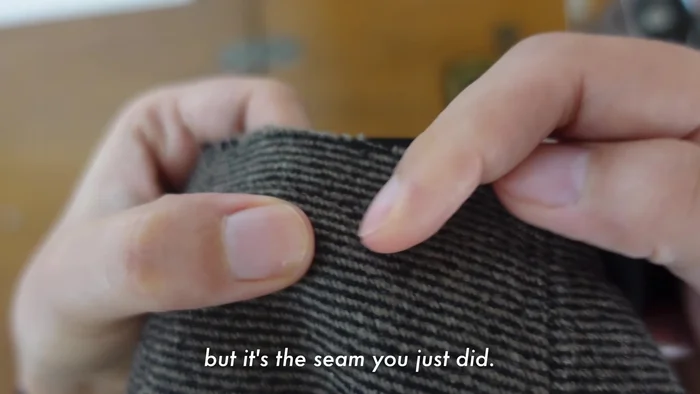
Construct the Crown and Brim Flatten the Crown Seam
- Steam and gently pound the thick center seam to flatten it.
Flatten the Crown Seam Create and Attach the Lining
- skip top stitching and iron seam allowances open).
- Reduce bulk in the hat seam allowances.
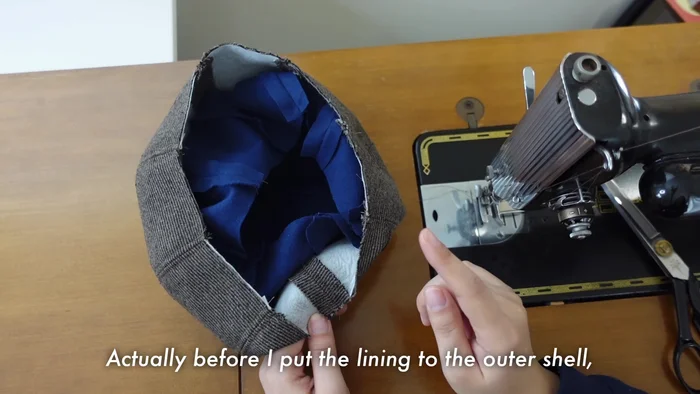
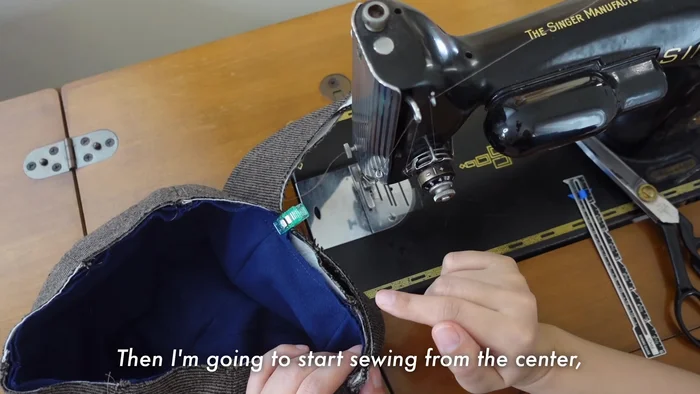
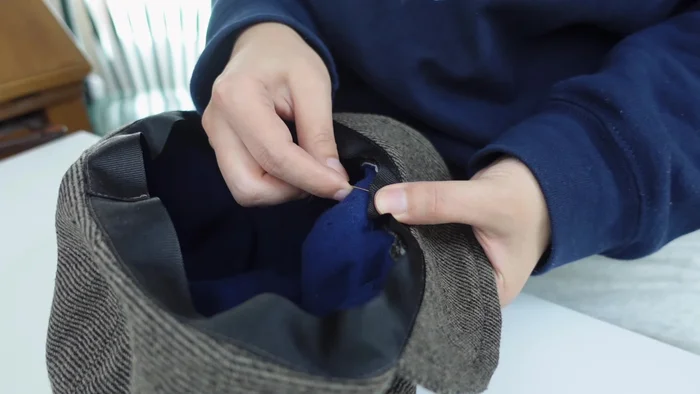
- Insert the lining into the hat, aligning seams.
- Sew the lining to the hat, starting from the center of the brim and working outwards.
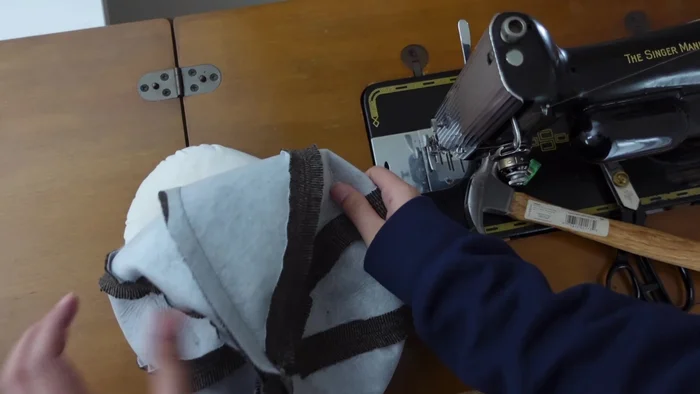
Create and Attach the Lining Add Finishing Touches
- Attach ribbon to the inside of the hat.
- Hand-stitch the ribbon in places to secure it.
- Attach a button (optional).
Add Finishing Touches


Read more: DIY Stretchy Fingerless Gloves: Easy Sewing Tutorial
Tips
- Consider the desired hat fit when measuring your head.
- Add extra fabric to account for the thickness of the layers. Starting with a bigger size allows for adjustments.
- If the brim is too floppy, add wire for shaping.
- If the hat is too small, add felt or another form between the ribbon and the hat to reduce its size.