Have you ever loved a hat but felt its unfinished interior detracted from its overall appeal? A flimsy, scratchy lining can instantly cheapen even the most stylish headwear. This is where the magic of DIY hat refashioning comes in! Adding a fabric lining is a surprisingly simple yet incredibly effective way to elevate your favorite hat, transforming it from a well-worn accessory to a polished, professional piece. This simple upgrade not only enhances the hat's comfort but also significantly improves its durability and longevity, protecting the outer fabric from wear and tear. It's a perfect project for both beginners and experienced sewists, requiring only basic sewing skills and readily available materials.
This guide will walk you through a step-by-step process of lining your hat, resulting in a beautifully finished headpiece you’ll be proud to wear. From choosing the right fabric to carefully attaching the lining, we’ll cover everything you need to know to achieve a truly professional look. Ready to transform your hat? Let’s get started!
Preparation and Safety Guidelines
- Fabric adhesive (spray)
- Masking tape
- Lint roller
- Scissors
- Fabric
- Hat
- Fabric pencil
- Iron (optional)
- Upholstery needle (optional)
- Sewing machine (optional)
- Always use sharp, well-maintained sewing shears or a rotary cutter for clean cuts to prevent injury and ensure accurate fabric placement.
- Pre-wash all fabrics before starting the project to avoid shrinkage after the lining is sewn in. This will ensure a perfect fit and prevent unwanted puckering.
- If using pins, handle them carefully to avoid accidental pricks. Consider using clips as a safer alternative, especially when working with delicate fabrics.
Step-by-Step Instructions
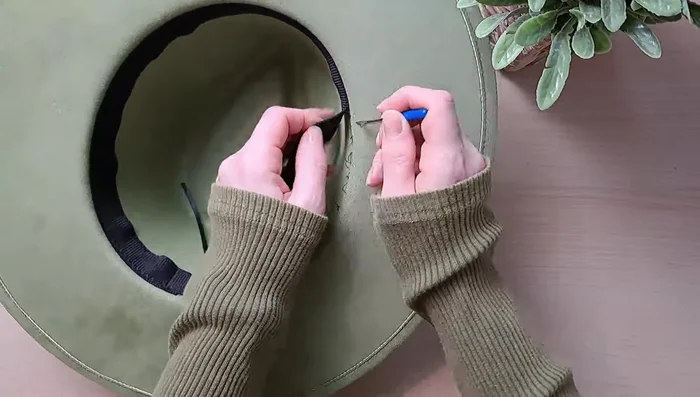
Prepare the Hat
- Remove the hatband from the inside of the hat.
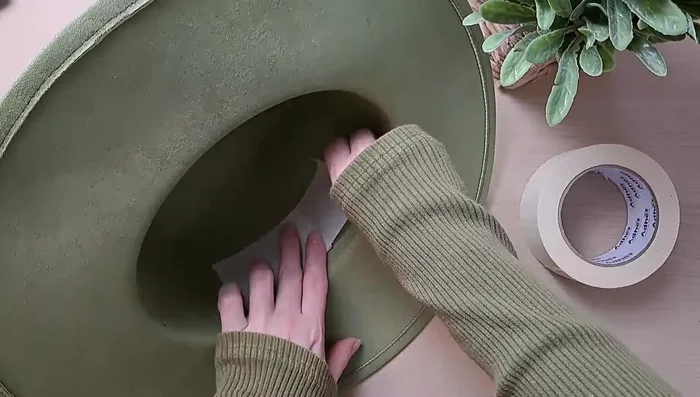
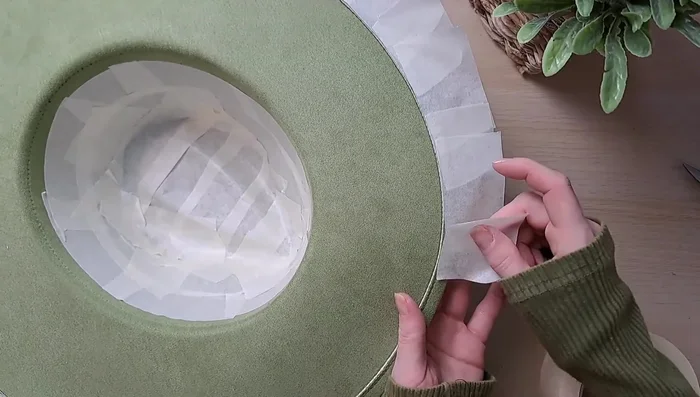
- Apply masking tape to the inside crown of the hat, leaving about 1cm from the edge.
- Apply masking tape to the edge of the brim to protect it from glue.

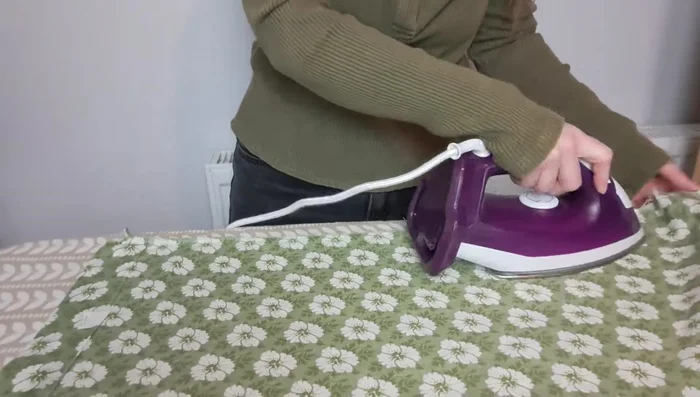
Prepare the Hat Prepare the Lining Fabric
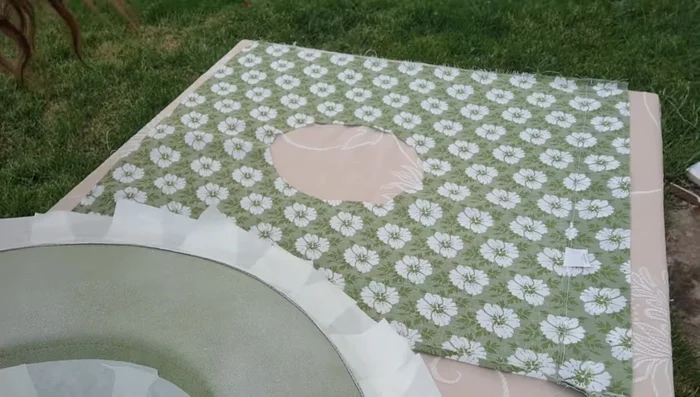
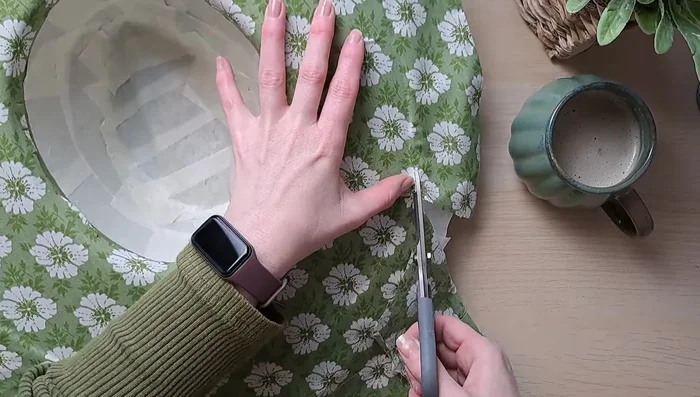
- Iron it for a flat surface (optional), place the hat on the fabric, trace around it, cut the fabric, and cut notches around the edges for easier curving.
Prepare the Lining Fabric Apply the Lining to the Brim
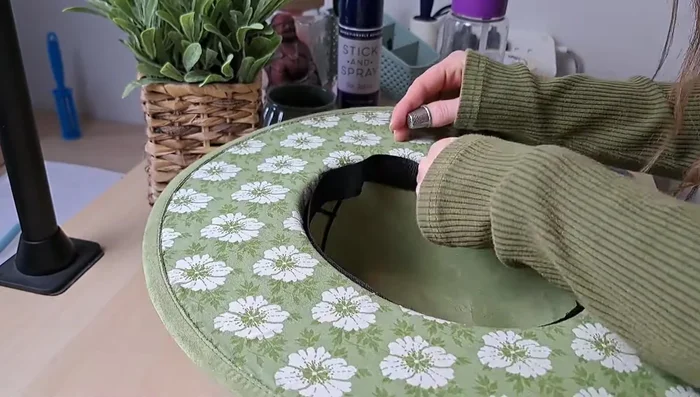
- Apply fabric adhesive to the underside of the brim and the back of the fabric. Stick the two together, smoothing out any wrinkles.
Apply the Lining to the Brim Finish the Brim Lining
- Trim the excess fabric, being careful not to cut into the stitching. Tuck the remaining fabric under the stitching.
Finish the Brim Lining Reattach the Hatband
- Reattach the hatband using a sewing machine or by hand.
Reattach the Hatband
Read more: DIY Stretchy Fingerless Gloves: Easy Sewing Tutorial
Tips
- Use a lint roller to clean the hat before applying fabric.
- Work quickly but carefully when applying the adhesive to avoid moving the fabric too much.
- Trim the fabric in small increments to avoid cutting gaps.
- Tucking the fabric under the stitching creates a professional finish.